Introduction
Using the NeoPixel stick, learn how to create a cool night light for your room! This tutorial requires two prerequisite guides, feather m4 express and the NeoPixel as well as the ability to use the laser cutter.
Tools
-
-
download the two files in this folder and save them to your public network folder
-
Open night_light_box.svg in Lightburn
-
Load a sheet of 6mm thick plywood into the bed. Check that the cut settings are set to 11 mm/s and 90%
-
Check that the bed is at the correct height, otherwise the box may not fit together properly
-
Do not leave the area while the laser is running!
-
-
-
Grab a sheet of thin, dense cardboard and slide it into the laser cutter
-
Open night_light_top in Lightburn
-
Change the cut settings to speed = 100 mm/s and power = 90% and adjust the bed height
-
Cut out the lid of the box
-
-
-
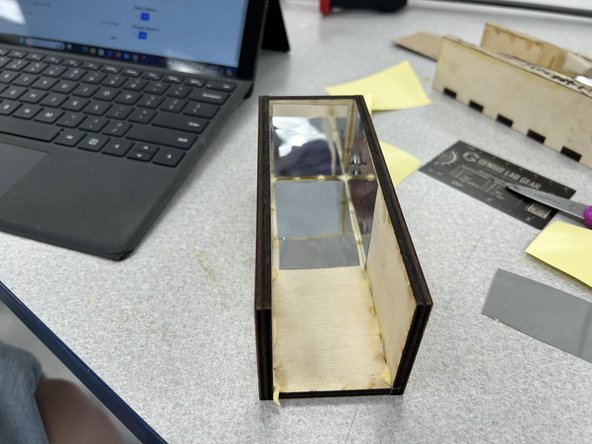
Assemble the box as shown using wood glue (located in the glue drawer in the closet).
-
Grab a bar clamp from the closet and clamp the box together. Wipe any excess glue with a paper towel. Wait around 20 minutes for the glue to dry
-
-
-
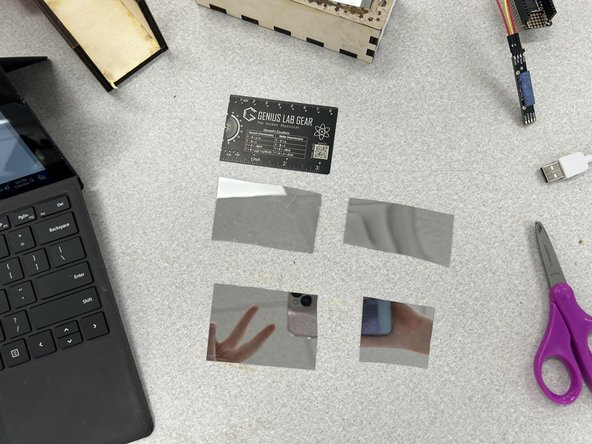
Grab the mirror sticker and some scissors. Cut 4 rectangular pieces that will roughly fit the inside of the box. The fit doesn't have to be perfect, it just has to cover most of the box.
-
Once the box is dry, stick the mirrors on the inside of the box as shown.
-
-
-
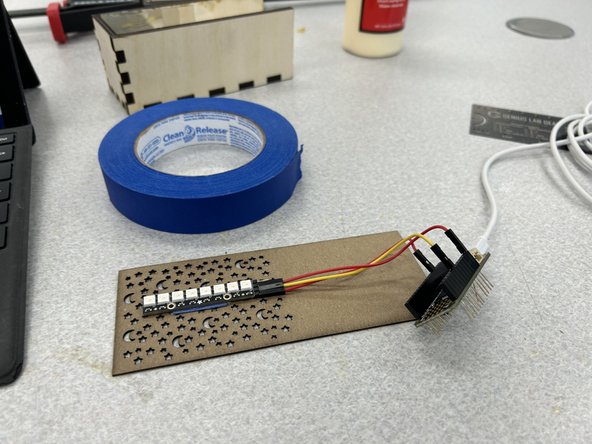
Make a tape loop using any tape. Tape the Neopixel onto the top of the lid as shown, making sure the wired end is towards the blank end of the cardboard.
-
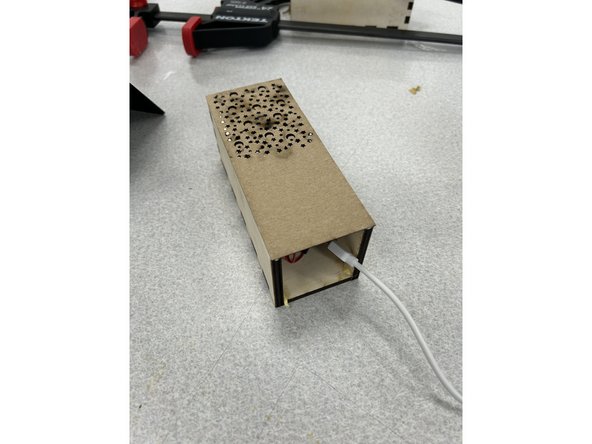
Carefully glue the lid onto the box. The end with the Neopixel should be opposite the open end of the box.
-
-
-
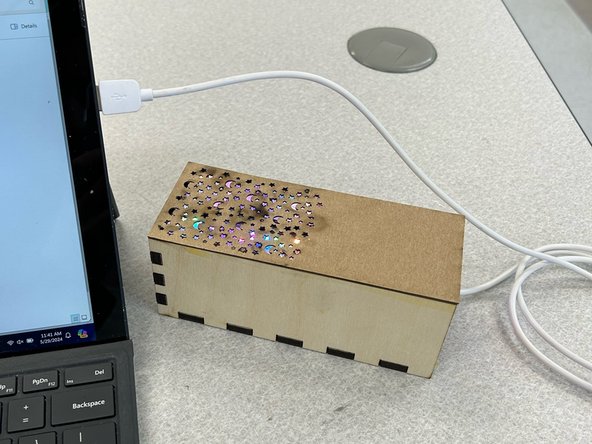
Power the box on by plugging it into a usb port such as your laptop or phone charger
-
If the light isn't visible, try moving the box closer to the ceiling. The neopixel isn't very bright so it needs to be close to the surface you're trying to project onto.
-
If the light doesn't turn on, plug the usb into your laptop and open the circuitpy drive. Check that code.py is in the drive and is correctly set up for the neopixel.
-