
Introduction
Rotary encoders are a tool that can be used for many different applications from volume controls, measuring the angle of robotic arms or speed of a spinning shaft, to option selection from a list. These are commonly found on the 3d printers in the Maker-E as control dials. This guide will introduce you to them and show you how to implement them in a project. For more technical information on how rotary encoders work, follow this link.
Tools
Parts
-
-
To open links in a new tab, right-click on the link and select "Open link in new tab" to avoid losing your progress while following this tutorial.
-
Before you complete this tutorial, make sure that you have completed the Feather M4 Express and NeoPixel tutorials first.
-
You will also need these extra components: The encoder, a breadboard, a USB cable, and five male-to-male jumper cables.
-
-
-
This component works by continuously reading its position in terms of numbers - spinning clockwise increases the number by one and counter-clockwise decreases it.
-
We'll be using an Adafruit Trinket in this tutorial since they are smaller and provide the same functionality in this use case. All of the information from the Feather tutorial applies. To connect the encoder to the Trinket, first plug both of them into the breadboard, splitting their pins over the center break.
-
Then use jumper cables to connect either of the side with two pins to ground, and the middle of the three pins to ground as well. The side with two controls the button press and the side with three controls the rotation. To learn more about the encoders' hardware, visit the Adafruit page for it.
-
After connecting both sides to ground, connect the other of the two pins to any digital input pin. In this case, I'll be using D2. The same applies for the other two, which I'll be connecting to D3 and D4.
-
-
-
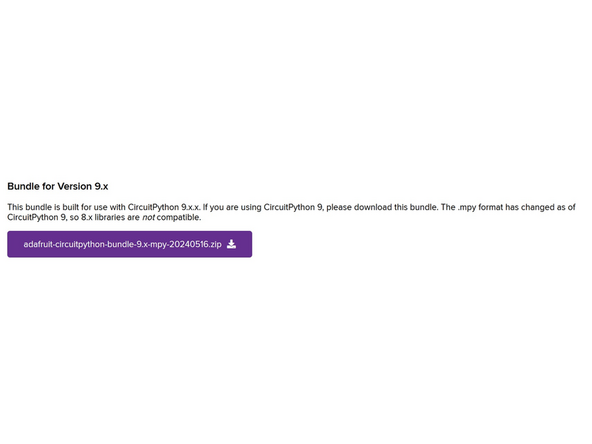
To use CircuitPython for this tutorial, you will need not need any libraries from the Adafruit bundle. The only library we'll use is rotaryio, which is a built in module.
-
Make sure the version matches your installed CircuitPython version.
-
-
-
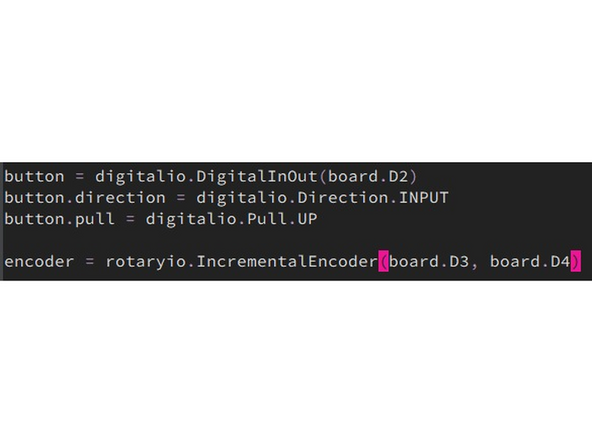
To initialize the encoder, simply use encoder = rotaryio.IncrementalEncoder(board.D3, board.D4). Then to query the position of the sensor, simply use encoder.position. That's about it!
-
To define the button to be pressed, use button = digitalio.DigitalInOut(board.D2) button.direction = digitalio.Direction.INPUT button.pull = digitalio.Pull.UP. Kind of complicated, but after this you can query button.state and button.value to easily find out if the button is pressed.
-
This encoder is a quadrature encoder, which means that it can differentiate between clockwise and counter-clockwise motion. To see this in action, use the example code to see negative numbers when turning counterclockwise and positive when turning clockwise. Learn more about quadrature here.
-
To test if your wiring is correct, use the Adafruit example code. This code will turn the encoder into volume control for your computer, including pause/play when the button is pressed. Note that you will also need the adafruit_hid library, found in the bundle or downloaded zip file. Make sure to change the pins in the example code to the ones you used.
-
For more syntax and a couple other functions, visit the Circuitpython page for rotaryio.
-
-
-
To earn a badge for the rotary encoder, use the included NeoPixel stick to turn some lights on and off using the pushbutton. In addition, try using the rotation of the knob to change the brightness of the NeoPixel. If you forget syntax for the NeoPixel, find it on Adafruit's website.
-
Note that to change the brightness, you may have to redefine the NeoPixel. Use pixels.deinit() to release the pin beforehand. The NeoPixel may be kind of flickery, but that's fine. Good luck!
-


Rotary Encoders: Quiz