Introduction
The VL53L0X, or VL, is a multi-use distance sensor, mainly intended for shorter ranges, up to around a meter. If you need range up to 6 meters, use the VL54, which can be found in this tutorial. It can be used for many applications, but in this guide we'll set up the board and use it to set off a piezo buzzer when a certain limit is reached.
Tools
Parts
-
-
To open links in a new tab, right-click on the link and select "Open link in new tab" to avoid losing your progress while following this tutorial.
-
Before you complete this tutorial, make sure that you have completed the Feather M4 Express and I2C tutorials first. This guide will use an Adafruit Trinket, which behaves in the same manner as a Feather.
-
You will also need these extra components: a VL53L0X distance sensor, four male-to-male jumper cables, and a USB cable for use with the Trinket.
-
-
-
This component works by sending out a laser that it then receives back, and calculates the distance from the sensor by measuring the time elapsed since the laser was emitted. To learn more about time-of-flight sensors, go here.
-
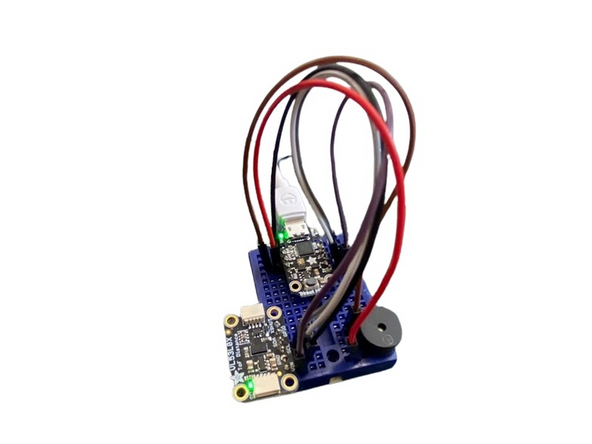
To connect the VL (VL53L0X) to the Feather, simply connect power, ground, and I2C cables. Do this on the small breadboard included. Make sure that cables stay out of the line of sight for the laser emitter. If you need a refresher on I2C, follow the I2C tutorial. Remember that some pin labels on the Trinket may be on the underside.
-
-
-
To use CircuitPython for this tutorial, you will need the adafruit_vl53l0x.mpy and adafruit_bus_device libraries from the Adafruit bundle.
-
Make sure the version matches your installed CircuitPython version.
-
-
-
The VL is very simple to set up and use. Simply initialize it like any other I2C device, with the code vl53 = adafruit_vl53l0x.VL53L0X(i2c). Then simply call vl53.range to get an output of distance in millimeters.
-
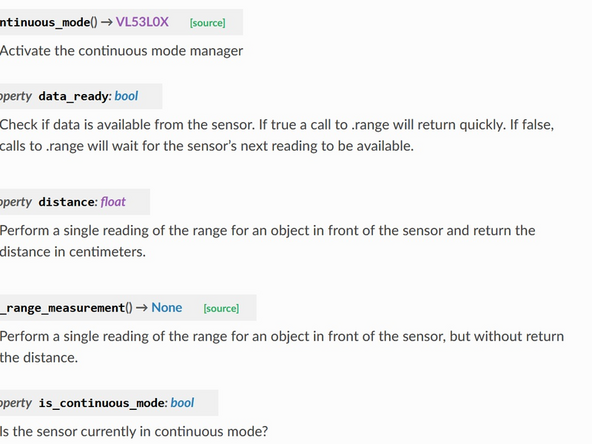
For other functions, like returning distance in different units, look at the CircuitPython documentation page for the VL's library.
-
Also try Adafruit's sample code to make sure your connections are good, then write your own.
-
-
-
To earn a badge for this component, utilize the included piezo buzzer to make a noise when a certain threshold is crossed. A simple way to accomplish this is to assign a digital pin to output and activate that pin whenever the sensor sees a range smaller than a certain distance.
-
To initialize a pin, review this Adafruit page and change the pins and names as necessary to be usable for the Trinket and buzzer. Simply hook up a jumper to each leg of the buzzer, the positive end going to an output pin and the negative end going to ground. These are labeled on the buzzer itself.
-
Other uses for a distance sensor include many forms of output, from screens to LEDs to audio. Being so simple to use means that this board is widely applicable to many projects that you may want to pursue.
-
VL Distance Sensor: Quiz


