
Tools
-
-
Before you complete this tutorial, make sure that you have completed the Feather M4 Express tutorial first.
-
You will also need a Heltech ESP32 that's LoRa enabled, a LoRa Featherwing, a Doubler, a MicroUSB cable, and a USB-C cable.
-
-
-
LoRa radio works by sending out radio waves at a certain frequency, in this case 868MHz, that other devices can pick up. LoRaWAN is a software component that runs on LoRa boards to enable them to communicate with similar boards, effectively creating a network of interconnected devices. This is the idea behind IoT, or Internet of Things.
-
To connect this component to the Feather, use a Doubler. For a brief overview, see the OLED display guide. This FeatherWing communicates most effectively with SPI (Serial Peripheral Interface), which is another communication method like I2C. Using a doubler is easy with SPI because most of the necessary pins are already connected, but there are some that need to be added.
-
The CS and RST (chip select, which determines what operation the board completes, and reset) pins on the LoRa wing are not in the normal Feather layout, so we need jumpers to connect them. They can be connected to any digital pin on the Feather's headers, in this guide RST will go to D10 and CS to D9. Check out the SD card reader for more info on SPI
-
-
-
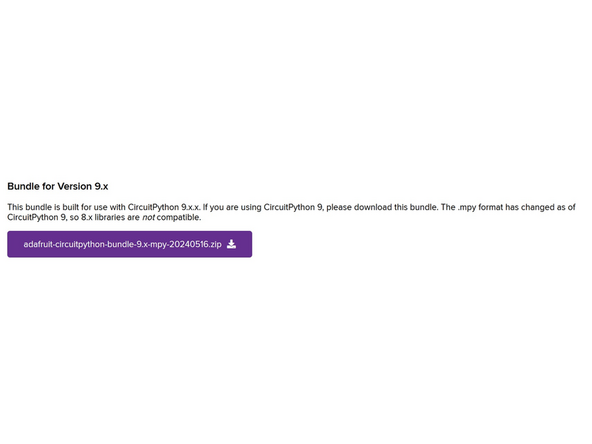
To use CircuitPython for this tutorial, you will need the adafruit_rfm9x.mpy and adafruit_bus_device libraries from the common bundle.
-
Make sure the version matches your installed CircuitPython version.
-
-
-
The LoRa board will run code stored in code.py, but it will also run commands in the REPL. You have the choice of inputting all code in the REPL and then typing new commands to receive or send data, or entering all code into code.py and saving to re-send or update instructions.
-
The FeatherWing has several options for communication, including but not limited to SPI, I2C, and UART. In this case, we will use SPI because it is the fastest method between the boards. To initialize spi, use board definitions: spi = busio.SPI(board.SCK, MOSI=board.MOSI, MISO=board.MISO)
-
We also must define the CS and RST pins that we plugged in. These need to be defined with digitalio: cs = digitalio.DigitalInOut(board.D9) and reset = digitalio.DigitalInOut(board.D10). After this, we need to define our device using the new library specific to it: rfm9x = adafruit_rfm9x.RFM9x(spi, cs, reset, 868.0)
-
Once the device is defined, it can be used for its various basic functions. rfm9x.send() is used to send data over LoRa one time, and rfm9x.receive() makes the board wait half a second for any data to come through. If you'd like to increase this time, include a timeout = ... inside the argument of receive().
-
To learn more functions and explore definitions and syntax, check out the Adafruit Learn page for radio boards.
-
-
-
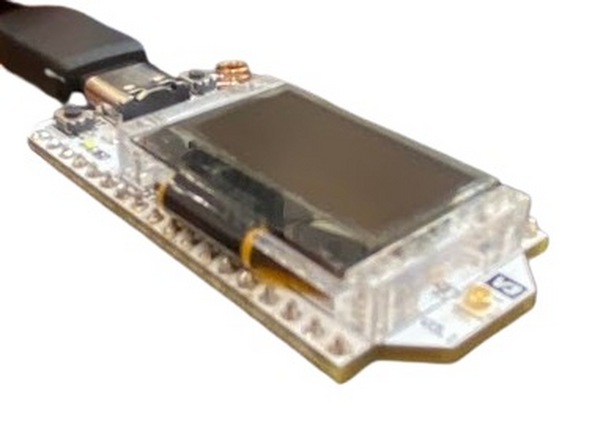
To earn a badge for the LoRa FeatherWing, plug in the Heltech board included in the kit with a USB-C cable. It is already set up to receive LoRa information. Use what you've learned to send it some text, making sure to change the frequency to what the display says. (Remember MHz versus Hz!)
-
The text won't actually be displayed on the screen because of the way that Heltech software works. If you get a different screen with a number of received messages and a length of the most recent, that counts as completing the challenge.
-


Other uses for LoRa include long-range communications, networks of connected devices, and cloud storage applications. LoRa is overall a good choice for wireless transmission with good strength and reliability.
Other uses for LoRa include long-range communications, networks of connected devices, and cloud storage applications. LoRa is overall a good choice for wireless transmission with good strength and reliability.