
-
-
To open links in a new tab, right-click on the link and select "Open link in new tab" to avoid losing your progress while following this tutorial.
-
Before you complete this tutorial, make sure that you have completed the Feather M4 Express tutorial first.
-
-
-
Make sure you have adafruit_bus_device and adafruit_bluefruitspi.mpy installed on your Feather M4
-
Adafruit has provided a thorough explanation of how to set up the board. For more details, please visit this link. In this summary, I will highlight the important aspects.
-
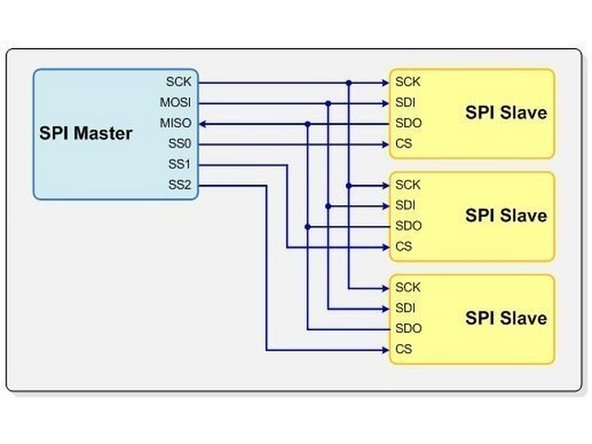
Make sure to arrange the connections to the Feather M4 as shown in the image. Connect SCK to SCK, MISO to MISO, MOSI to MOSI, CS to D6, IRQ to D11, and RST to D10. You can use any digital pins for CS, IRQ, and RST. Lastly, connect VIN to the 3.3V pin of the Feather M4, and GND to GND.
-
-
-
BLE stands for Bluetooth Low Power. BLE is a wireless communication protocol for low-power, short-range data exchange between devices. It’s commonly used for applications like fitness trackers, smart home devices, etc.
-
This board uses SPI as the communication protocol. For more information on SPI, please visit this link.
-
A BLE peripheral can regularly broadcast data to nearby devices using advertising.
-
Data is sent through packets. A BLE packet consists of several fields, including the preamble, access address, header, payload, and cyclic redundancy check (CRC). To learn more about BLE please visit this link.
-
-
-
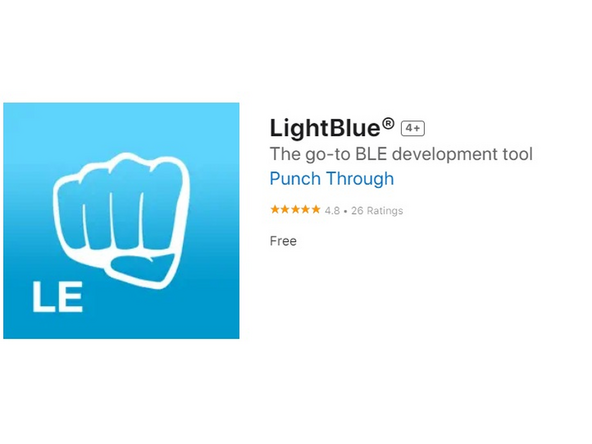
Upload the code available on GitHub. This code will advertise the module and can be discovered either by your mobile phone using an app like LightBlue or another microcontroller acting as the central device.
-
After downloading the LightBlue app, stay on the peripherals tab where you will see "BlinkaBLE" as one of the options (if you don't scroll down). Connect to it and scroll down to find "RXD." Click on it to open a new tab. In that tab, you will see "Hex" in the top right corner. Click on "Hex" and change it to "UTF-8 String."
-
Click on the blue "Write new value" to open your keyboard and type new values to send to the peripheral (the breakout board).
-
Type "LED ON" and press send. The onboard LED should have turned on and to turn it off type "LED OFF". On the tab, you can click on each to redo the command and make sure they're capitalized.
-
-
-
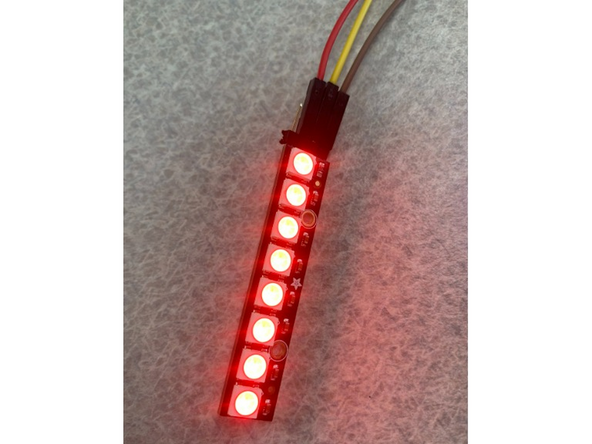
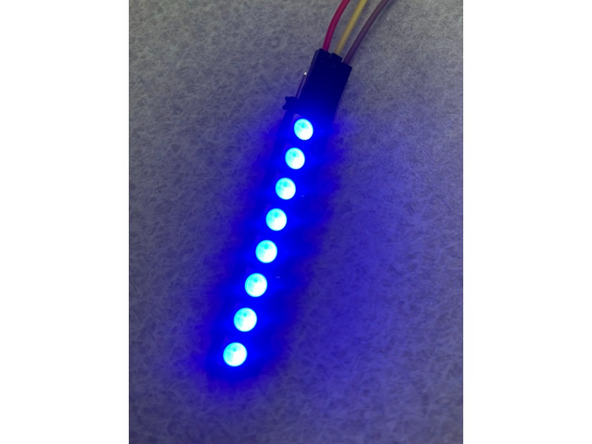
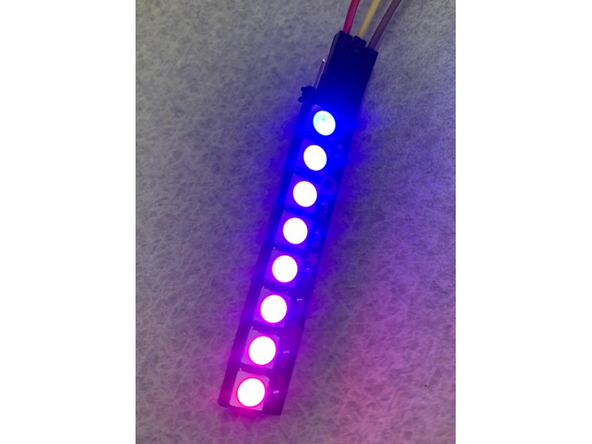
You should find a neopixel stick in the kit. Use your phone to control the neopixel stick for the challenge. Review the neopixel tutorial to understand its functionality and connection process.
-
Have the neopixel turn red when you send the command "RED", turn blue with the command "BLUE", and create a red-blue gradient color with the command "GRADIENT".
-
It should look similar to the picture on the left
-


Bluetooth breakout board: Quiz