-
-
The bed slinger printers are custom rebuilt 3d printers that run off of Klipper firmware.
-
They use FFF (Fused Filament Fabrication) technology which extrudes molten plastic layer by layer forming a part.
-
Any questions or issues that arise should be directed to the BME Lab Director.
-
-
-
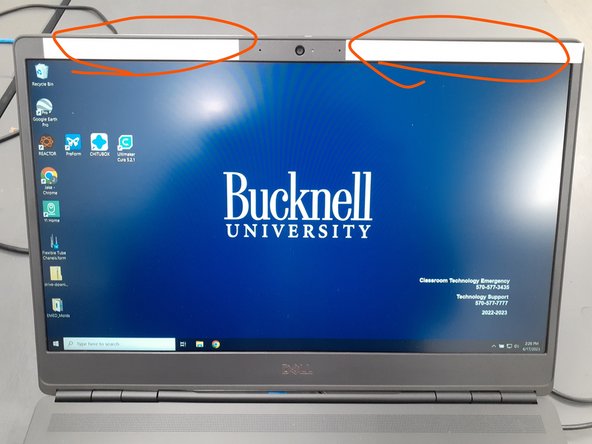
Log onto the BME laptop closest to the Makerpi printers using credentials provided at the top of the screen.
-
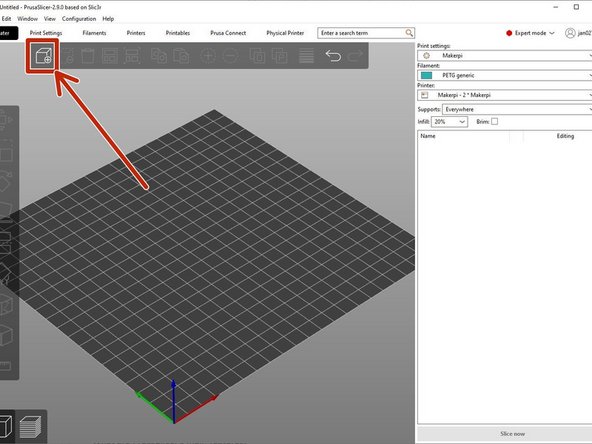
Open "PusaSlicer" as the slicer software of choice
-
PrusaSlicer has great documentation which can be found here.
-
Upload the ".stl" file(or other compatible file type) by selecting the box icon.
-
If exporting from Onshape or other CAD software, make sure to select "millimeter" as the unit. If this is not done, the part will not be the correct size.
-
-
-
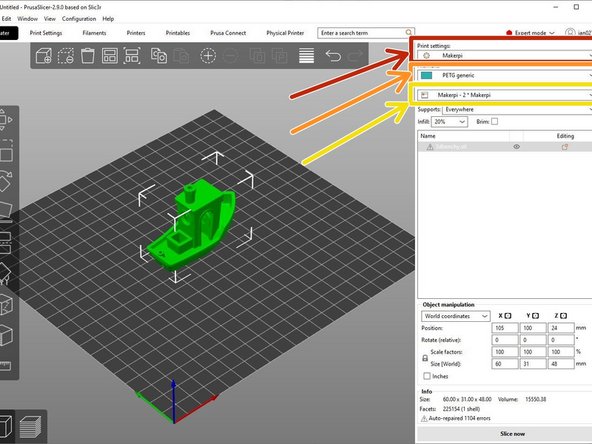
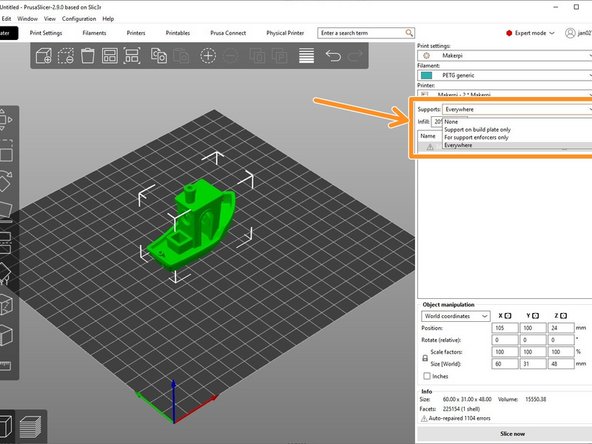
Verify "Bedslinger" is selected under "Print settings"
-
Select the correct filament type.
-
If you are printing in the simulation lab (ACET 236), the only filament type is "PETG Generic".
-
A tutorial going through commonly used filament types is found here.
-
Select the printer's name using the drop down menu as shown under "Physical printers".
-
i.e. "Bedslinger 1" or "Bedslinger 2".
-
The printers name can be found on the front of the printer.
-
-
-
User interface basics for PrusaSlicer can be found here.
-
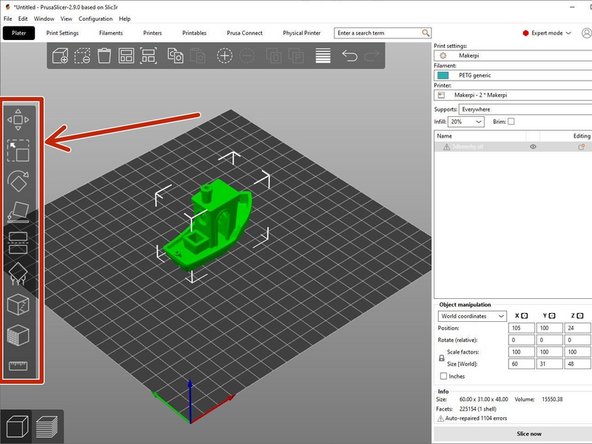
Use the object manipulation tools for positioning, scaling, orientation and so forth as discussed in the Object Manipulation tutorial.
-
Placing an object perfectly flat on a build plate is necessary to avoid generating support material or printing difficult angles. More information can be found here.
-
Modify the support material options which can be found below the printer selection as seen in the 2nd image. If in doubt, select "Everywhere".
-
For further information on support material and why it is needed, refer to the Support Material tutorial
-
-
-
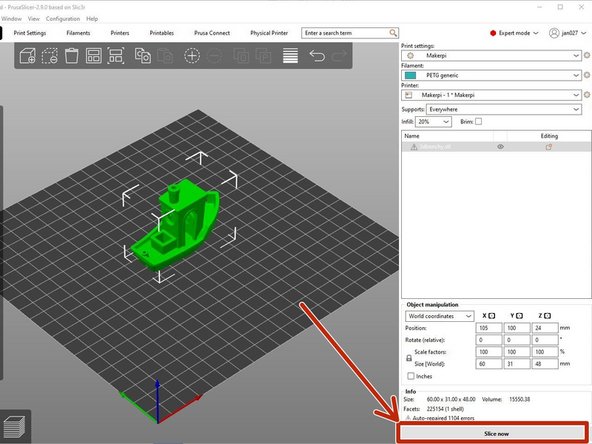
Once you are satisfied with the orientation of the part, select the "Slice now" button on the bottom right of the window.
-
Verify that the part on the screen is what you wanted.
-
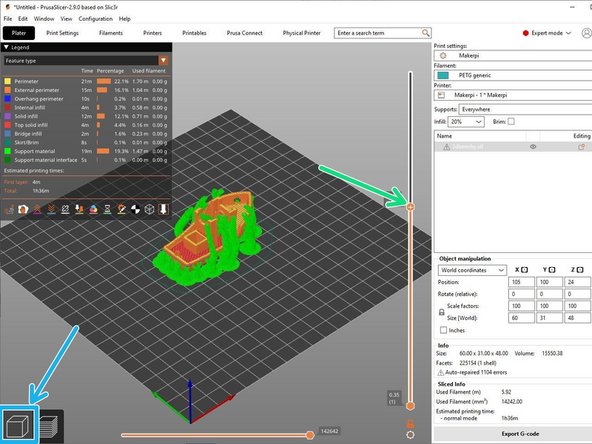
Layer cross section can be viewed by clicking and dragging the orange slide bars on the right side of the window as shown.
-
If further changes are needed, select the 3D box icon on the bottom left of the screen.
-
-
-
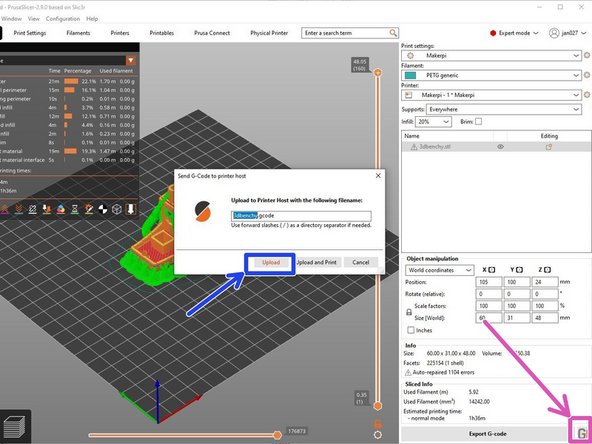
Once the file looks ready to print, select the "G" button in the bottom right of the window.
-
If the "G" button does not appear, the printer may have been selected incorrectly.
-
Rename file to something easily recognizable.
-
Select "Upload" to transfer the file to the printer automatically.
-
-
-
The following steps can be skipped if printing in the Sim Lab (ACET 236). Otherwise continue with the steps below.
-
Load the correct filament type into the printer.
-
Verify that the build plate matches the filament type being used. A tutorial on filament type and its compatible built plate type is found here.
-
-
-
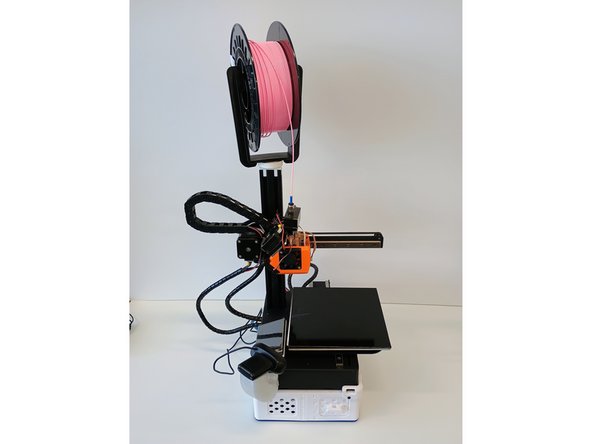
Clear off build plate on the printer from any material from previous prints.
-
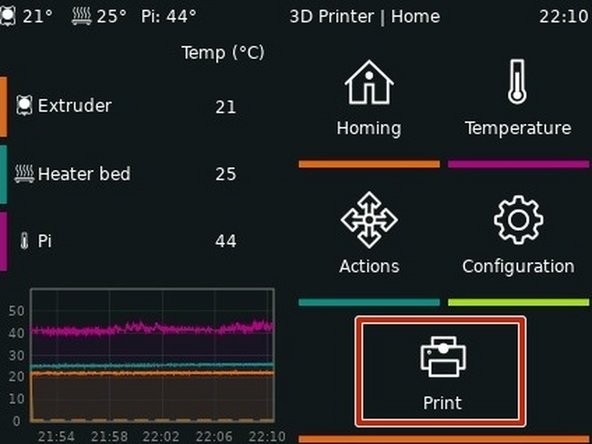
On the printers LCD screen, select "Print".
-
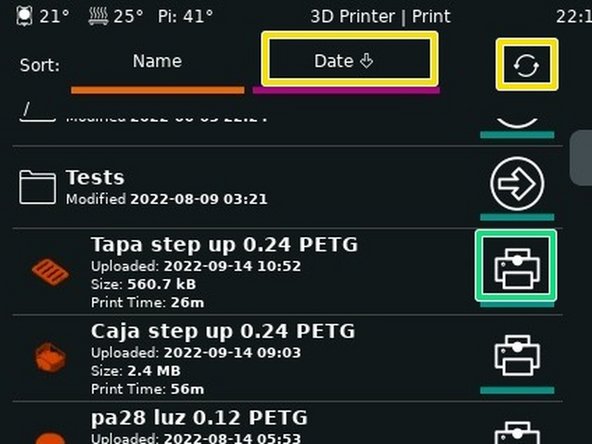
Navigate to find the uploaded file.
-
Date and refresh buttons may help.
-
If the file is not found. It may have been uploaded to the wrong printer. Check to make sure the correct printer has been selected within the slicer software.
-
Select print.
-
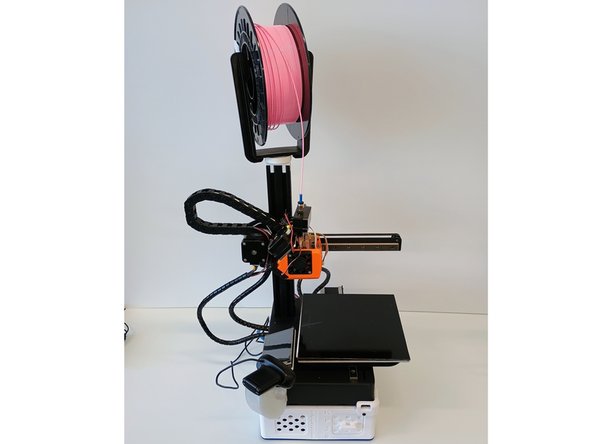
After verifying the selected file is correct, select print again to start the print.
-
Wait until the first layer prints correctly before leaving.
-