
Introduction
For more info, check this link out: Tumbler Engraving Tutorial
For compensating circle skew you can check out this link:
Tools
Parts
No parts specified.
-
-
Any use of a laser cutter is potentially hazardous. Materials can catch on fire, disabling machine interlocks can potentially expose you to laser radiation capable of blinding you, and cutting the wrong materials can release toxic gasses.
-
Before you start cutting know where the fire extinguisher is in case materials catch on fire.
-
If you are unsure if a material is safe to cut, ask first. Many plastics contain chlorine or fluorine and materials like PVC, vinyl records, and Teflon are never safe to cut.
-
You must keep an eye on the laser cutter during any cuts in case there is a fire. Leaving the immediate area during a cut is a violation of the MakerE User Agreement and may result in penalties up to permanent expulsion from the space.
-
-
-
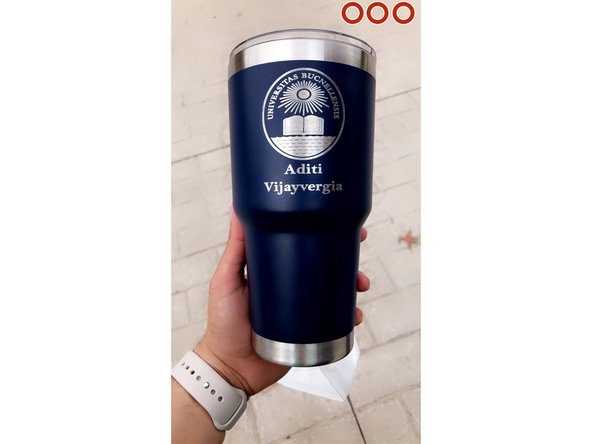
This tutorial will teach you how to engrave your own tumbler. You will need to provide your own material to complete this tutorial.
-
Be sure to check that the tumbler is made of material that is safe to engrave on.
-
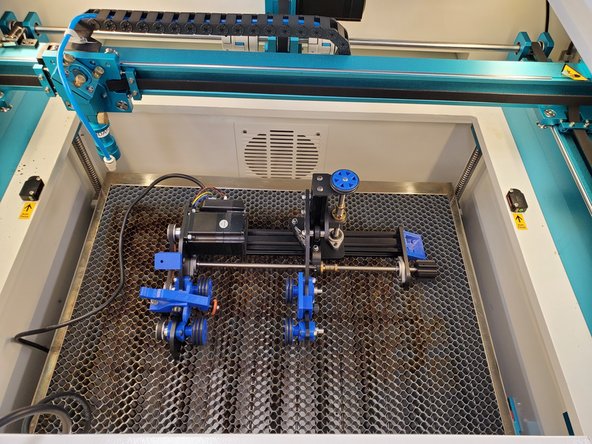
Your material must be less than 24cm in length and be able to fit into the holder. It must be able to sit on the wheel and turn. Example tumbler shown in picture.
-
You will only be able to etchings/engravings. Trying to cut through your material will not work and can lead to your project failing.
-
Again, if you are not sure what is safe to cut, check with a MakerE Tech!
-
-
-
Every user should check the following before turning on the Thunder Laser:
-
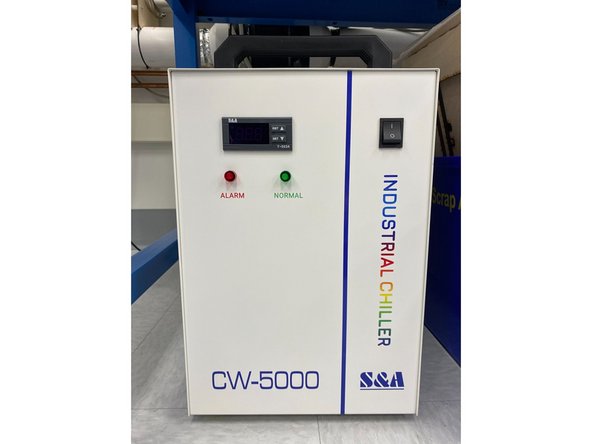
Make sure the switch on the chiller unit below the laser is turned to the on (I) position.
-
MakerE Techs: Every week check the back of the chiller to make sure the water level is in the green region. If it is not stop you will need to fill the chiller with distilled or RO water.
-
Only after you have checked the switch and made sure it is on are you ready to turn on the laser cutter.
-
-
-
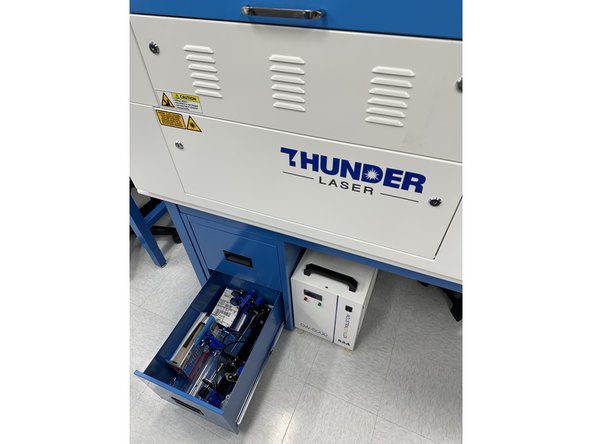
Underneath the Thunder Laser the last drawer contains the RotoBoss rotary chuck attachment. Take it out and set it on a table.
-
-
-
Before you turn on the Thunder Laser make sure your access card is in the Portal Box and it is green.
-
Do NOT start the LightBurn software yet since it may throw an error if it cannot find the laser. You must turn the laser on before starting the software.
-
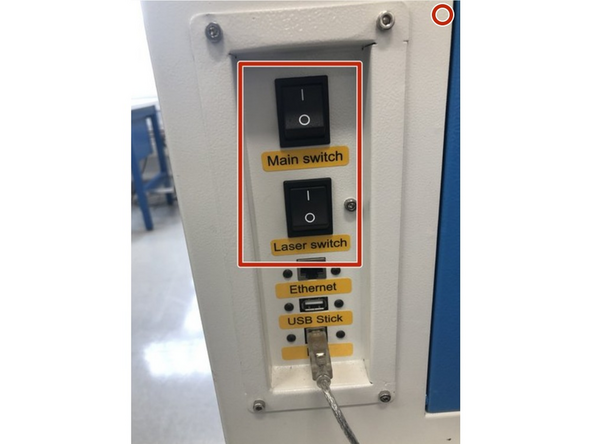
Turn on the Thunder Laser using the Main Switch which is the upper of the two switches on the right side of the machine.
-
DO NOT turn on the lower, Laser, switch yet since that turns on the laser tube. For safety leave it in the off, O, position for now.
-
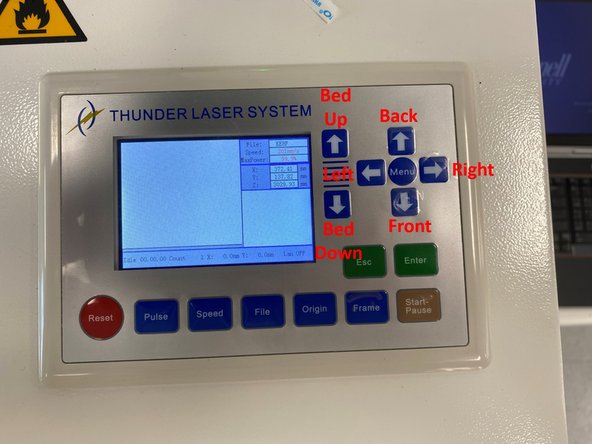
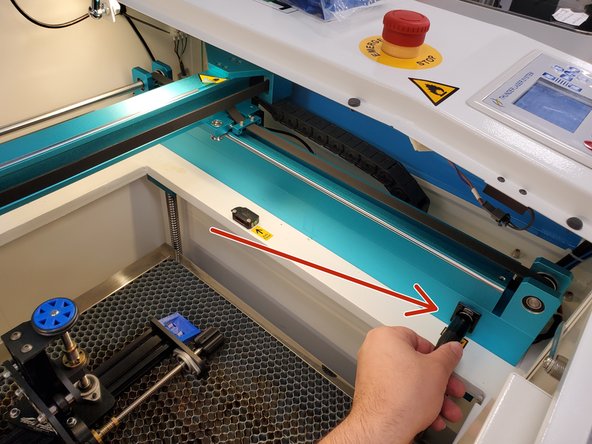
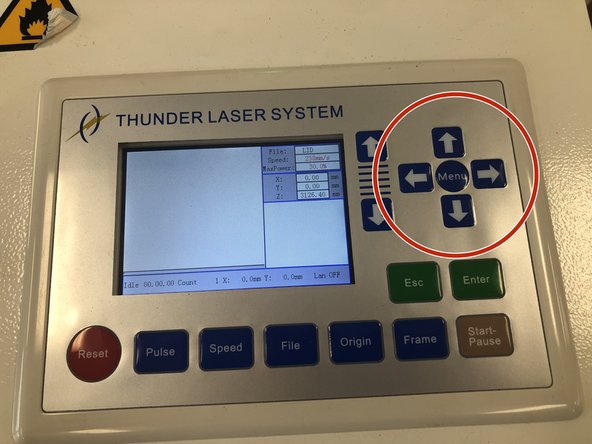
Once the machine is on you can move the laser head by using the four arrow buttons shown. The two other arrow buttons move the bed up and down.
-
Move the laser head to the back, left position and drop the bed so you can load the RotoBoss without hitting the laser head.
-
Lower the bed enough for the laser to not hit the top of your material or the RotoBoss.
-
If need be, ask the lab director or a tech to help remove the honeycomb flooring to make more clearance.
-
-
-
The RotoBoss has a 7-pin XLR connector which plugs into the interior of the Thunder Laser. Plug it in.
-
Make sure to keep stepper motor of rotary chuck on the left most side of the bed. Also, make sure not to keep rotary chuck connection wire underneath the rotary chuck.
-
-
-
Cutting settings are listed on document attached by a magnet to the thunder laser.
-
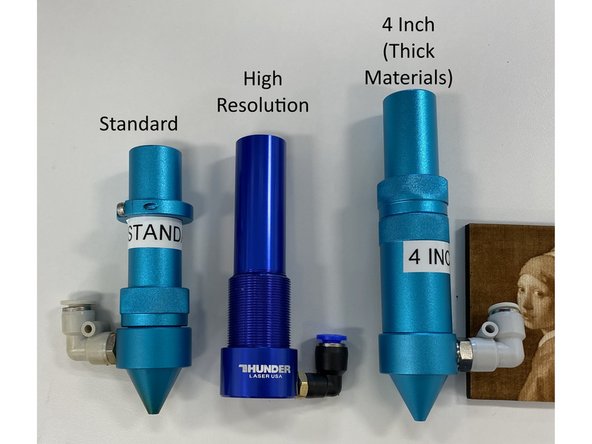
Note that we have several different laser heads that will affect cutting power and speed. The spot size and focal lengths vary.
-
The standard head is for most cutting and has a laser spot size of 0.0039 inches or 0.1 mm and focal length of 5 to 6.5 mm.
-
Make sure standard 2'' head is mounted to the machine.
-
-
-
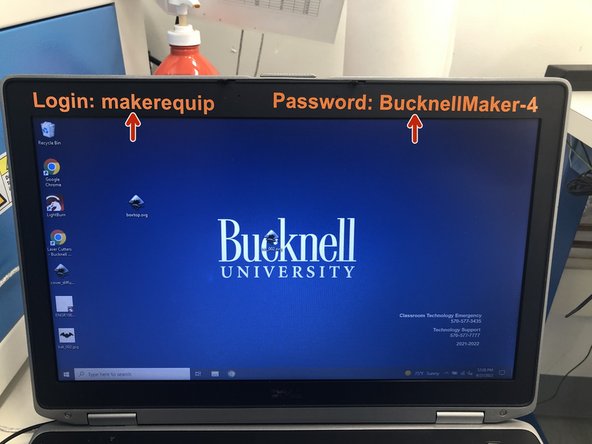
Log into Thunder Laser laptop with login info listed on top bezel of laptop screen.
-
-
-
Move the engraver head to the top left corner using the right most arrows. Press the top arrow and the left arrow till you have reached the top left corner of the bed.
-
-
-
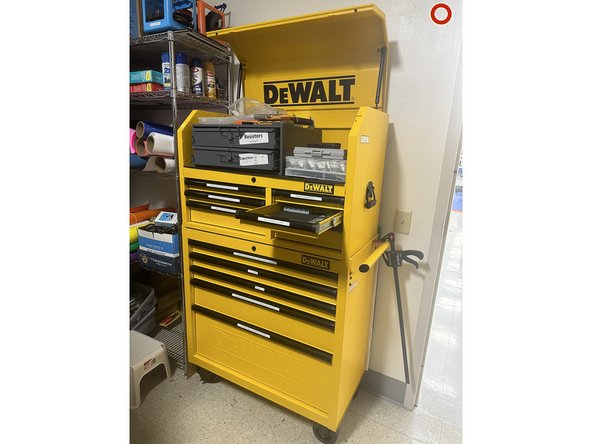
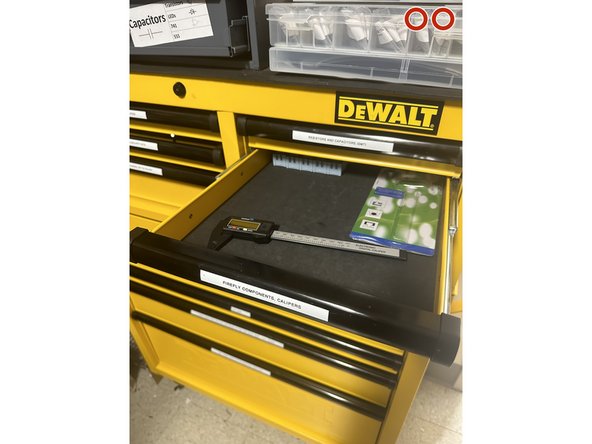
Go into the storage closet and grab the calipers located in the yellow DeWalt storage cabinet (calipers located in the second drawer on the right side- shown in pictures 1 and 2).
-
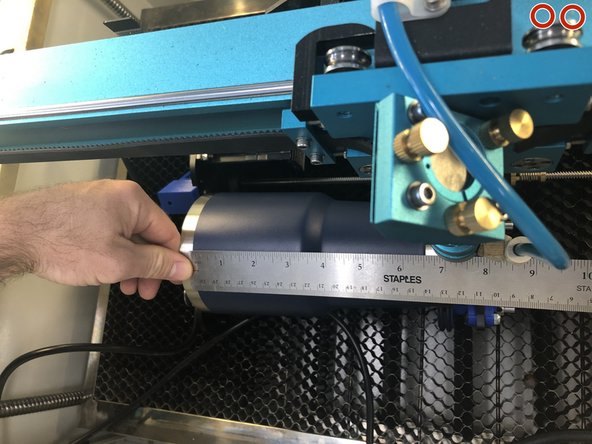
Grab work piece (tumbler) and use caliper to measure max diameter of tumbler, as shown in picture 3.
-
Picture numbers indicated by the number of red circles located on the top right corner of the picture.
-
-
-
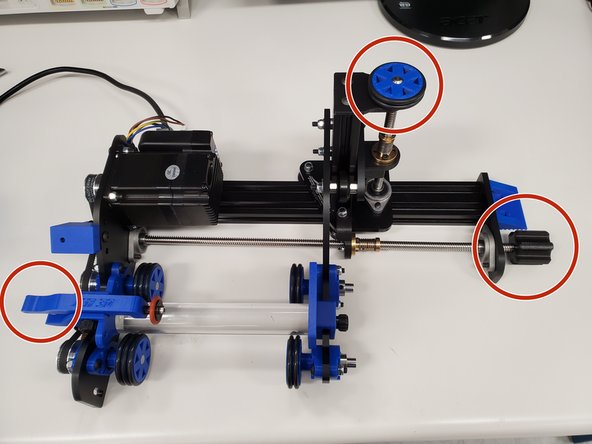
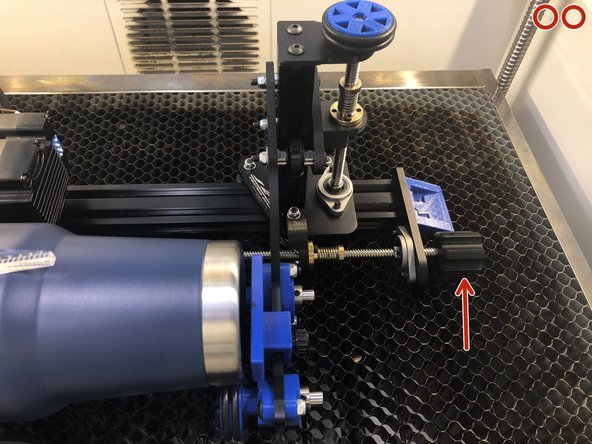
Use the screw on the right to adjust the length of the RotoBoss to the length of your material. Place your material on the wheels of the chuck and use the handle on the left to clamp it down into place.
-
By twisting the vertically mounted wheel on the top right, you adjust the height of the right side of your material. Making sure that it stays on the wheels, raise or lower your material until it is level with the ground. Use a bubble level to make sure. Once it's level, adjust the right knob again to secure your material in place.
-
-
-
Now it is time to use the information that we learned in the previous step!
-
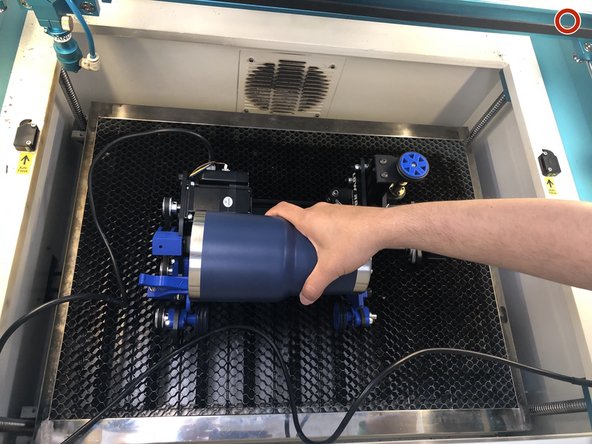
Take the work piece and hover it over the rotary chuck to see how far the rollers are from where they should be so the piece can sit snug on the check. (Pic 1)-Reference video in step 13 to see example of snug fit.
-
Twist side screw on the right of rotary chuck towards you so it the distance between rollers decrease and you can place your mug in between spring clamp of rotary chuck and back end of roller. (Pic 2)- Step 13 video shows this.
-
Once material is secure, verify that the RotoBoss is working by pressing the left and right arrows and seeing that your material spins. (Refer to steps 15 and 16)
-
Picture numbers indicated by the number of red circles located on the top right corner of the picture.
-
-
-
Use the screw on the right to adjust the length of the RotoBoss to the length of your material. Place your material on the wheels of the chuck and use the handle on the left to clamp it down into place.
-
-
-
By twisting the vertically mounted wheel on the top right, you adjust the height of the right side of your material. Making sure that it stays on the wheels, raise or lower your material until it is level with the ground. Use a bubble level to make sure. Once it's level, adjust the right knob again to secure your material in place.
-
-
-
Click "Menu" and then U move show be the first option.
-
-
-
Once "U move" screen is showing as directed in previous step, click the right and left arrows to rotate the tumbler and ensure it is secure properly.
-
-
-
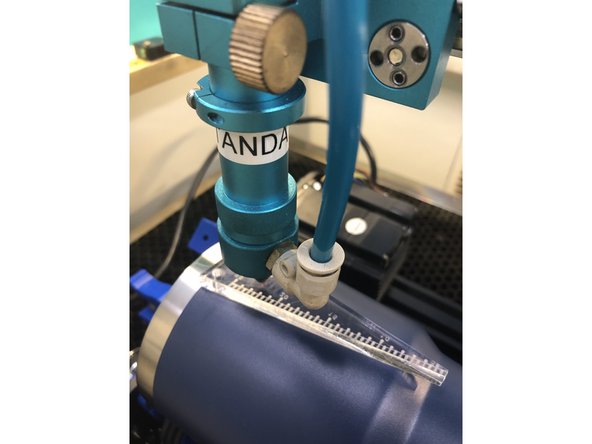
Adjust top focal point by moving head to the mug, make sure the the distance between head and mug is the thickness of the clear white acrylic ruler. (Pic 1)
-
Make adjustments using left most arrows. (Pic 2)
-
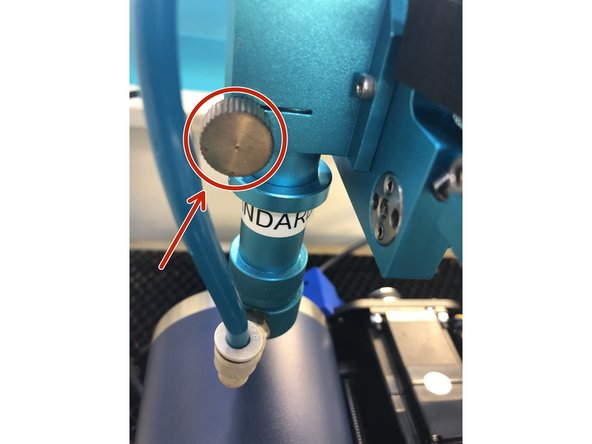
If the mug is to high and the head will hit the mug, adjust the height using the top screw, don't mess with the three screws on the very top. (Pic 3)
-
-
-
Use the red laser pointer dot on the thunder laser and align it to the left side roller's black marker dot, shown in picture 1.
-
Then carefully move the laser head from the left side to the black marker dot on the right side of the rotary tool, shown in picture 2.
-
The laser head should be able to travel linearly from side to side and hit both black marker dots.
-
You will need to keep adjusting the tumbler back and forth a bit and continue testing the alignment by moving the red laser dot until it hits both black marker dots.
-
Picture numbers indicated by the number of red circles located on the top right corner of the picture.
-
-
-
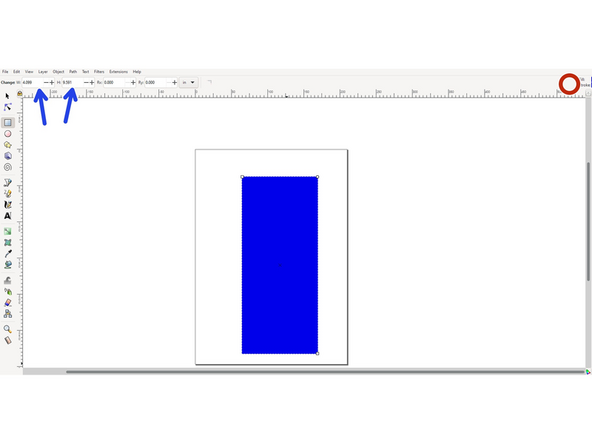
Make sure the size of the rectangle is the size of your workspace on your tumbler/work piece. Change size of rectangle by clocking on it and editing the numbers on the top of Inkscape (indicated by the blue arrows).
-
Now we need to measure the length of the area you wish to engrave. Use a ruler to achieve this dimension as shown in picture 2. This will provide the width of the rectangle we create in Inkscape.
-
The length of the rectangle can be calculated by using the tumbler diameter we measured previously and converting that to a circumference. (example: if the diameter is 2 inches, then the radius would equal 1 inch and the circumference is equal to 2*pi*radius which would equal 6.28 inches)
-
The overall idea is that we are “unwrapping” an imaginary label from around the tumbler and laying it flat as a rectangle. Think of it as we are taking the label off the outside of a can of soup we might buy from a grocery store.
-
Picture numbers indicated by the number of red circles located on the top right corner of the picture.
-
-
-
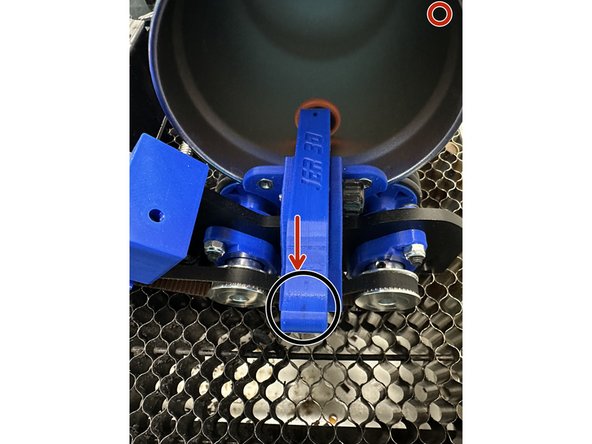
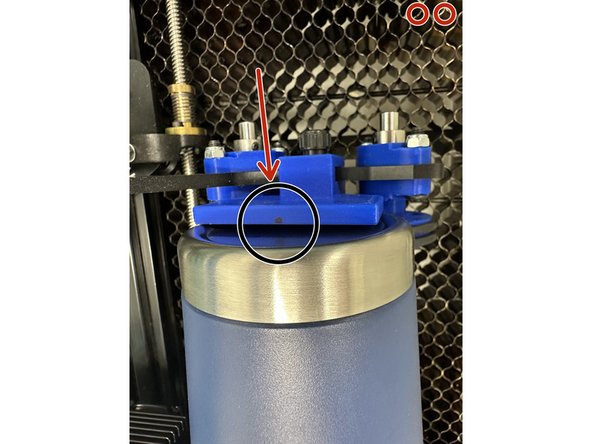
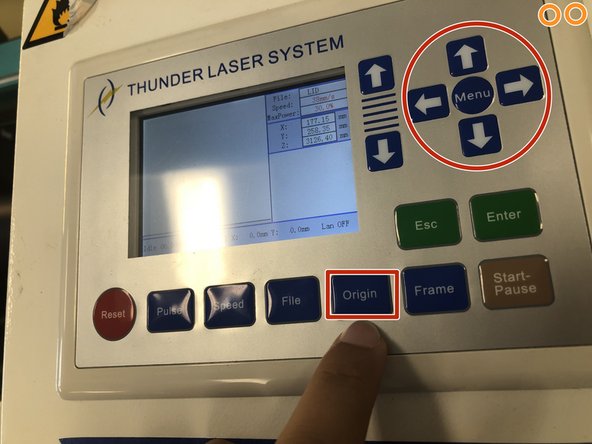
Set origin of thunder laser head and by using rightmost arrows on the thunder laser and pressing origin.
-
Set the origin using the red laser pointer dot. We want the origin at the left center of the work area, indicated by the red arrow in the first picture.
-
Picture numbers indicated by the number of orange circles located on the top right corner of the picture.
-
-
-
Open up LightBurn on the Thunder Laser Laptop.
-
Click on "File" and "Import" to bring in your .svg file. If you are unable to see your file, make sure that "All supported" is selected as file types on the Import screen.
-
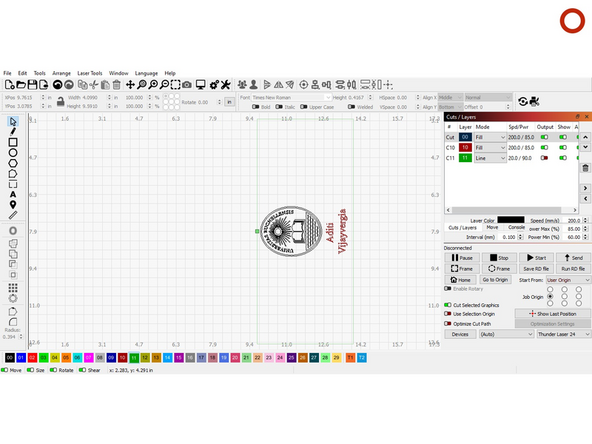
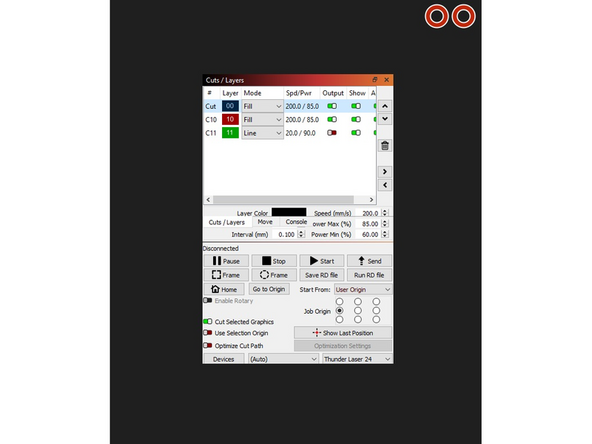
Select each individual part of design and set the engravings as shown in pics 2 and 3. The color of each item in the .svg correlates with each specific setting you are specifying on LightBurn.
-
Make sure the output of the rectangle line is off. You may have to select all items and ungroup them to be able to specify that the rectangle outline is a separate color and the output is off.
-
Speed: 200mm/sec, Max Power: 85 %, Min Power: 60%
-
Make sure to select the "Fill" setting for each part that is being engraved (which is everything). Line setting cuts and will not engrave!
-
The green pointer shown in picture one marks your origin and based on the origin that you set on the machine, it will start engraving from that point.
-
Picture numbers indicated by the number of red circles located on the top right corner of the picture.
-
-
-
Make sure rotary chuck is enabled and roller diameter is correct as shown in the picture.
-
Roller diameter = 41 mm
-
Steps per rotation = 4000
-
Object diameter and circumference can be achieved by measuring and calculating it, as we completed earlier. Enter the values that you calculated and not what it shown in the image.
-
-
-
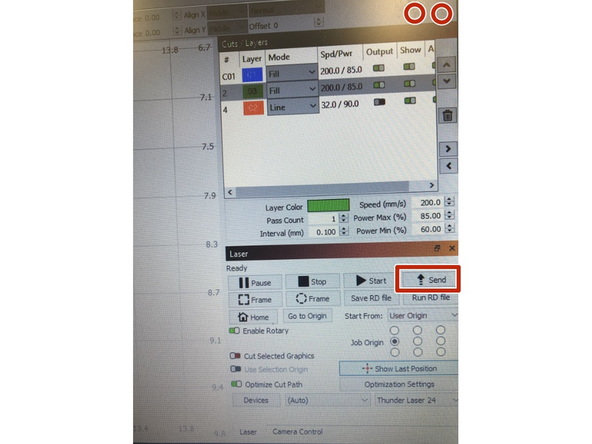
Turn on laser engraver switch.
-
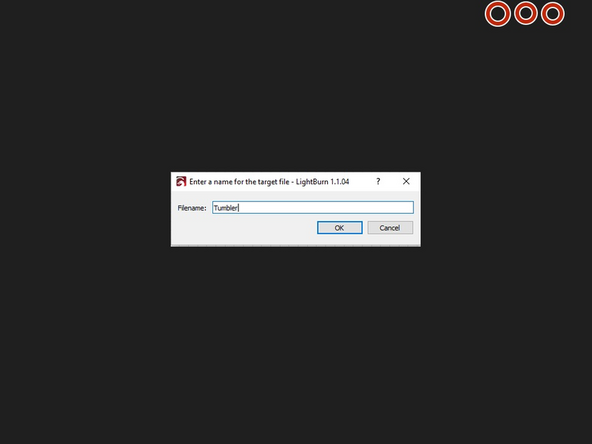
Press shift and click on the send button (marked by the red color box).
-
A small pop-up window will show up. Name your file and press ok. This will send file to the Thunder Laser and start etching onto the mug, shown in picture 3.
-
Picture numbers indicated by the number of red circles located on the top right corner of the picture.
-
-
-
After etching is complete, shut off laser switch and main switch. Unplug rotary chuck and place it back in the bottom drawer.
-
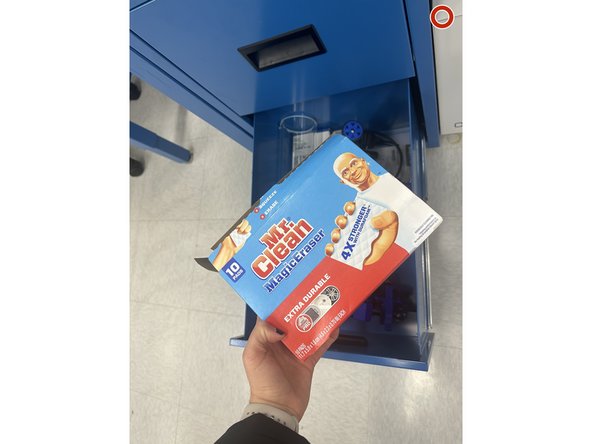
Open up drawer where rotary chuck was located and take out the Magic Eraser (shown in picture 1 and labeled with blue arrow in picture 2). You will use this sponge and water to clean the tumbler.
-
Go to conference room. Apply water on tumbler and scrub off excess coating on tumbler. Ta da, you should have an engraved tumbler now.
-
Make sure to clean work station and put all material back from where you got it at the end.
-
Picture numbers indicated by the number of red circles located on the top right corner of the picture.
-


Cancel: I did not complete this guide.
9 other people completed this guide.