
Introduction
Learn to make a light-up sign with clear acrylic and the laser cutter! This guide will cover how to etch the acrylic and make the base! You can also use a pre-made base. Before starting this guide, you should be certified to use a laser cutter.
-
-
There are two ways to do the base for this project. You can make a base yourself or buy one on Amazon.
-
To make the base yourself, you'll need a NeoPixel stick, an Adafruit trinket or QT PY, a USB cable, and some jumper wires.
-
If you buy a base, make sure it comes with acrylic! The acrylic kept in the makerspace won't work with the pre-made bases!
-
You'll need to be able to use the laser cutter, and- if you're making the base- a 3D printer and a soldering iron.
-
-
-
Download the file for the base here. The model is originally from thingiverse, and has had some basic modifications made to it.
-
3D print the base using any filament color
-
The base takes a while to print, so come back when it's finished printing
-
-
-
If you are using a pre-made base, skip this step
-
Open Inkscape, which is avaliable on all computers in the Maker-E (or download it here )
-
In the Maker-E google drive download the file named sign_template
-
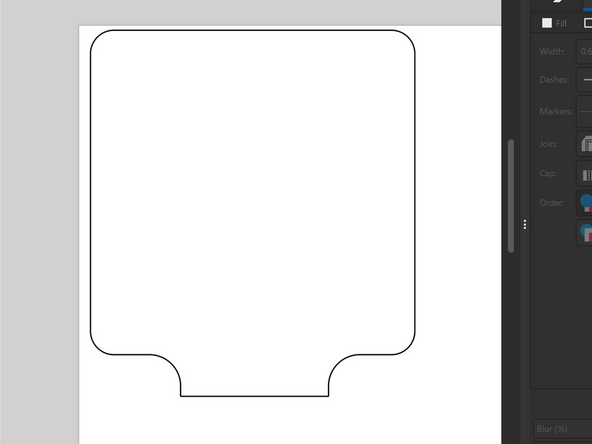
Open the file in inkscape, it should look like the first image
-
-
-
Find a design you'd like to use for your sign. Designs that are black and white or have contrasting colors work best!
-
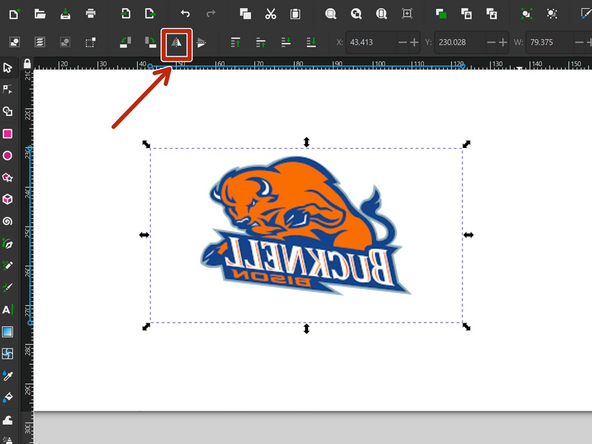
Import the image into Inkscape
-
Use the flip horizontally button to mirror the image
-
Mirroring the image will let you view it from the non-etched side, which looks better!
-
-
-
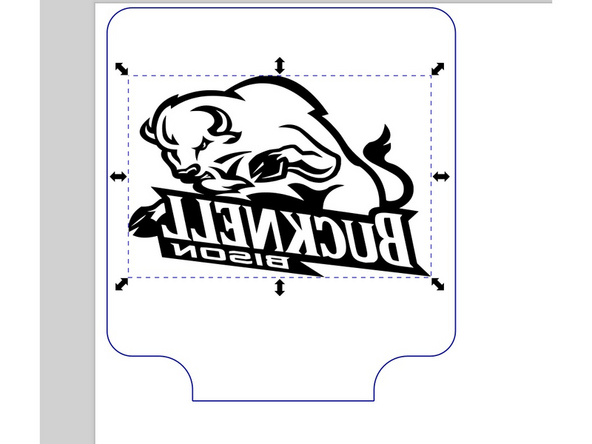
Use Shift+Alt+B to open the trace bitmap menu. Play with the different detection modes until you find one you like.
-
Play with the threshold slider until you are happy with the preview of your image
-
Hit the apply button, and Inkscape will generate a vector graphic. It may take a few seconds to work.
-
Take the new graphic and position it however you'd like.
-
If you bought a base, make sure that your design will fit on the acrylic that came with it!
-
Delete the original image. Save the sign as an SVG file.
-
-
-
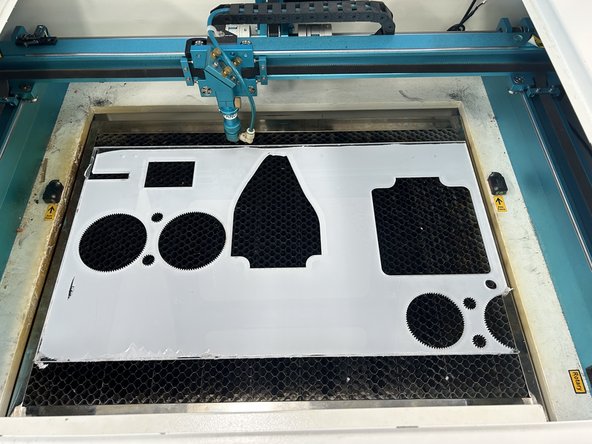
Grab some 6mm clear acrylic (or the pre-cut acrylic if you bought a base) and load it into the laser cutter. Peel the paper off the top of the acrylic.
-
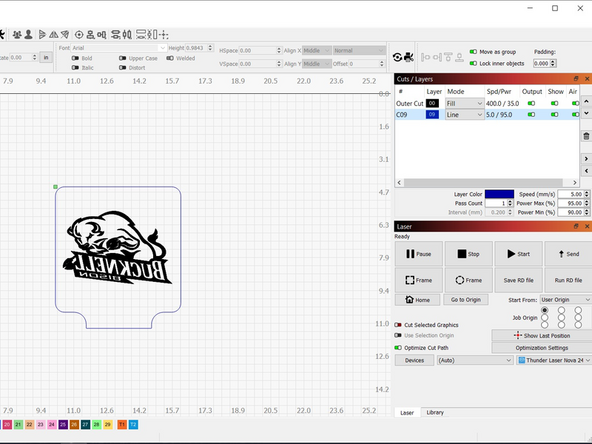
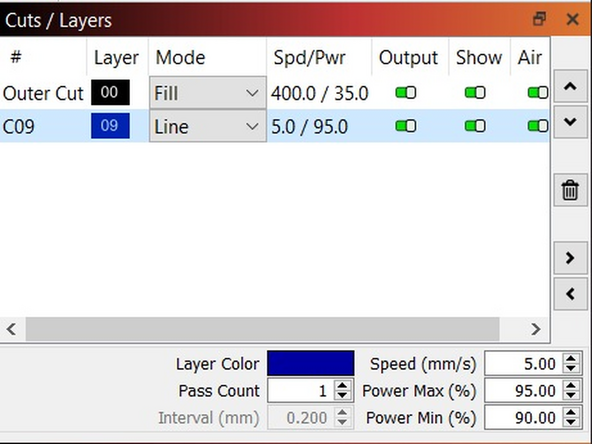
Load your sign file into Lightburn. Adjust the cut settings to that the image is engraved and the edge of the sign is cut
-
You may have to change the mode on the image to fill!
-
If you bought a base, and are unsure of which settings to use, ask for help!
-
Laser cut the acrylic sign
-
Peel the backing paper off the acrylic. Rinse the acrylic with water to get rid of the remaining dust
-
-
-
To learn how to set up the NeoPixel stick, check out this tutorial
-
You may have to solder pins onto your board and neopixels!
-
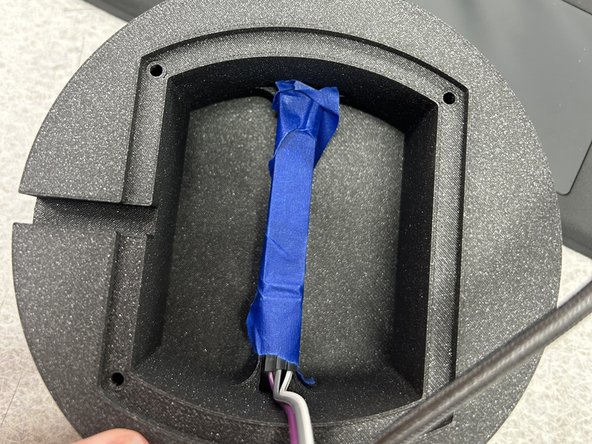
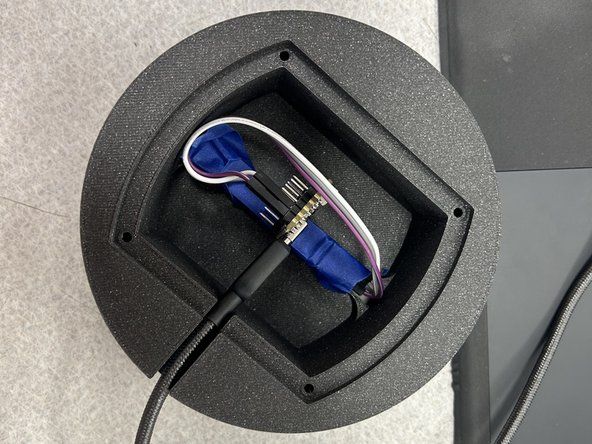
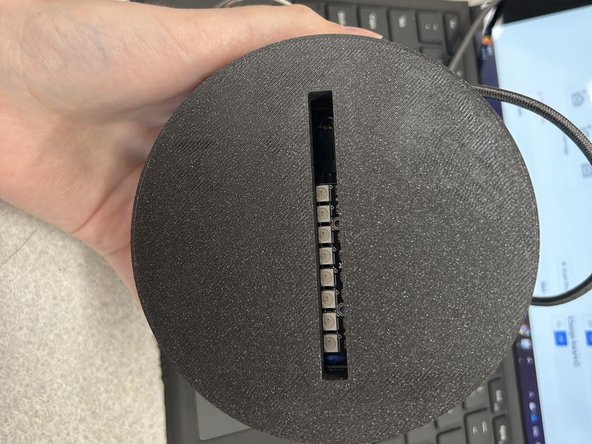
Tape the neopixel stick so that it faces up towards the acrylic slot.
-
Run the USB cable through the opening in the base.
-
Snap the bottom of the base on.
-
-
-
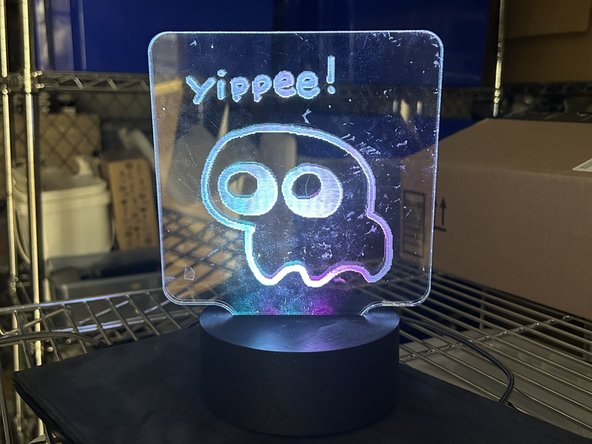
Slot the acrylic into the base
-
Plug the base in and admire your sign!
-


Cancel: I did not complete this guide.
One other person completed this guide.