Introduction
Published by Owen Meng with contributions from Alan Cheville and Matt P. Lamparter.
-
-
Inkscape is installed on all of the computers of the CAD Stations and Test & measurement area in Maker-E
-
Click the start menu on your desktop, and open up Inkscape
-
-
-
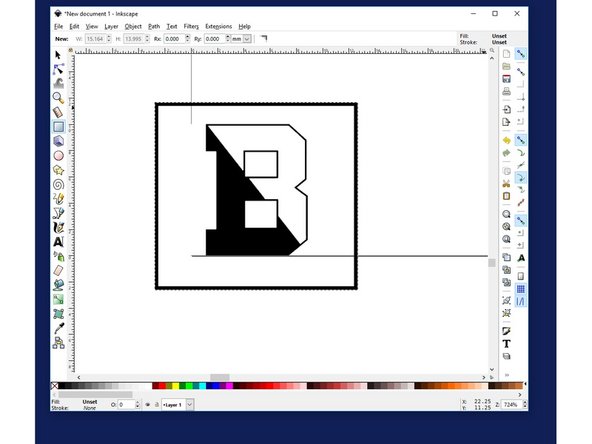
In this example, we are going to import the Bucknell logo into Inkscape
-
-
-
Inkscape supports drag and drop. After you drop the logo into Inkscape, you should see a pop up window like this
-
For most of the applications, hit "OK" and continue
-
-
-
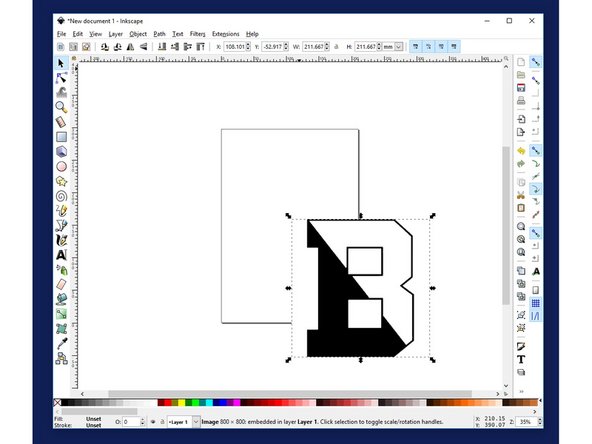
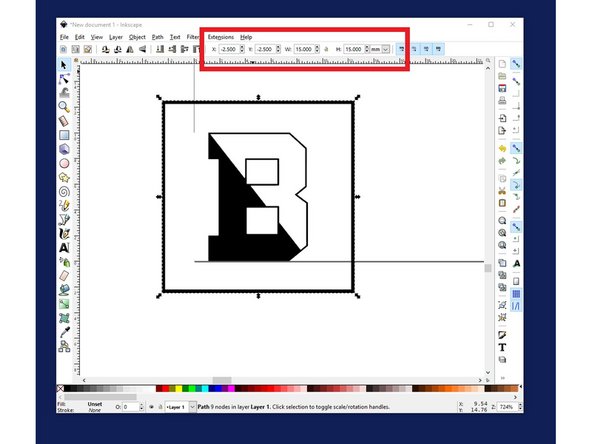
First select your drawing by clicking on it
-
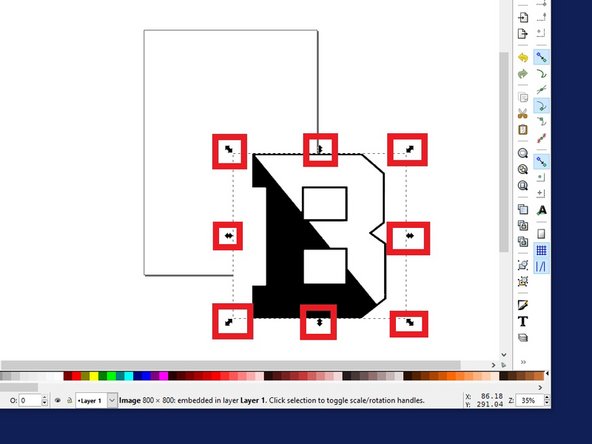
You may scale your drawing by dragging the arrows around it. You may also position your drawing by dragging it
-
You may also enter your desired size and position of your image in the boxes on the top.
-
In this example, the height and width are set to 10 mm to save the material
-
The X and Y positions are set to 0 for alignment
-
If you need to zoom in and out on your canvas, you may hold "control" and scroll up and down
-
-
-
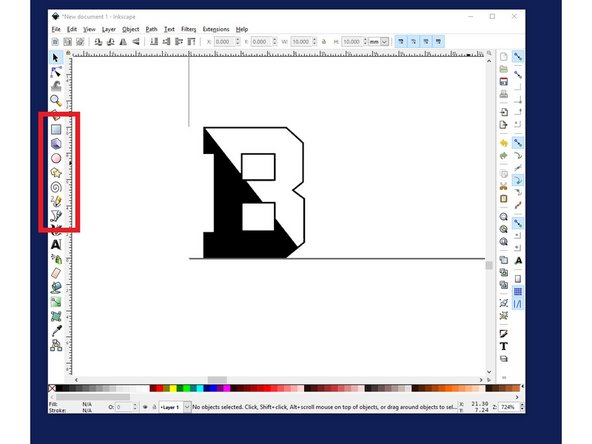
To cut your drawing off the material, you need to define your boarders
-
First select the shape of the boarder you want from the tool bar on the left. In this example, a square is drawn around the logo
-
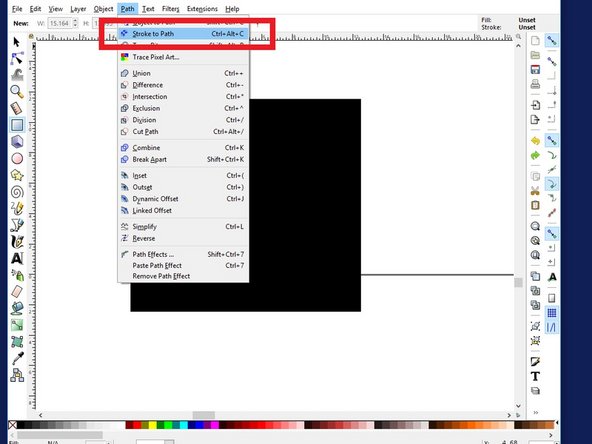
After you converted First select your boarder. Then go to the "Path" bar on the top and select "Stroke to Path". This will convert your drawing to a cut
-
Now your boarder should be a hollow shape
-
-
-
You may scale and position your boarder use the same techniques you used for your drawing
-
The settings in the image positions the boarder around the logo with 2.5 mm gap
-
You may want to do some math if you want to center your drawing perfectly in your boarder
-
-
-
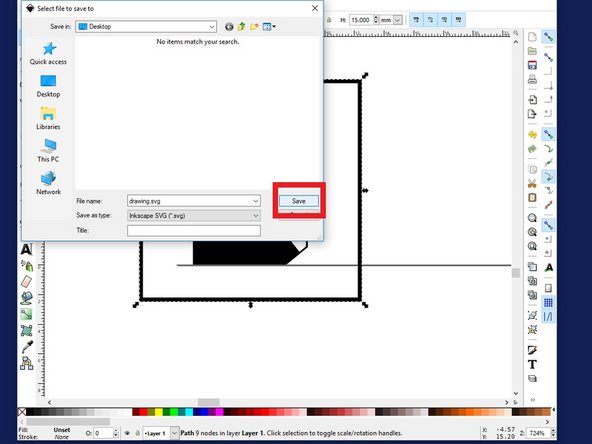
After you are satisfied with your drawings, you may export your file for the laser cutter
-
Save your file as if you were saving your word file. Make sure it is saved as an svg file
-
-
-
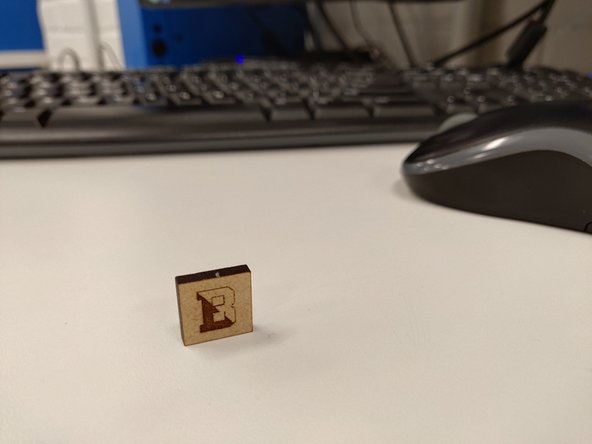
Now you can upload your file to the Glowforge, and laser cut your file
-
Refer to the Glowforge tutorial on how to cut it: Basic Cutting and Etching
-
-
-
Learn by Doing: Your First Prints and More - 3: Make a gift Tag from Scratch | Glowforge. Retrieved from https://glowforge.com/support/topic/firs...
-
If you have about half and hour this video tutorial will walk you through how to use Inkscape to make simple shapes.
-