
Introduction
The purpose of this tutorial is to teach you how to take an image and engrave it onto a Glowforge compatible material like wood, acrylic, cardboard or leather.
NOTE: Do not attempt to cut or etch metal, PVC and/or anything you cannot identify. There is potential for toxic gases to be released when cutting many materials. Do not run the laser cutter while the ventilation system is off.
You MUST remain in the Maker-E while using the Glowforge. The Glowforge is a fire hazard and must be monitored while in use. If you must leave, you need to pause your cut, or have another user watch the machine in your absence. This person must not leave until the cut is finished or you return.
Use scrap sheets if possible. Do not use a new sheet before going over the scrap area. They are located at the bottom of the Polywood table and the wooden cabinet underneath the GlowForge.
Published by Matt P. Lamparter with contributions from Jack W. Lukens and Owen Meng.
-
-
The GlowForge is an awesome machine, but you must monitor your work constantly since because the laser burns through the material it can literally catch on fire! The photos are images of what happens when you leave the machine to cut without watching it. The stories go along with the pictures.
-
"Today I made the mistake of leaving my @glowforge in the other room while printing. During the 4 hour print, the printer exploded. On my way to the hospital to manage carbon-monoxide poisoning..."
-
"My glowforge caught fire! Luckily I was in the room when it happened and had a fire extinguisher to put it out. I forgot to wipe down the wood with a wet cloth before I applied the transfer tape and it curled up and took hold of the lens. I walked over and there was a small fire in my glowforge."
-
If you have to leave a job while you are cutting make sure to pause the GlowForge by pressing the lighted button once. Pressing it again will resume the cut.
-
-
-
There is a fire extinguisher to the right of the Glowforge. Use this extinguisher in the event of a fire inside of the Glowforge enclosure.
-
Due to the potential for fire, the Glowforge MUST NOT BE LEFT UNATTENDED. Leaving the Glowforge unattended is a violation of the Maker-E user agreement and is subject to revocation of authorization or suspension from the Maker-E.
-
If there is a fire in the Glowforge or any issues with the machine while you are using it they must be reported to avoid any later safety issues. Failure to do so is a violation of the user agreement.
-
-
-
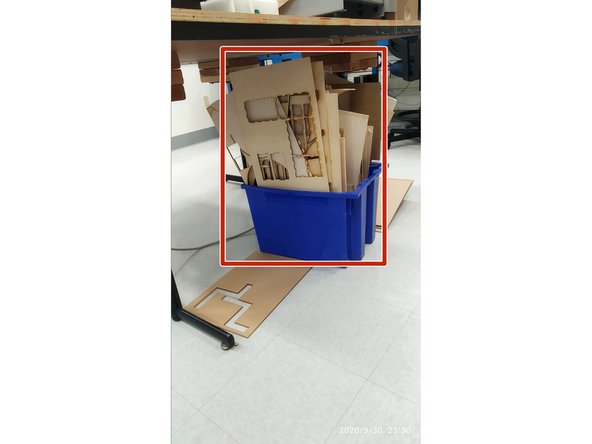
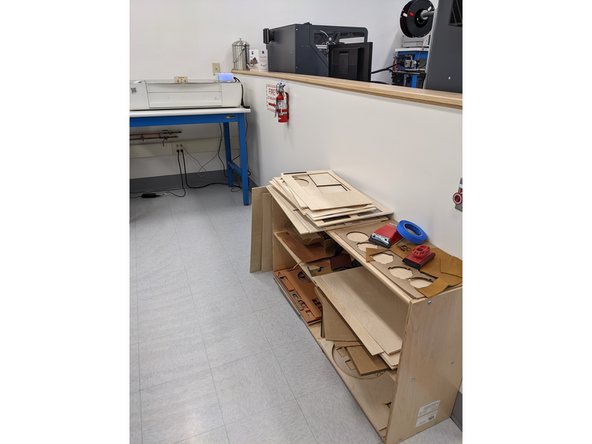
ALWAYS BEGIN BY LOOKING THROUGH THE SCRAP MATERIAL TO SEE IF THERE IS MATERIAL THERE WHICH YOU CAN USE FOR YOUR PROJECT.
-
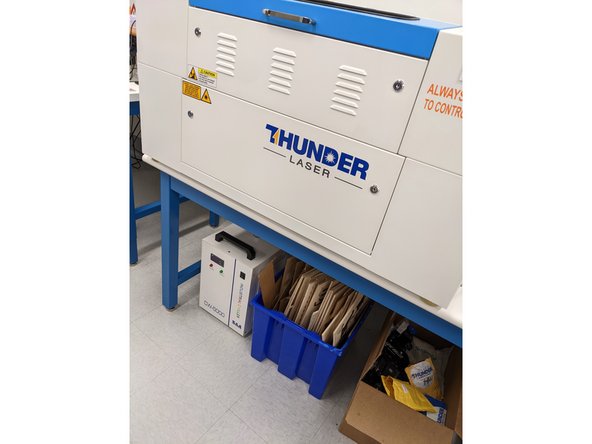
It is wasteful to always use fresh stock when working on a project. Whenever possible you should sort through the used stock in the blue bin underneath the thunder laser.
-
Grab a ruler and measure the remaining areas on scrap material to see if your project will fit on one or more pieces of scrap.
-
If your work is too large to fit on scrap then feel free to use new stock located on the shelf underneath the Glowforge.
-
-
-
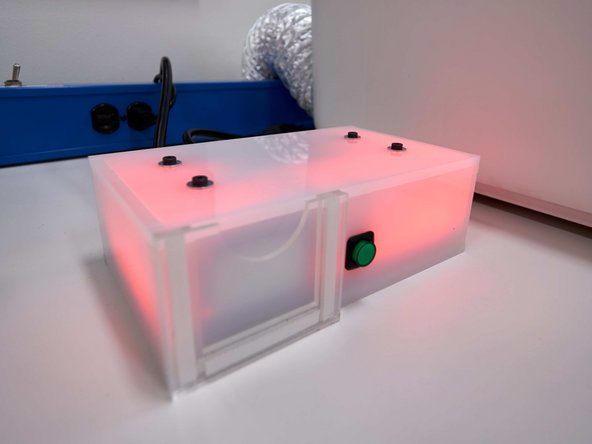
There is a MakerPortal box sitting next to the Glowforge laser cutter.
-
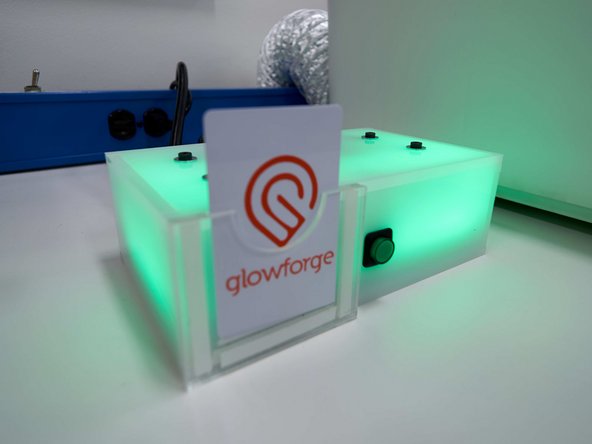
Slide your card into the box and wait for the laser cutter to turn on. The lights inside the cutter should all light up.
-
Upon turning on the cutter, the laser cutting head will run through a startup routine which will take a few minutes. Do not open the lid during this routine. When the routine is complete the head will return to the back left corner of the Glowforge. You may proceed with the next step of the tutorial while this process completes.
-
-
-
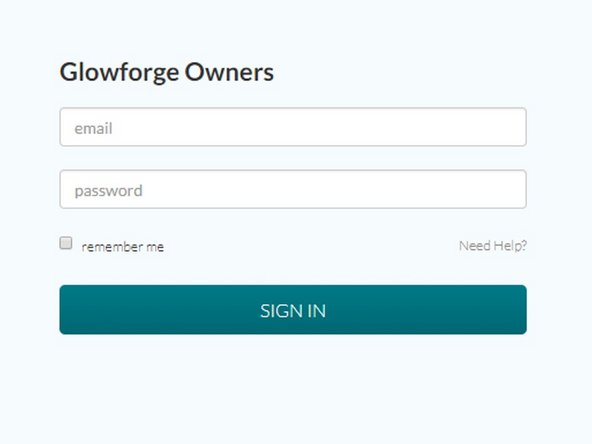
Using any computer in the Maker-E, or your own device, visit the following link: https://app.glowforge.com
-
Log in using the credentials taped to the lid of the Glowforge.
-
-
-
If you already have the file you are etching or cutting, you can skip to step 8.
-
If you are doing a cutting job, your file needs to have the .svg format.
-
If you are looking online for pictures to etch, please choose your picture well:
-
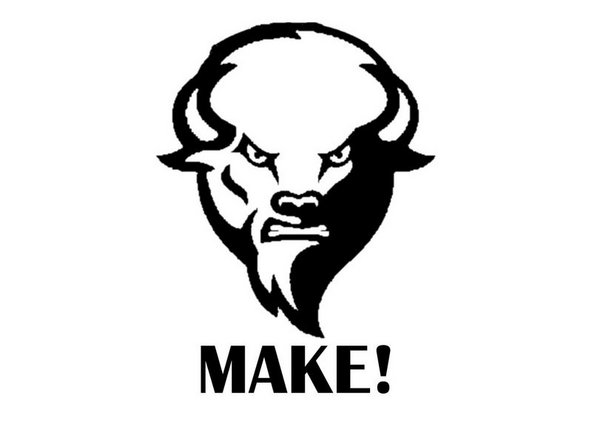
Best pictures are black and white or vectors. An excellent example is the flash thunderbolt photo shown here (source: vecteezy.com)
-
Otherwise, try to pick pictures that have the highest contrast in colors. The higher the contrast is, the closer your picture is etched to expectation.
-
You may want to do some photo editing to increase the contrast in your picture and sharpen it. Please refer to this Glowforge tutorial for photo editing using Gimp (free program).
-
We will be using the angry bison photo for this tutorial.
-
-
-
Your file needs to have .svg format for cutting jobs. This can be done via the free program Inkscape, installed on all the computers in the Maker-E.
-
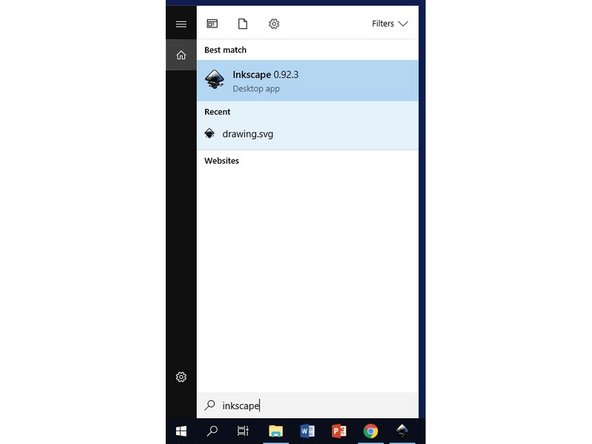
Open Inkscape by searching for it in all programs (or by installing it if you are using a personal computer).
-
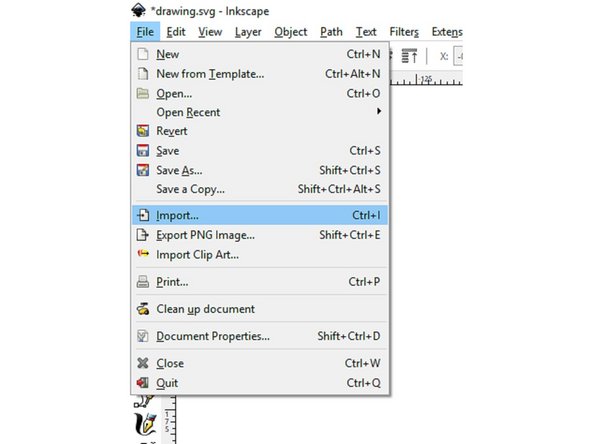
Once in Inkscape, go to "File -> Import" to import your file
-
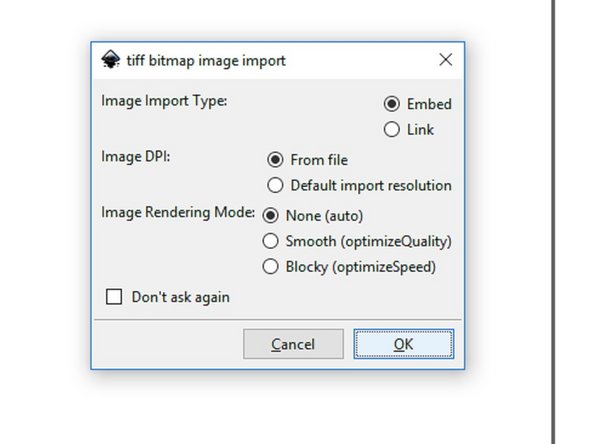
Find your file and hit "Open". A box will pop up asking about import settings. None of these matter for what we're doing. Hit "Okay".
-
-
-
Once the file is in Inkscape, you can:
-
Either resize it here to be dimensionally accurate
-
Resize it later on in the laser cutter preview to make it tailored to the piece of material you're cutting from.
-
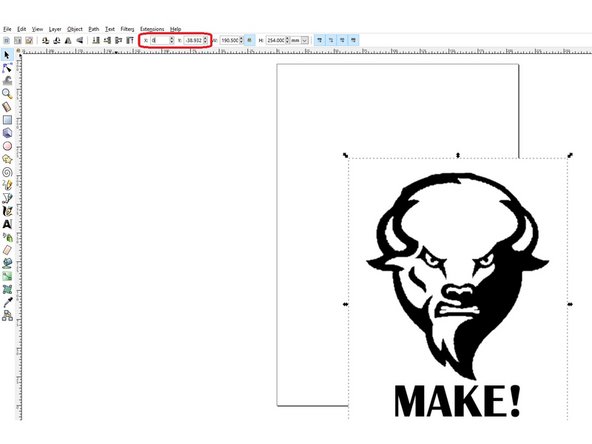
Set the file at the origin point by changing the X and Y components in the top bar to 0.
-
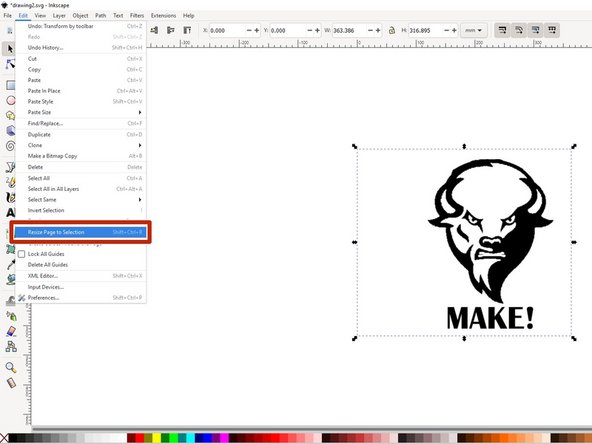
If your picture is larger than the Inkscape page, go to Edit menu and click "Resize Page to Selection"
-
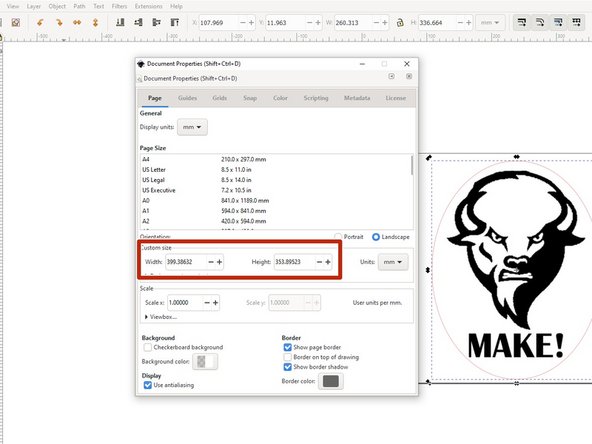
If you want to make Inkscape page larger, go to File menu and click Document Properties. Then, choose Page tab to set Custom Size.
-
Now we need to add a border that the Glowforge recognizes as a place to cut. You can either set the shape to superimpose borders on your photo in Inkscape or preferably later in the laser cutter preview.
-
If you will set borders later, save your work as .svg (or any other raster image format if you are not cutting), close Inkscape, and skip to step 8.
-
-
-
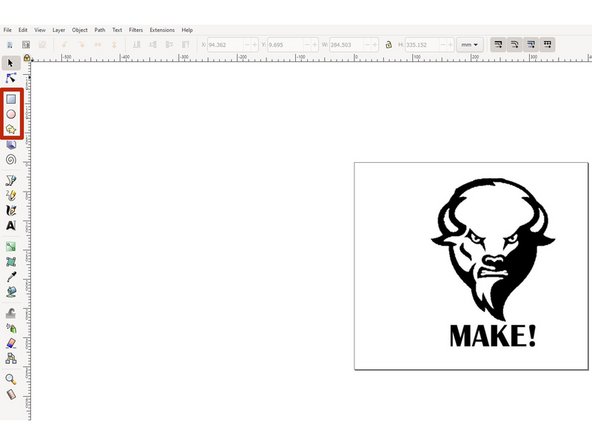
In Inkscape, setting borders is done by adding a rectangle/circle/polygon around the image in a different color.
-
It does not matter which color is used for this border, so long as it is a different color from the parts meant to be engraved or scored. In this example, the engraved area is black and the borders (where the file is cut) are red.
-
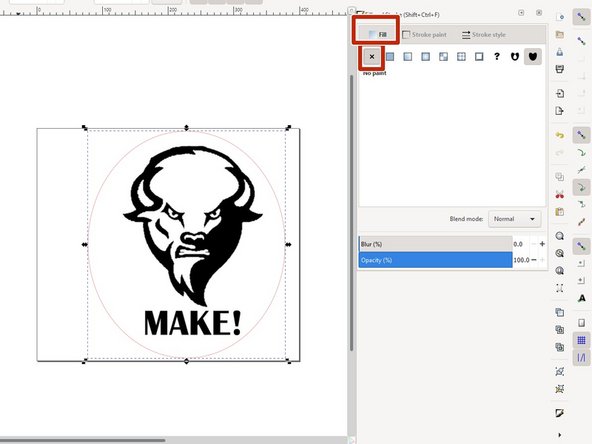
If, when you create the border, it is a filled-in shape instead of a set of lines:
-
Find the Fill and Stroke window on the right (or press Shift+Ctrl+F)
-
Select the "Fill" tab. Select "No paint" (first from left).
-
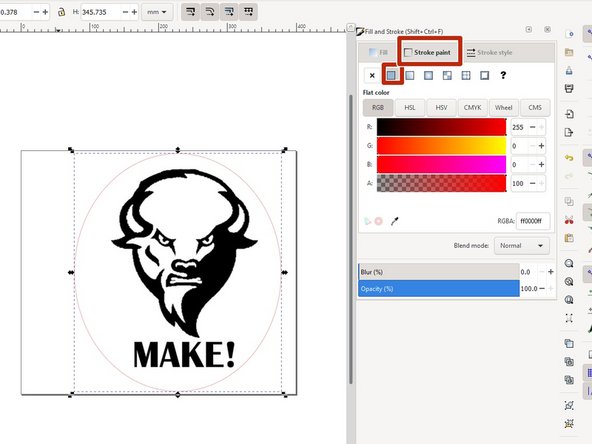
Select the "Stroke paint" tab. Select "Flat color" (second from left).
-
Once you have your border set up, save your work as an .svg file (or any other raster image format if you are not cutting) and close Inkscape.
-
-
-
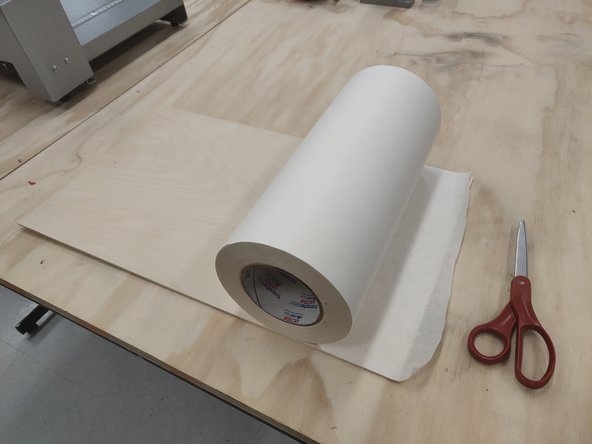
If you are cutting or engraving any sheets of non-Proofgrade material (stuff that doesn't have a QR code), you may want to add a protective layer to prevent burn marks from appearing on your design.
-
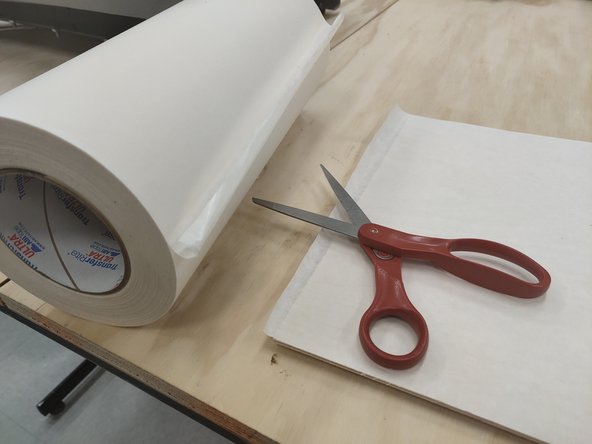
You may use the tape located on the Infrared Camera workstation. Simply apply it over your wood, and cut the edges with scissors.
-
Scissors can be found near the Vinyl Cutter.
-
-
-
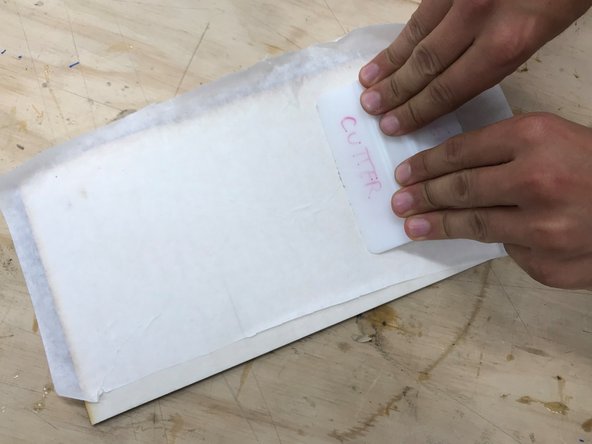
You must use the squeegee (found near the protective layer roll) to make sure there are no air cavities between the protective layer and the material sheet. Failure to use the squeegee could allow the paper to peel during cutting which could ignite and cause a fire.
-
Make sure you cut any extra tape parts on the edges because they may get in the way of the laser cutter moving head and cause fire.
-
You must press hard with the squeegee to make sure the protective paper adheres well to your material. If it does not it may peel up and cause a fire!
-
If you use the protective backing material you MUST stay with the laser while it is cutting!
-
-
-
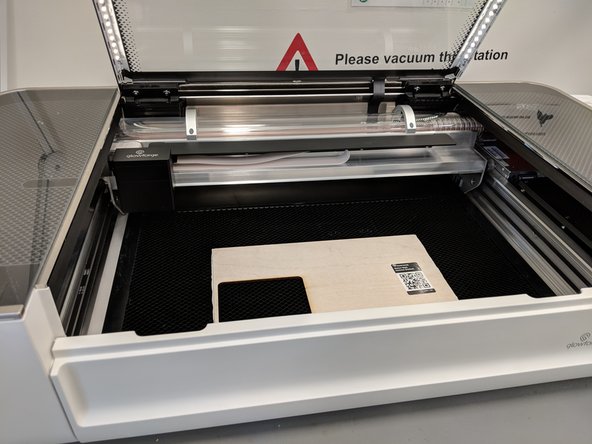
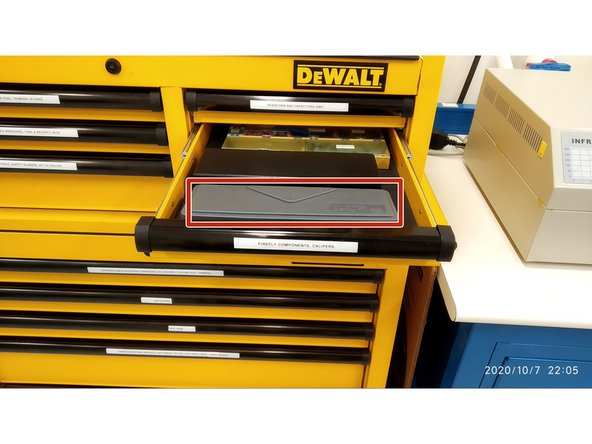
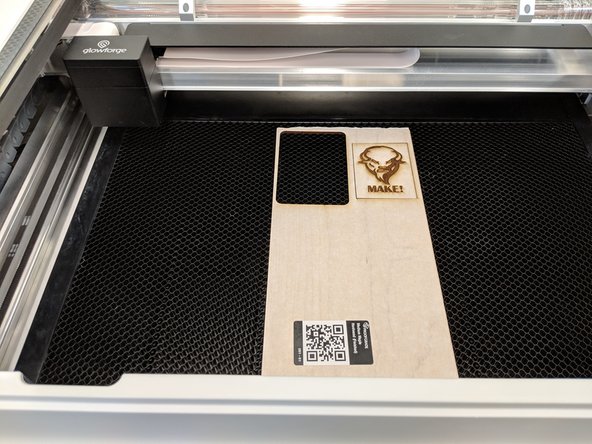
Find the material you wish to engrave/cut your design into (either below/next to the laser cutter or with you) and place it on the cutting board. Be careful not to bump the laser head when you insert it. You may need to open the front panel towards you. Close the lid of the cutter.
-
Please look for wood sheets to use in the blue box under the center table. Do not start using a new sheet unless you cannot find a used sheet that has a good space for your job.
-
Make sure the material is completely level before you print the design.
-
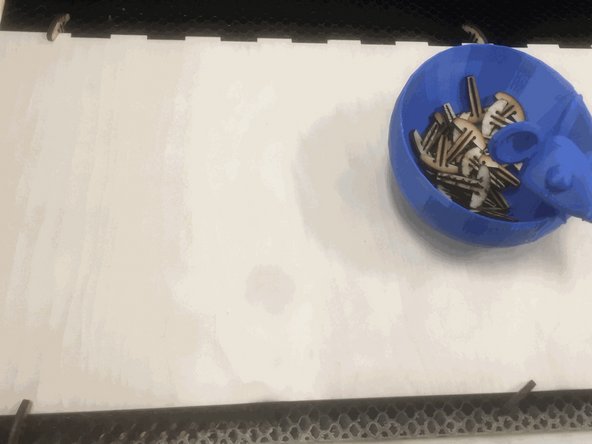
If your material is not level use the T shaped pins in the container next to the GlowForge to hold the material down as shown in the second and third images.
-
In future cuts you should support your friendly, neighborhood MakerE by adding a few more of these honeycomb pins to your design to replace ones that break!
-
-
-
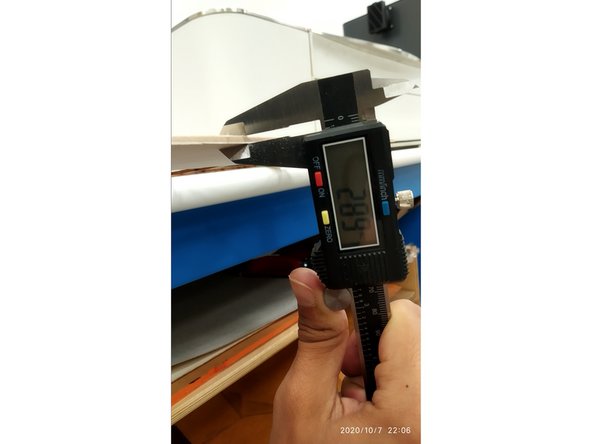
To measure the thickness of the material, use the digital caliper found in the "Firefly components, calipers" drawer in the stock room
-
Note the thickness of your material because you will need it later.
-
-
-
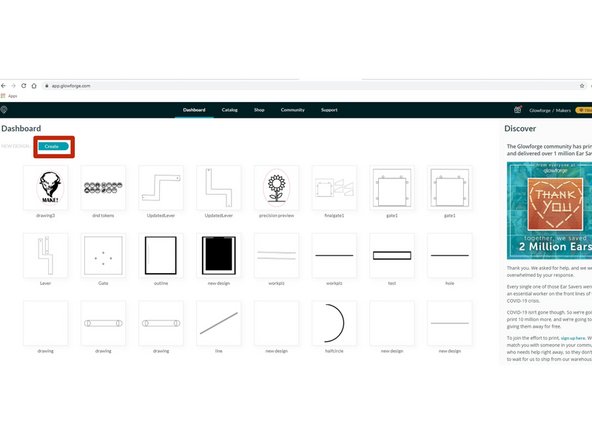
Once you have logged in, click "Create" at the top-left of the webpage and then "Choose from file".
-
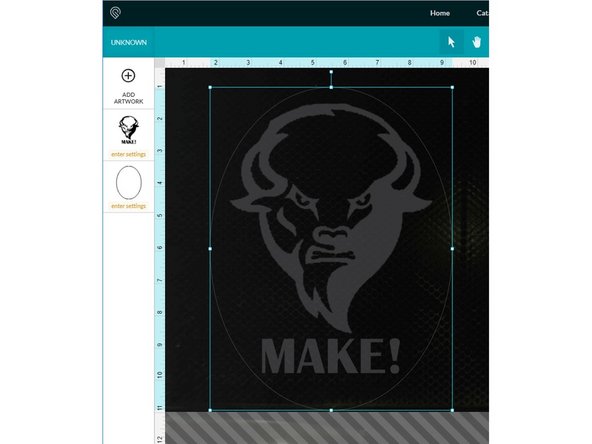
You should see camera feed of the laser cutter board and the file you uploaded somewhere on the screen, transparent. On the left should be a column of the parts of the file that you want to cut/engrave/score, separated by color. The next step is to configure a process for each color.
-
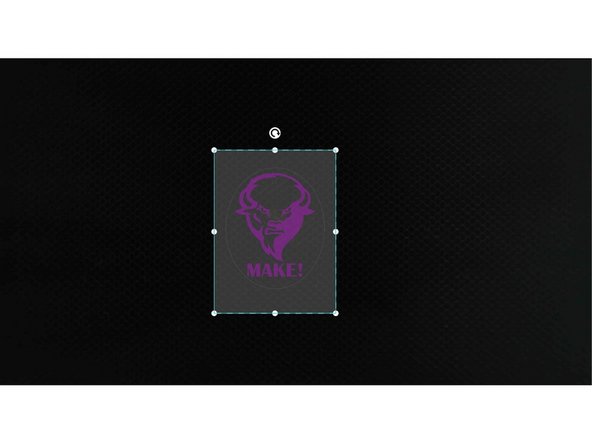
If you are tailoring your file to the size of the board you are cutting (i.e.: you have not done it in Inkscape), now is the time to resize it by clicking and dragging the corners of the file (hold "shift" if you want to preserve the images's aspect ratio).
-
-
-
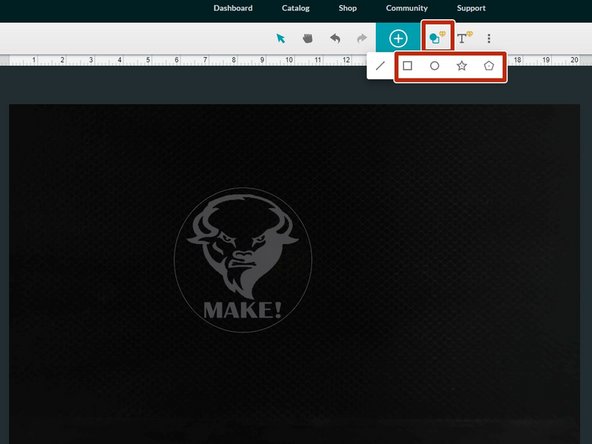
If you did not set borders (for cutting) before in Inkscape, now is the time to set borders using the shapes available from Glowforge.
-
Click on "Insert Shape" and insert your favorite shape to be cut as the border of your job.
-
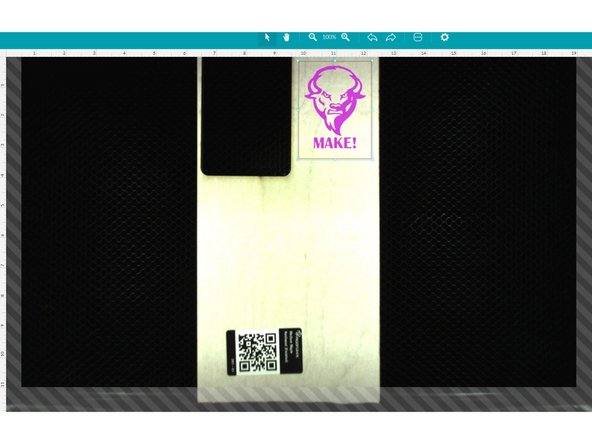
It is good practice to conserve space on the material that you are cutting from. If you're using a brand new piece of material, for instance, don't cut out your design from smack dab in the middle of the board. If there is a corner of the material that you can cut it from, cut it from there.
-
Be wary of placing your design ridiculously close to the edge of the material. If you do so, there's a good chance of flare-ups. You do not need to worry about this if you normally place your material a couple millimeters away from the edge.
-
-
-
If you are using material with a QR code, move the material around until the code is scanned and your material is recognized.
-
If not, you will need to set the thickness of your material by selecting "Unknown" in the top left corner and then hitting "Use uncertified material" and entering the thickness of the material in inches.
-
-
-
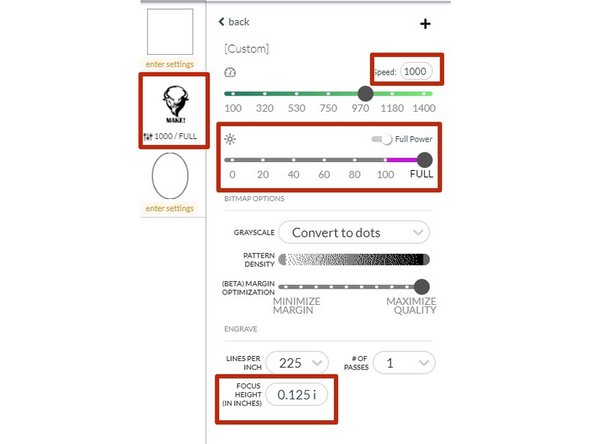
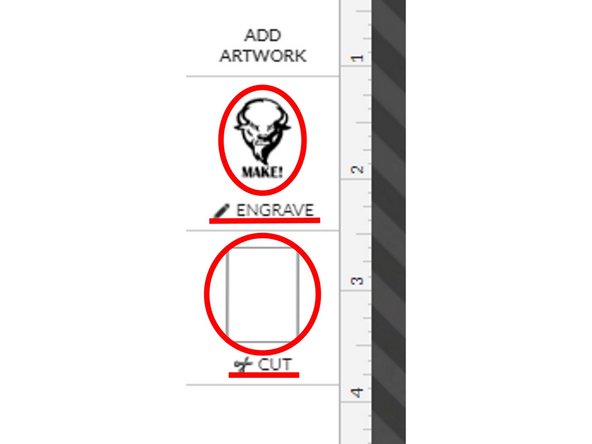
Click on a component to open a window next to it with these options. For the bison photo, select the tab "Engrave" and then click on "Manual" to enter the speed and power settings for the material you want to use.
-
Find the speed and power settings for certain materials types and thickness at the bottom of the main guide page of the Glowforge
-
Note that most of the plywood sheets in the MakerE are either 3mm (0.125 inch) thick or 6mm (0.25 inch) thick.
-
Enter the speed and power required for the action of the selected component. (1000 and full power in our case of 3mm plywood sheet)
-
Note that the focus height shows the thickness of the material you entered earlier
-
Repeat this process for the rest of the components. For the borders you set earlier, you want to choose the "Cut" tab (instead of "Engrave") and manually enter the associated speed and power accordingly.
-
Now your job should be ready.
-
-
-
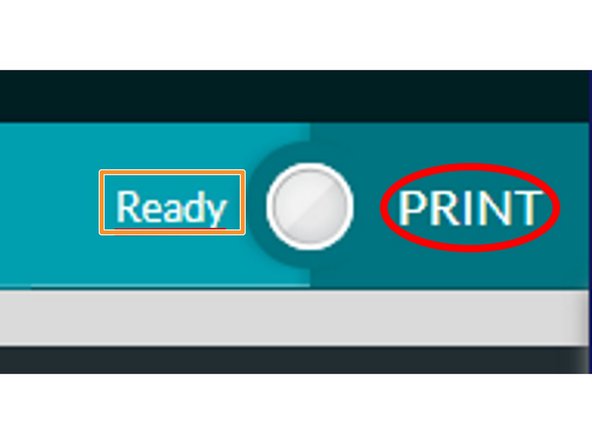
Once you have laid out your design where you want it on the board, look to make sure in the upper right hand corner of the webpage that it says "Ready"
-
If it doesn't say this, that means that it doesn't recognize the material. Move the material around until it does.
-
Before you hit "Print", check to make sure that what you want to be engraved is set to be engraved and what you want cut out is set to be cut out. You can confirm this by looking at the left side of the page, where it lists the various parts of the design with photos and their assignments ("cut", "engrave", etc.). Make sure everything matches up.
-
Once everything checks out and you are ready to print your design, click "Print" in the upper right hand corner of the page.
-
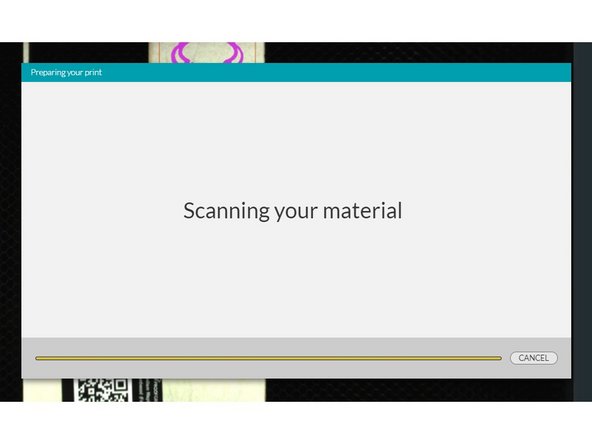
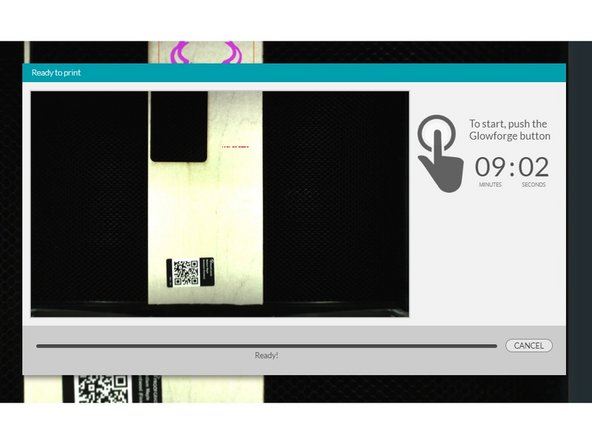
After doing this, it will scan your design, generate a path, and give an estimate of when it will be done.
-
-
-
When everything has checked out and you are satisfied with the print time and the pathing, head over to the laser cutter.
-
Make sure that the ventilation system hooked up to the cutter is working and the lid is closed before you start printing. This is very important.
-
Press the big glowing button on the top of the printer when you are ready to print. It will start cutting from there.
-
You must stay with the laser cutter for the duration of the cut. If you are unable to stay by the laser cutter for the entire time it is operating then choose another time to work when you can monitor the job during the entire process.
-
-
-
After the cut is finished, the laser cutter will move back to the upper left side of the bed. This indicates that your print is done.
-
Do not lift the lid of the laser cutter until the ventilation system stops ventilating, AKA when it stops being loud. Do not shut off the ventilation system prematurely.
-
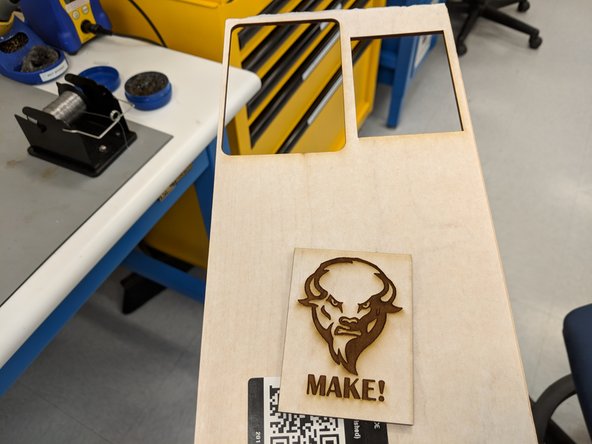
Lift the lid and remove the design, making sure to be aware of the cutting head and the fact that your design is no longer attached to the larger piece of material.
-
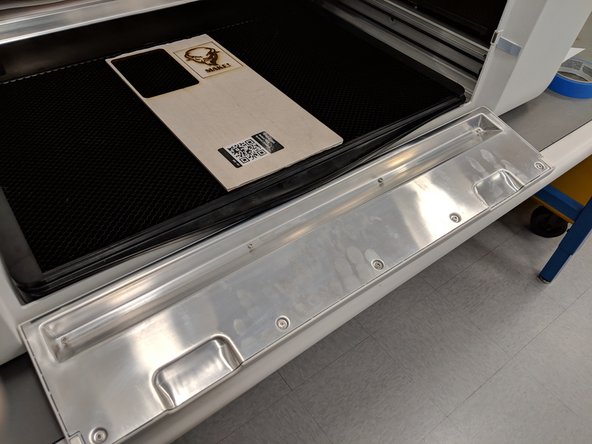
If you are having trouble removing the material, you can open the bottom lip attaching to the lid at the front of the cutter and slide the material out.
-
If you are working with wood, there is a good chance that as you move the design/material, you will see smoke. Do not worry too much about this.
-
-
-
When you have removed your design and the excess material, make sure to place the excess back where all the laser cutter material is unless you are using your own custom material or there is no good space left on the sheet you used.
-
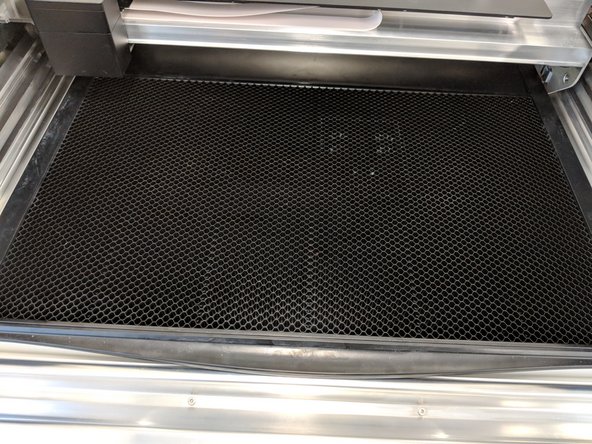
Clean the bed of the cutter for other people to use in the future.
-
Do not worry too much if a bit of material has fallen through the grating of the laser cutter bed. If you want to remove it regardless, you can take out the bed by opening the bottom lip at the front and lifting the bed out using the tab in the front.
-
Close the lid of the cutter and turn it off when you are done cleaning up.
-
-
-
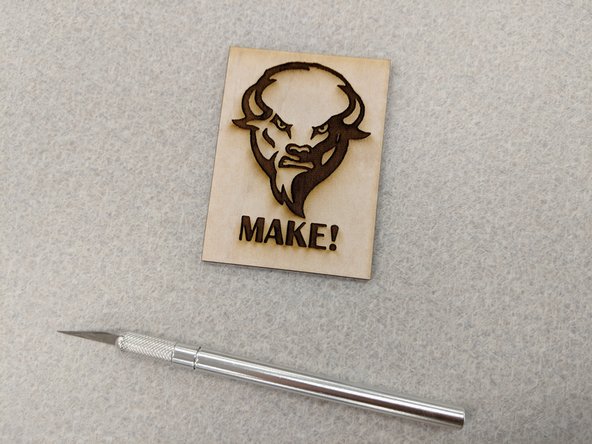
If the material used is covered by a protective layer/tape, you need to peel the protective layer away. It makes cut-outs appear cleaner.
-
A good practice for removing the covering would be to use either your fingernail or an X-ACTO knife.
-
If you are using an X-ACTO knife, be careful not to damage the design and more importantly make sure you don't cut yourself in the process.
-
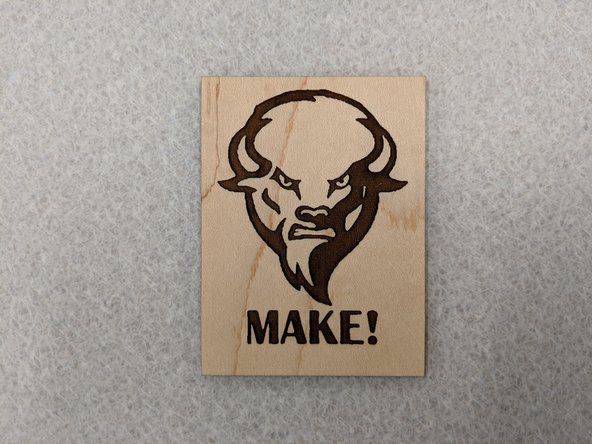
If your design was cut out in maple wood, you may want to wash your hands after removing the covering. The laser cutter leaves the covering for the wood sticky at some points, leaving your fingers sticky and orange after removing the covering.
-
If you want to remove impurities or burns, consider using the sandpaper on the shelf adjacent to the half-wall.
-
-
-
Congratulations! You have just cut out your first design on the Glowforge laser cutter.
-


Cancel: I did not complete this guide.
23 other people completed this guide.