-
-
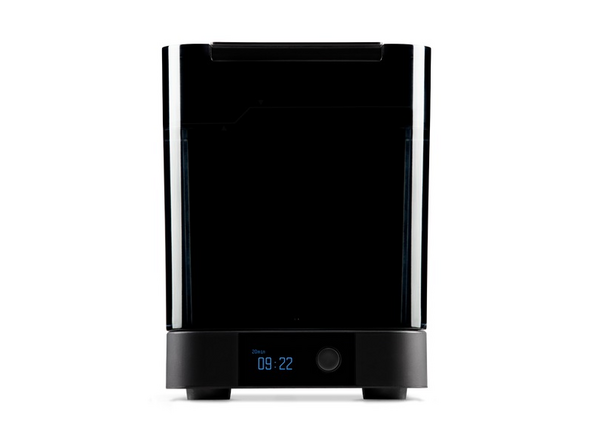
Form 2 printer is a stereolithography (SLA) resin curing based 3D printer.
-
There are a few differences and similarities to SLA 3D printing when compared to the typical FDM printing
-
Simplistically, a 405nm violet laser cures resin layer by layer until a 3-dimensional part is produced. A video explaining further can be found here.
-
This tutorial will teach only the basics of resin printing to get you started and is not an all-inclusive guide to resin printing.
-
It is assumed that the user has a 3D model that fits within the Form 2 build volume and is a valid part file
-
-
-
log onto the BME Laptop in Fab lab using credentials provided at the top of the screen
-
Click on PreForm slicer icon as seen in image
-
Open 3d file within PreForm with a STL/OBJ/3MF file format
-
-
-
Roughly verify scaling of part by visually identifying size of object on the screen. If needed, scale your part
-
Orient your part so as to avoid cupping or other common issues by using the orientation icon
-
Autogenerate supports . Supports are needed in areas that would otherwise not be connected to the build plate or need extra support in order to print properly
-
-
-
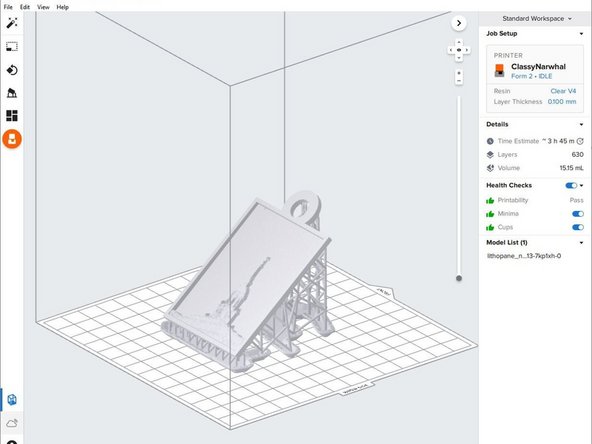
Verify printer is connected to PreForm slicer. The printer is named "ClassyNarwhal"
-
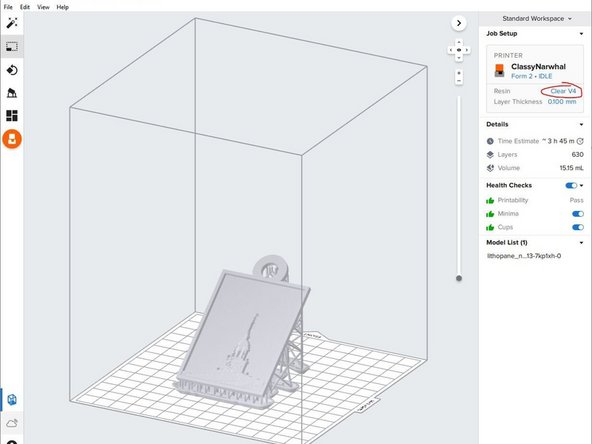
Verify the material type you intend to print with. The default material is the "Clear V4"
-
If another resin type is desired than what is currently in the printer, ask the Lab Director for assistance in changing the resin tank and resin cartridge
-
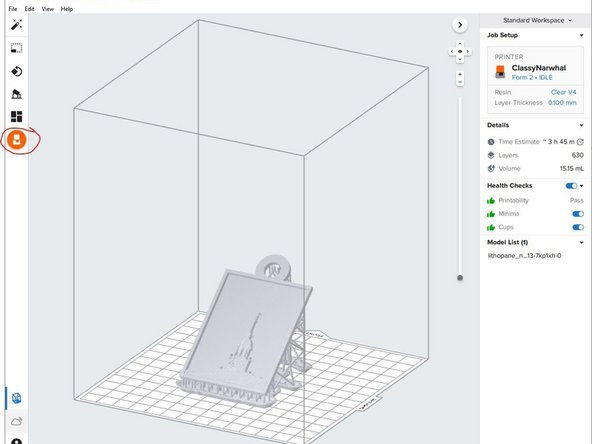
Transfer file to printer by clicking the orange print icon on the left of the screen
-
-
-
Before touching machine, put on PPE including safety glasses and gloves
-
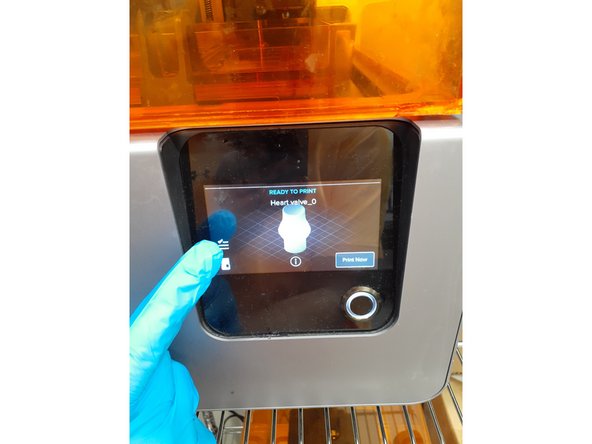
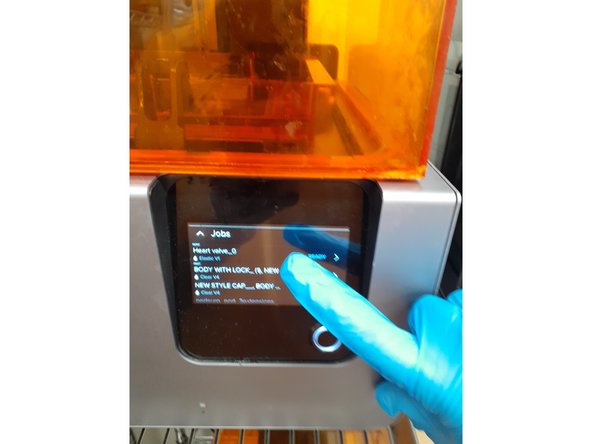
Find the file that you put on the printer via home screen
-
Tap Print Now. This will not immediately start the print. It will only begin the process and prompt you on next steps
-
-
-
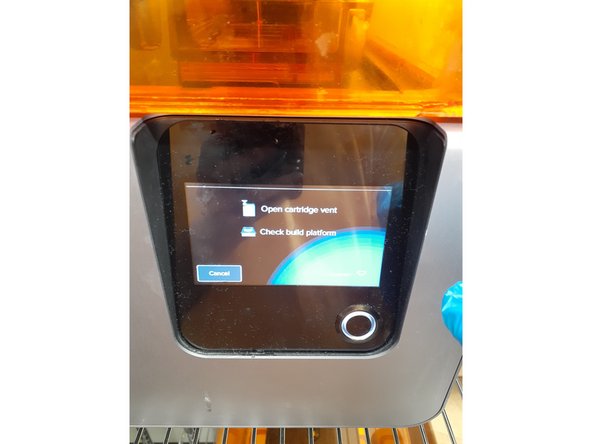
The screen will now show two items to verify before printing
-
Open cartridge vent as seen on the image to allow the printer to autofill with resin
-
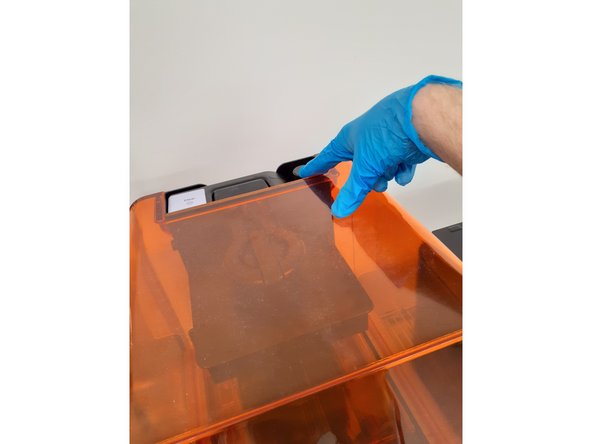
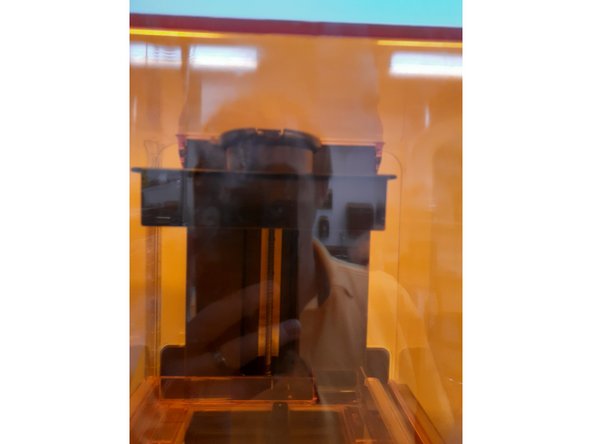
Verify that the build platform is securely on the printer as seen in image
-
Press the push button to start the print
-
-
-
After a print is finished, it needs to be washed in Isopropyl alcohol.
-
Before transferring the part to the Form Wash, put on gloves
-
Please be considerate and mindful by cleaning up any resin that drips onto the floor or workspace.
-
A great video explaining washing of your part can be found here.
-
The specific settings for length and quantity of washes can be found here.
-
-
-
FormLabs provides cure times and temperatures in this chart.
-
Currently we do not have the FormLabs cure station but alternatively use an Elegoo Mercury Plus to cure parts
-
To use the cure station follow these steps:
-
remove lid
-
place washed part on stage
-
replace lid
-
add cure time according to FormLabs chart (15-30 min for clear)
-
start curing procedure by pushing play
-