
Introduction
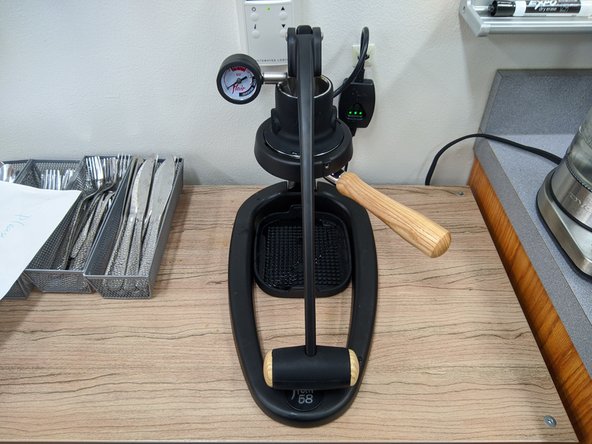
This guide will show you how to pull an espresso shot using the full manual, level extraction Flair 58 espresso machine. You will need to grind coffee beans using a burr grinder dedicated to grinding for espresso. If you want to use steamed or frothed milk there is a separate tutorial for that process.
-
-
The brew chamber of the Flair press is heated. While it does have a black silicone sleeve around it which provides some protection, it is still extremely hot. Do not touch it with your hands in order to avoid being burned!
-
-
-
Begin by turning on the Flair brew chamber heater if it is not already on. The controller is located on the wall to the right of the Flair press. If one or more green LEDs are already illuminated you can skip this step.
-
To turn on the heater pres and hold the power button for three seconds. The Low LED should begin to flash green.
-
Single press the power button again to change the temperature level LED to correspond to the bean roast:
-
Low temp = dark roast beans
-
Medium temp = medium roast beans
-
High temp = light roast beans
-
Whichever temperature level you choose will be the right most LED to illuminate. If the chamber is actively heating the LED will blink. If the chamber has reached the set temperature the LED will be solid. Once the chamber reaches the set temperature the controller will beep briefly.
-
Fill the kettle to at least the 0.5 L mark with tap water. Place it on the base, press the 212 F button and then press the Start button. The water will heat and then boil.
-
-
-
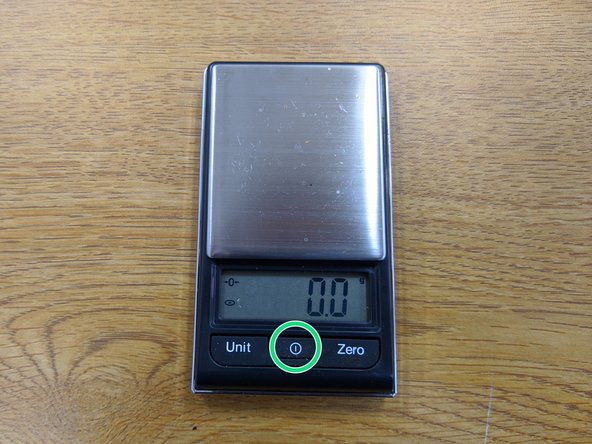
Locate the digital scale. Remove the plastic cover, press the power button, and wait for the scale to calibrate and display 0.0 g.
-
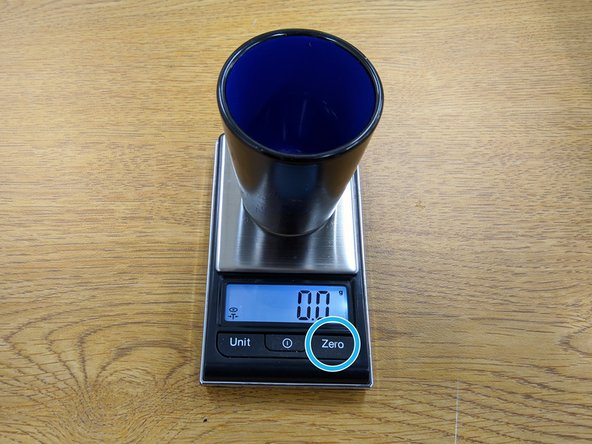
Place an empty espresso glass on the scale. Wait for the scale to measure the weight of the glass and then press the Zero button.
-
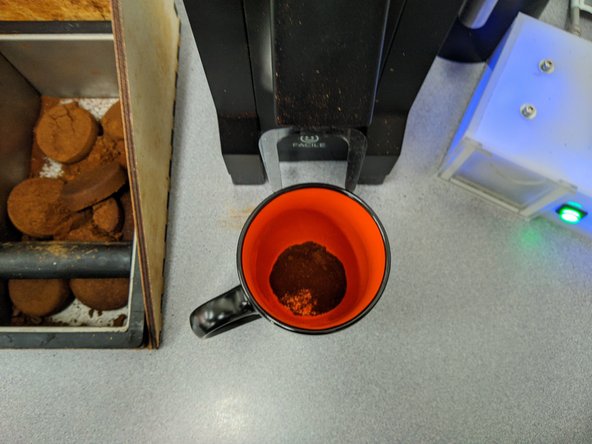
Now use the glass as a scoop and fill it nearly to the top with beans from the canister. Place the full glass back on the scale. It should be close to 22.0 grams. Feel free to adjust as you see fit but do not exceed 23 g.
-
-
-
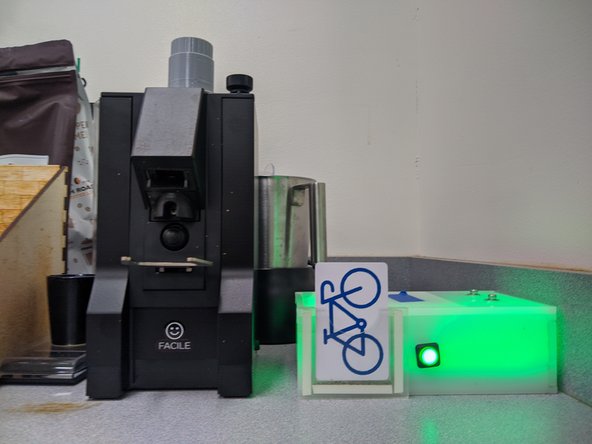
Place your makerspace card in the Portal box to power the grinder. The box will glow green if a) you are authorized, and b) you have a positive account balance. Your account will be debited for one cup of coffee.
-
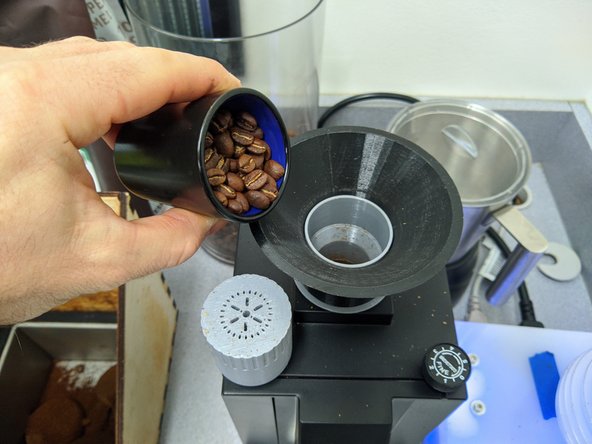
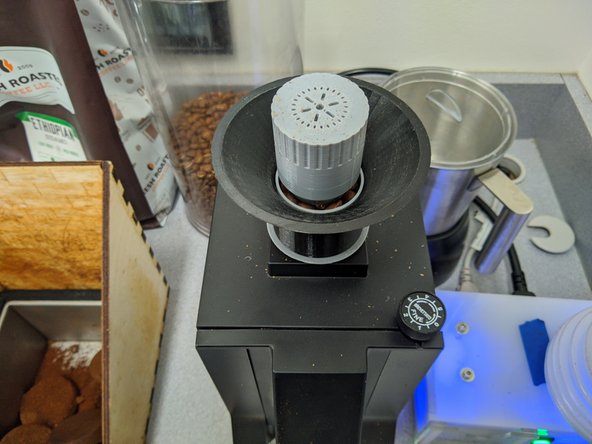
Place the black plastic funnel on top of the grinder and be sure to remove the gray plastic topper. Pour beans into the funnel and ensure they are all in the grinder chamber.
-
Now place the gray plastic topper on top of the beans. This ensures the beans don't "popcorn" during single dose grinding and fly out of the grinder.
-
We ask that you not adjust the grind setting on the grinder. We have spent time dialing this in and constant adjustment may adversely affect espresso brewing.
-
-
-
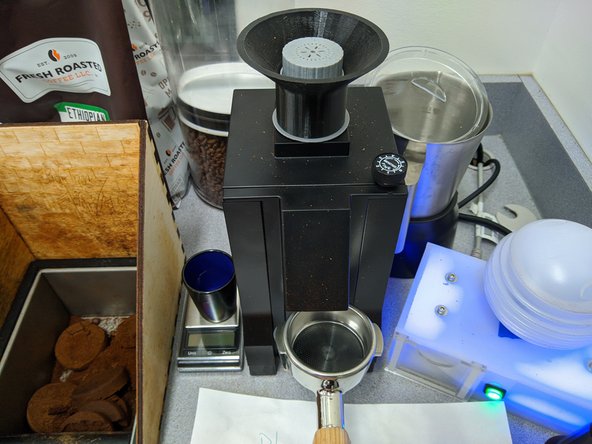
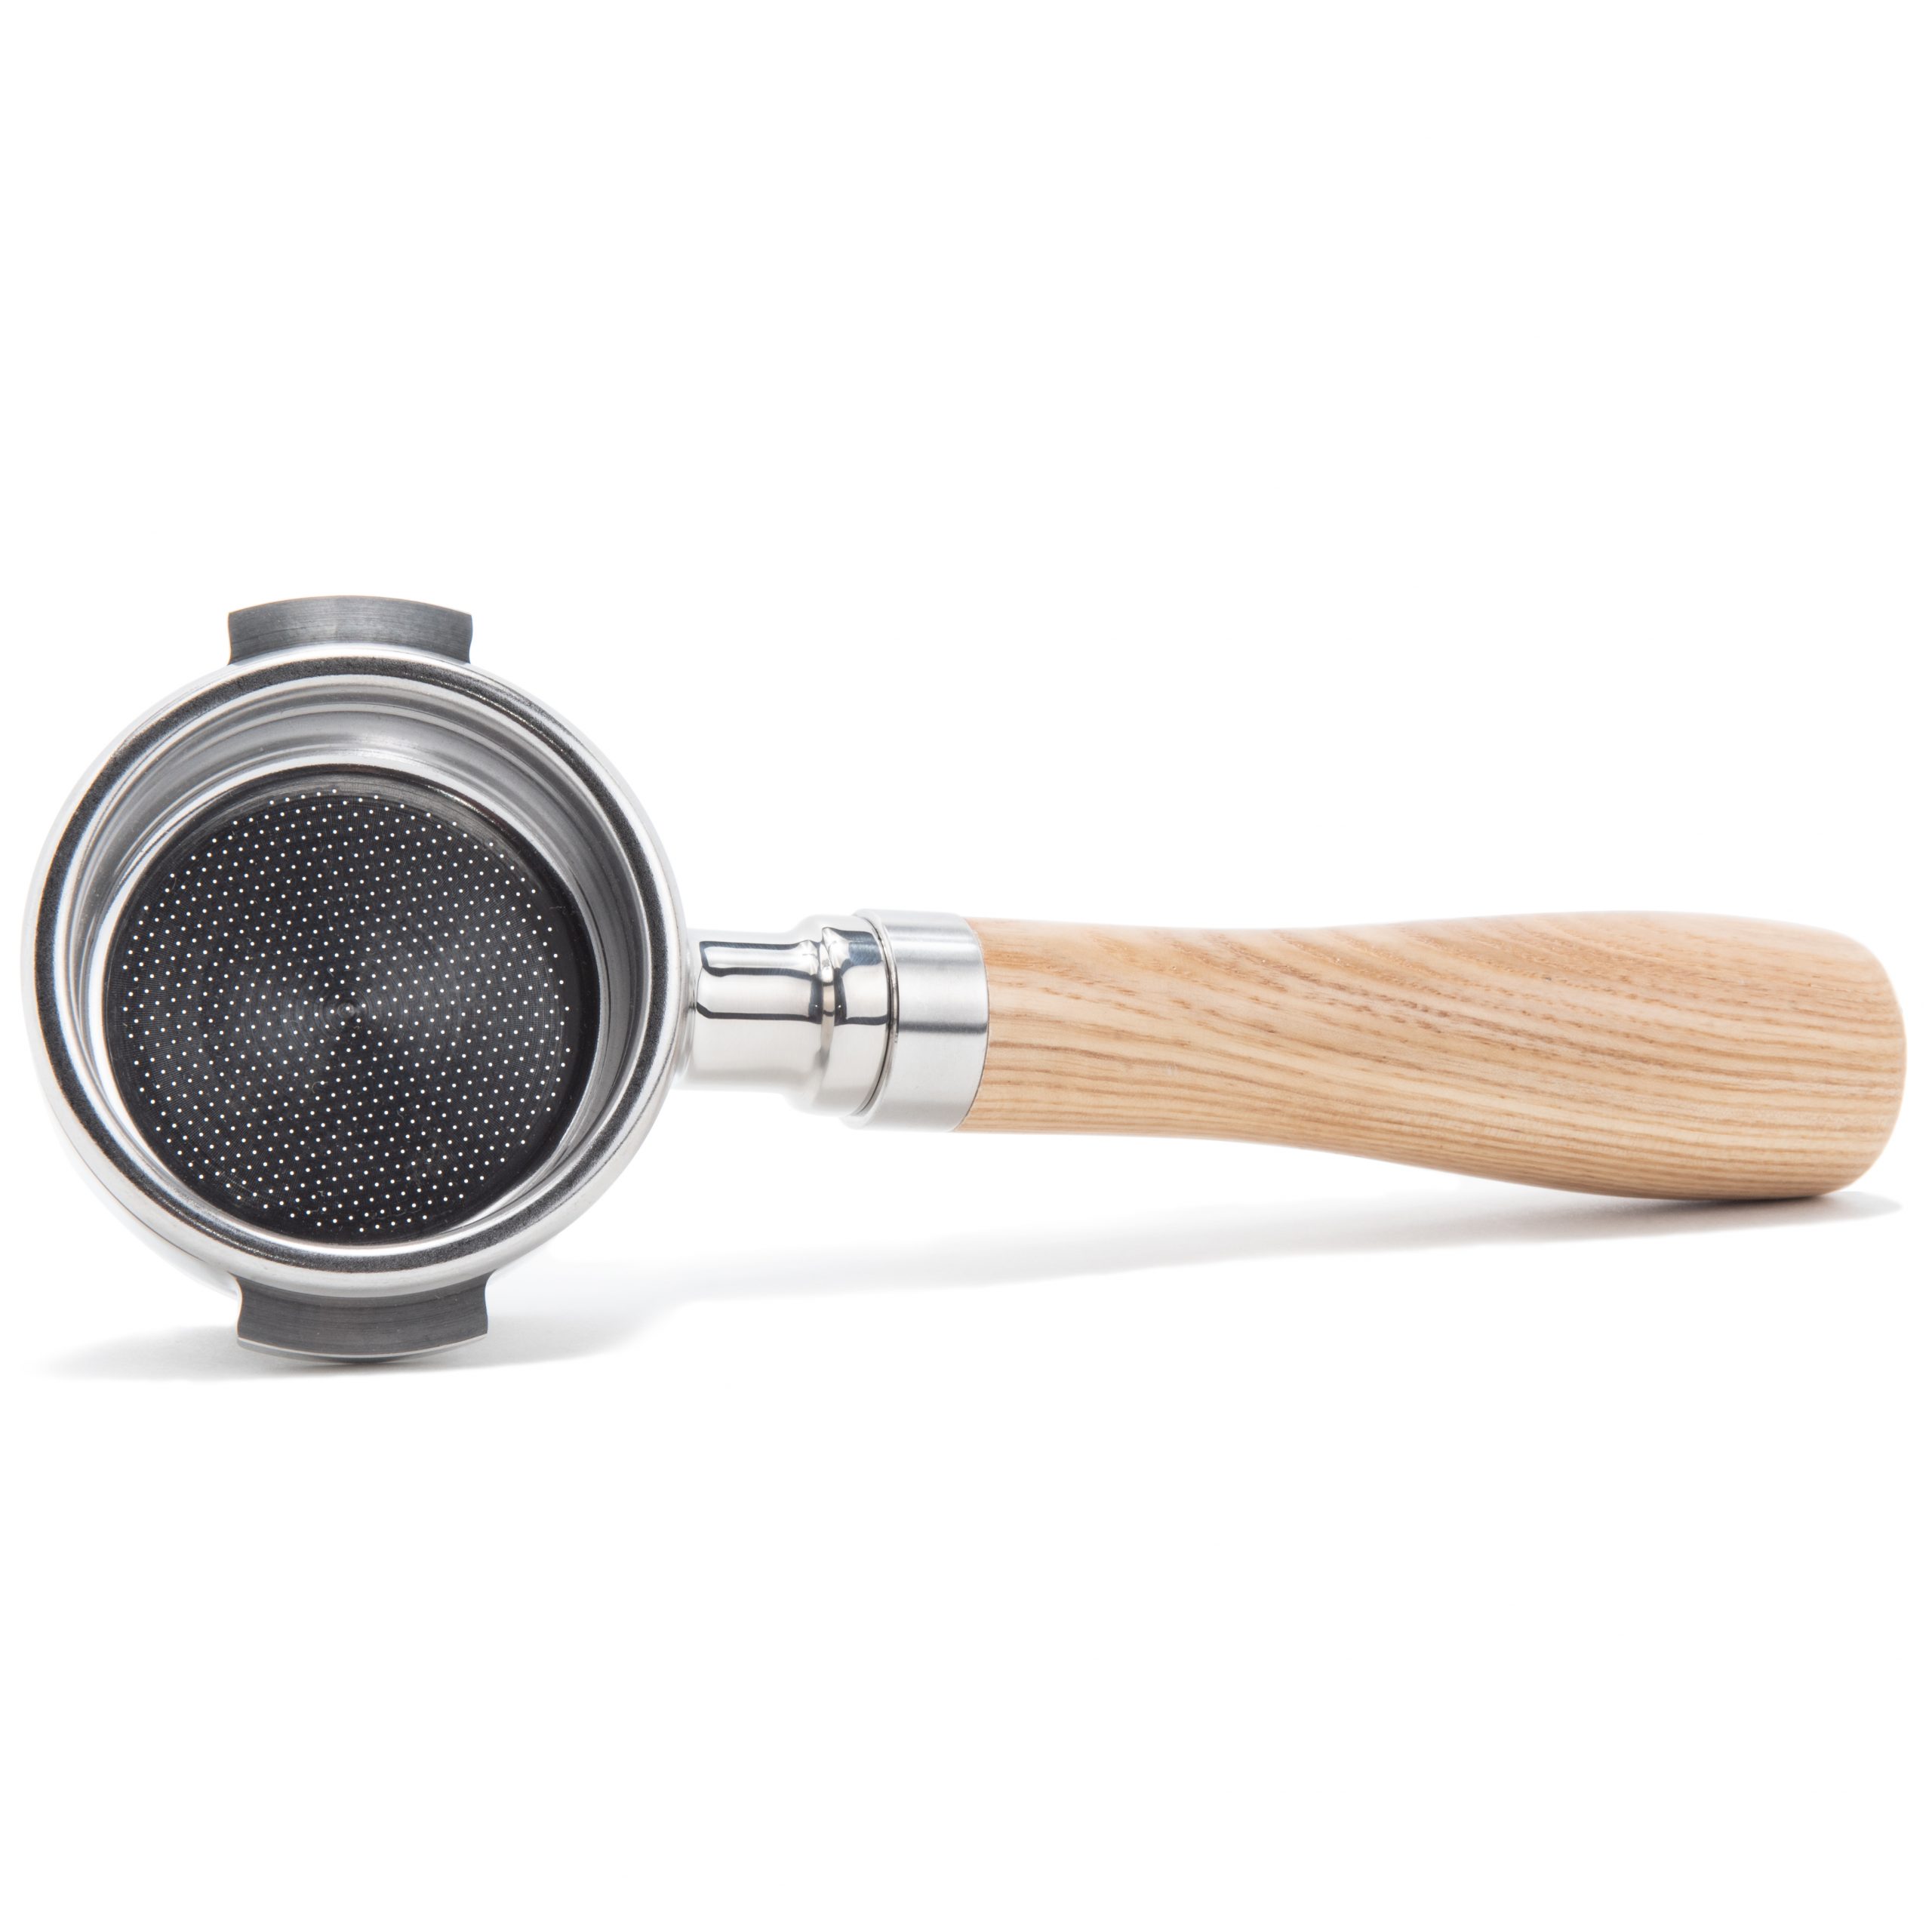
Remove the warm portafilter from the brew chamber of the Flair press. Grab the wooden handle and rotate it left to 6 o'clock to remove it. Be sure to remove the puck screen from the brew basket and set the screen aside for after grinding.
-
Rest the empty portafilter on the metal fork protruding from the grinder. As soon as you push the portafilter towards the grinder you will engage a button that will begin grinding.
-
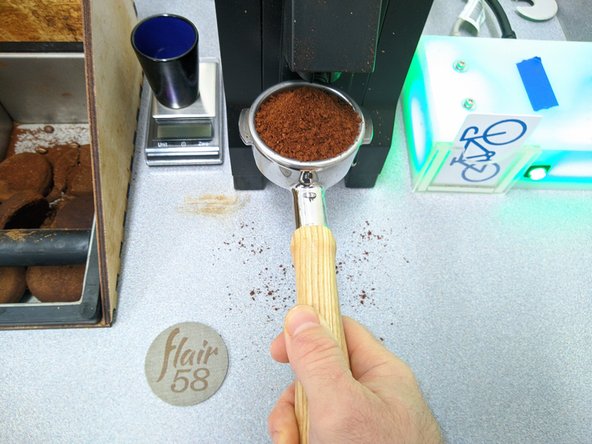
Hold the portafilter against the button to continue grinding until all of the beans have been ground. Keep grinding until no more grinding sounds can be heard. This ensures that no stale beans are left behind.
-
The grounds will come out of the chute and some will invariably fall on the counter. Don't worry - you can clean this up later.
-
-
-
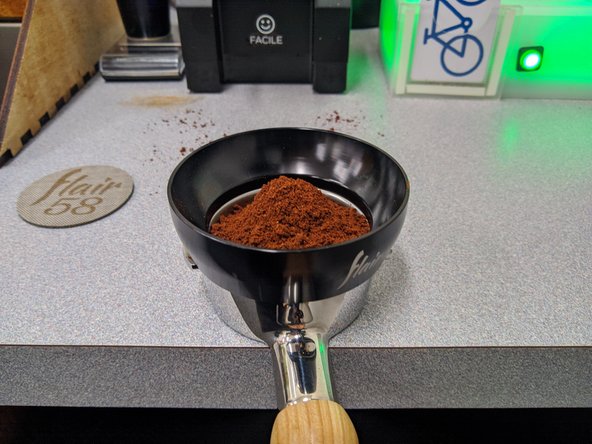
Place the magnetic black funnel on the portafilter. Shake the portalfilter from side to side to help distribute the grounds. Firmly tap the portafilter on the counter to help the grounds settle. The funnel should help prevent the grounds from falling out of the basket.
-
Once the grounds are evenly distributed and roughly level, grab the tamper. Lay it on top of the grounds.
-
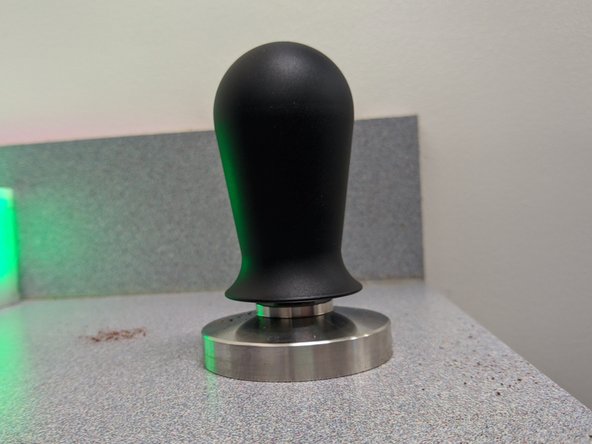
With the portafilter laying flush on the counter, firmly push down on the tamper. Apply enough pressure until the tamper handle compresses to meet the tamper surface.
-
The tamper is calibrated to apply 30 pounds of force once it compresses. See the video in the next step for an example.
-
-
-
Notice how the handle compresses slightly. Once that happens you can remove the tamper.
-
-
-
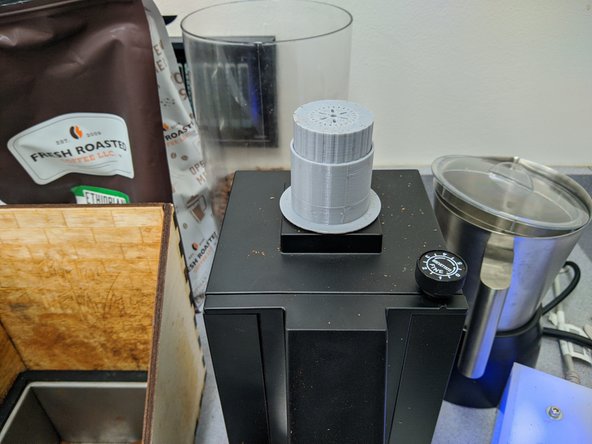
You need to remove stale grounds from building up in the grinder. Remove the black plastic funnel and place the gray topper in the gray chute.
-
Place the white plastic bellows completely over the gray plastic chute of the grinder.
-
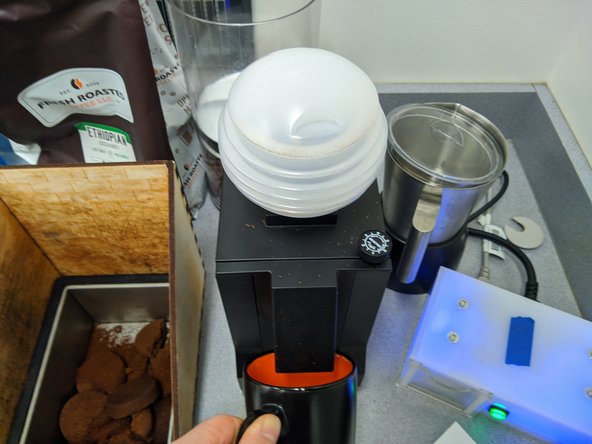
Hold an empty cup under the grinder spout to catch grounds. Pump the bellows firmly several times.
-
You can dump the extra grounds in the knock box. Replace the black funnel on the grinder when you are done.
-
-
-
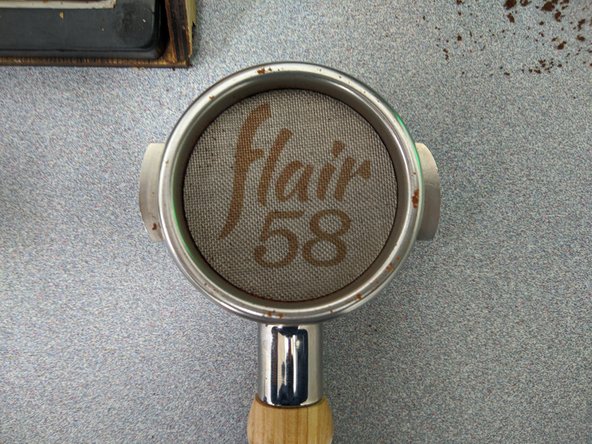
Now that your grounds are tamped, be sure to add the Flair puck screen on top of your puck.
-
Insert the portafilter back into the Flair press at 6 o'clock. Rotate it to the right to 4 o'clock.
-
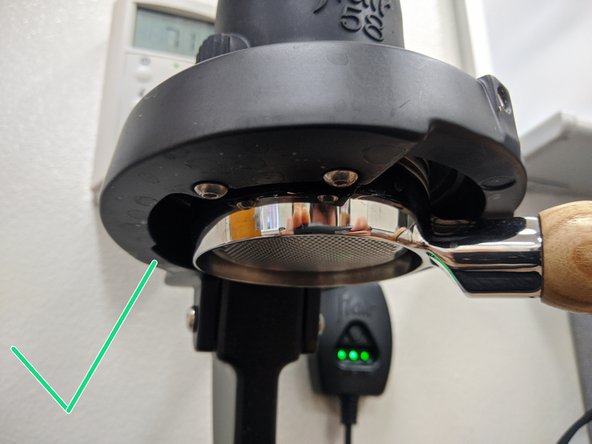
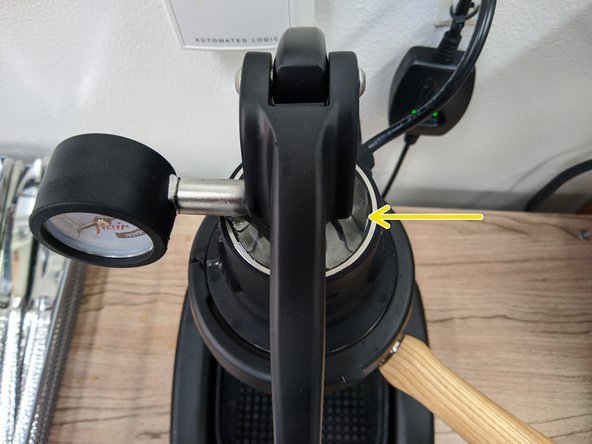
Be sure to have the portafilter seated properly. The image shown with the green check is an example of a properly mounted portafilter.
-
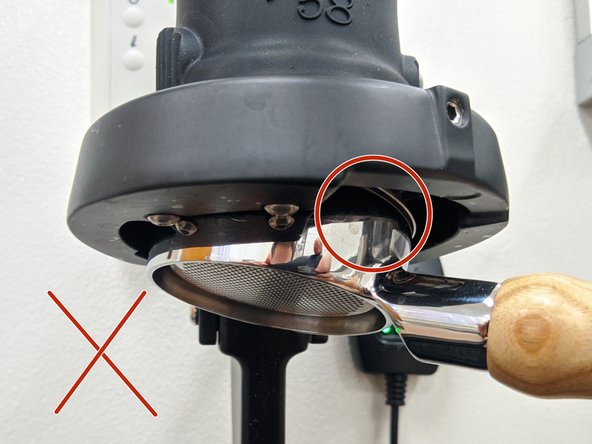
The image shown with the red X shows an improperly mounted portafilter.
-
-
-
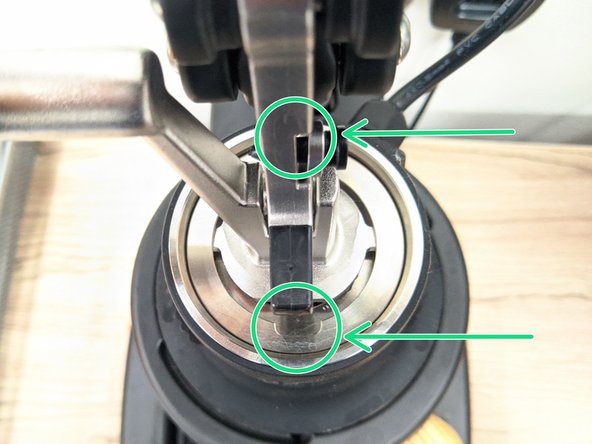
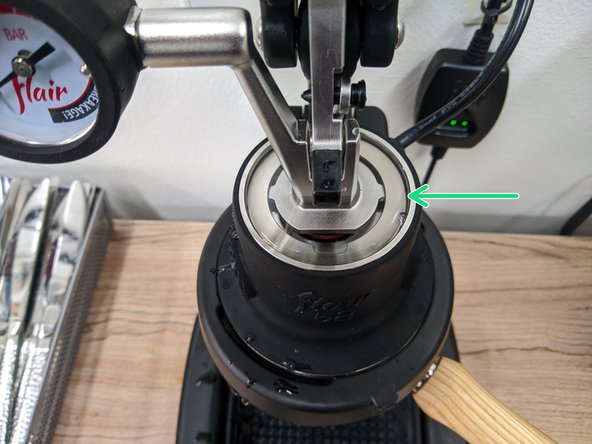
Look at the plunger slots, as shown here in green. Confirm that the slots are in the front and back locations as shown here. Note the rear slot is hidden in this photo. If the slots are slightly off from the front and back locations (approximately 30 degree is fine) you do not need to do anything.
-
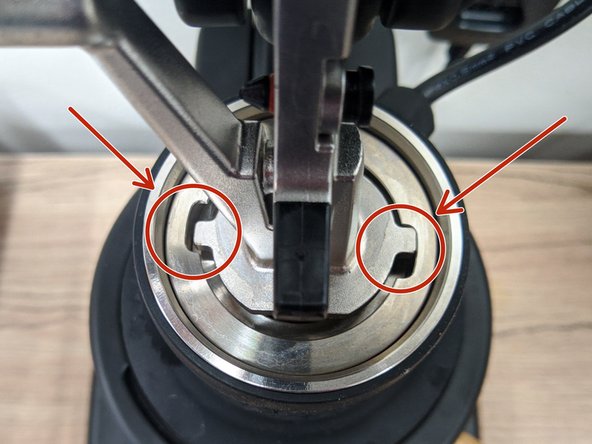
If these slots are instead close to the right and left sides of the brew chamber (shown in the second photo in red) then please STOP and alert a Maker-E technician. You cannot proceed until this is corrected.
-
-
-
The water will be extremely hot! Use caution when pouring to avoid burning yourself. The brew chamber will also be hot and you should avoid touching it with your hands.
-
If the water has cooled significantly, press the Start button again to bring it up to temperature.
-
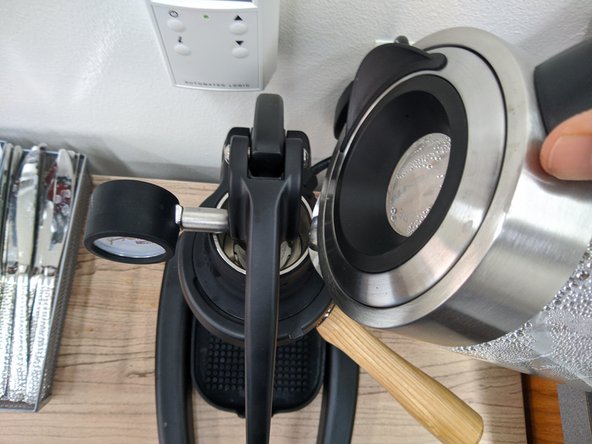
Make sure the Flair press lever is all the way down. Once the water is hot, carefully pour water into the top of the brew chamber. Fill water to the very top of the chamber.
-
Now lift the lever to the full upright position. This will create a small gap in the brew chamber. Top off the chamber with a little more water.
-
-
-
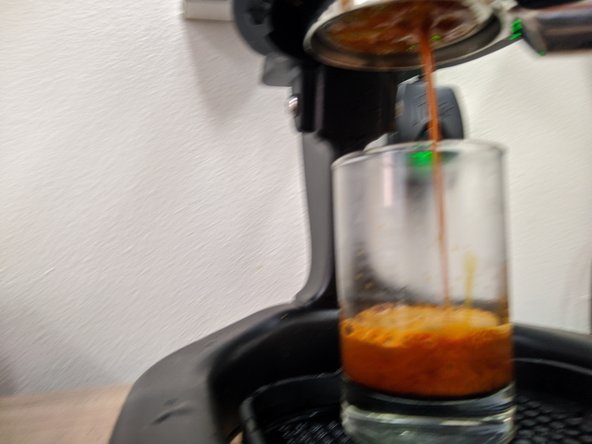
Wait a few moments for the water to preinfuse the puck. Place a cup or mug under the center of the portafilter. Grab the press lever and slowly begin to lower it. You will need to use some force as there will be pressure building up in the brew chamber.
-
Keep an eye on the pressure gauge. Once espresso begins flowing from the portafilter you want to ensure the pressure gauge reads 6 - 10 bar (the red area labelled espresso).
-
Continue to apply pressure to the lever until it is completely lowered and the pressure gauge reads 0 bar.
-
-
-
Remove your espresso cup from the drip tray and replace it with another mug.
-
Return the lever to the fully upright position and again lower it completely. This will expel any remaining water in the chamber and force moisture out of the grounds.
-
You can discard this liquid and then remove the portafilter from the press by again rotating it left to 6 o'clock.
-
-
-
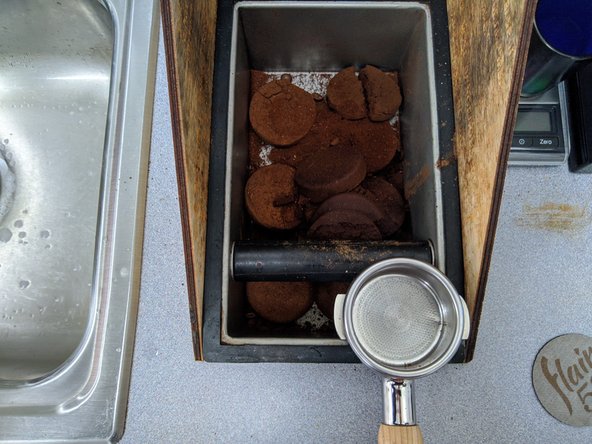
Gently tap the portafilter on the knock box to remove the puck screen from the basket. Rinse the puck screen in water and dry it.
-
Knock the portafilter firmly against the knock box to dislodge the puck. It should come out cleanly. Rinse the filter basket with some water.
-
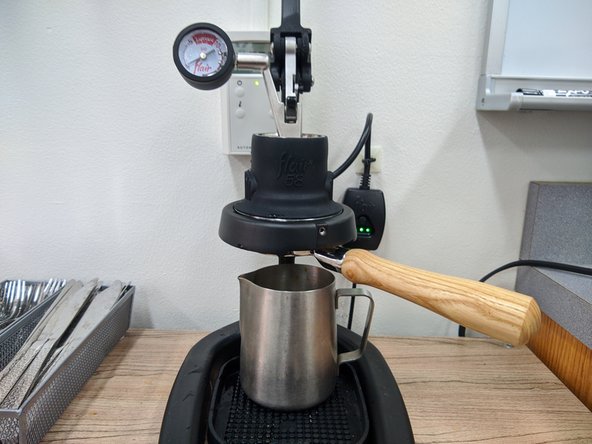
Dry the basket and the puck screen. Place the puck screen back in the portafilter and return the portafilter to the Flair press. Lock it in to the 4 o'clock position so it can remain heated for the next maker.
-
-
-
If water or espresso are in the silicone drip tray under the Flair press, dump the contents in the sink and rinse the drip tray before returning it to the press.
-
Use a wet dish cloth to wipe down any surfaces that are wet with water or espresso.
-
Clean up any loose grounds and throw them in the trash or knock box.
-
Clean any coffee cups with hot soapy water. DO NOT LEAVE ITEMS IN THE SINK. Your containers are your responsibility!
-
Failure to clean up is poor maker etiquette. It makes it difficult for others to make espresso. Continued failure to clean up will lead to the loss of espresso machine certification.
-
-
-
At this point you have several options for your drink:
-
You can enjoy the espresso on its own. It's delicious!
-
You can add additional hot water to your espresso to make an americano.
-
You can read the milk frother tutorial and then make a cappucino or latte.
-


Enjoy your espresso! Please be sure to clean up when you're done so the next person's experience is as seamless as yours.
Enjoy your espresso! Please be sure to clean up when you're done so the next person's experience is as seamless as yours.
Cancel: I did not complete this guide.
9 other people completed this guide.