Introduction
Original Author: Aaron Clark
-
-
To turn the Ultimaker 3 on, the power switch is located at the back right hand corner of the machine.
-
-
-
When logging onto the computer to use the Ultimaker 3, do not use your person credentials, use the following:
-
Username: MooneyMakerS
-
Password: Written on the computer.
-
-
-
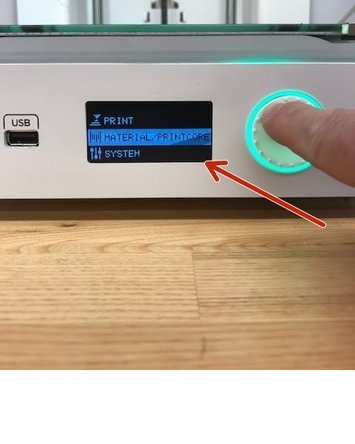
Scroll down to the Materials tab using the push/rotate button next to the display, then push on the push/rotate button to select.
-
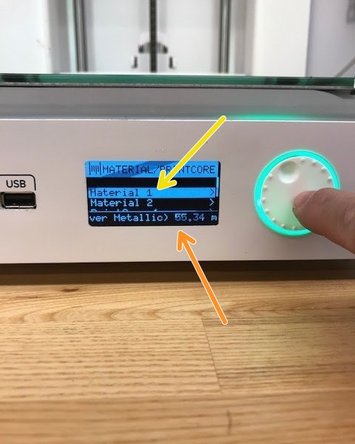
Select material 1 or 2
-
Text will scroll across the bottom of the display, this will tell you what type of material and how much is on the material spool.
-
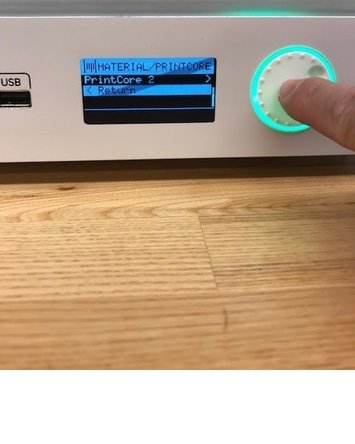
Scroll down and select Return to get back to the main menu.
-
-
-
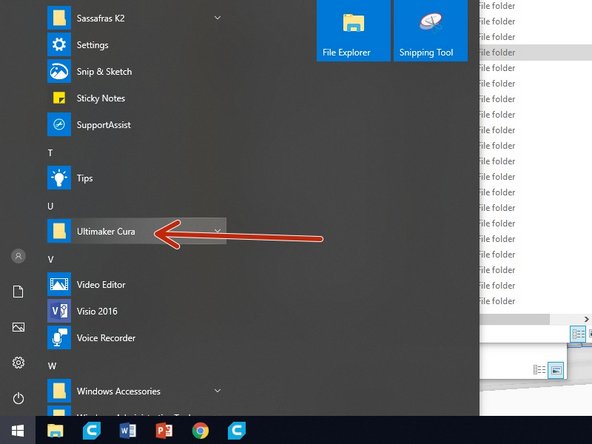
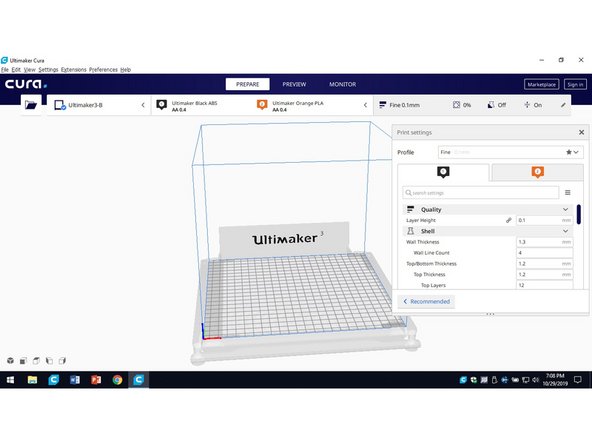
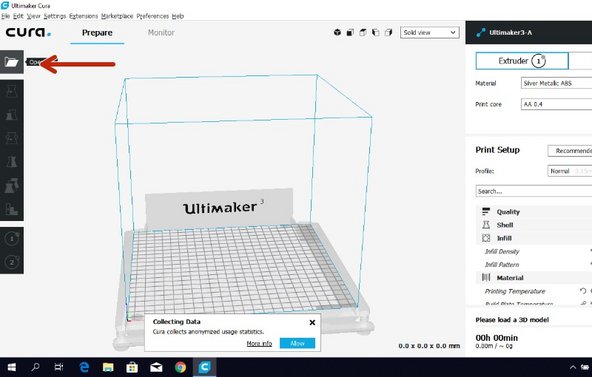
You can find the cura software in the apps under the Ultimaker Cura file
-
-
-
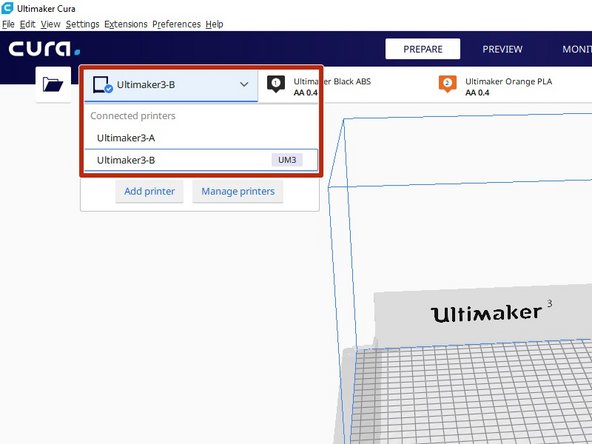
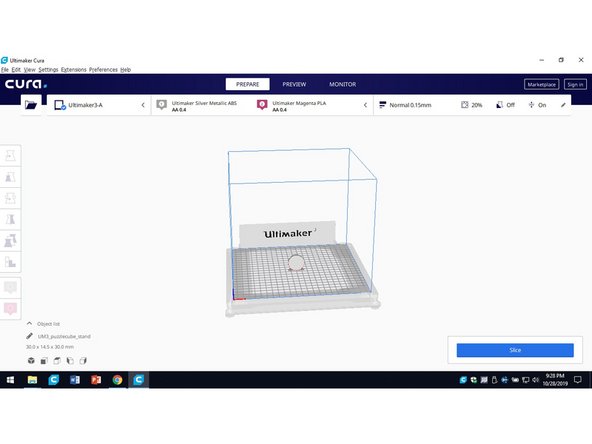
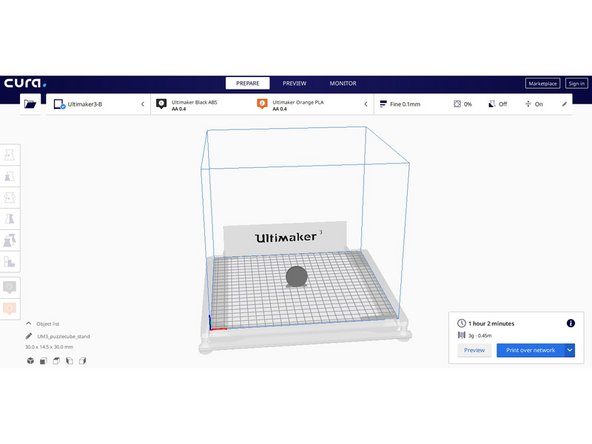
You will see active printers at the top left of the screen.
-
Select a printer by clicking on one of the two Ultimaker printers (Ultimaker3-A or Ultimaker3-B).
-
-
-
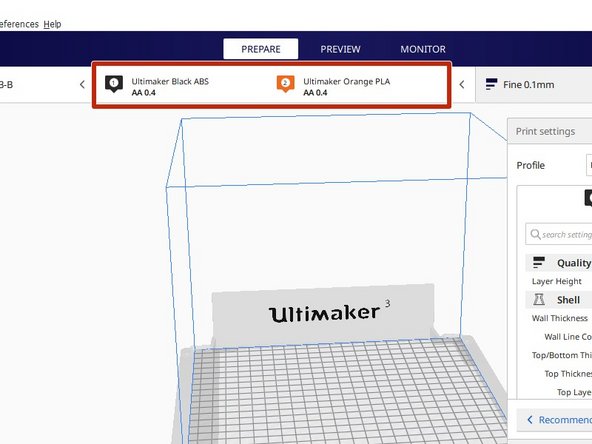
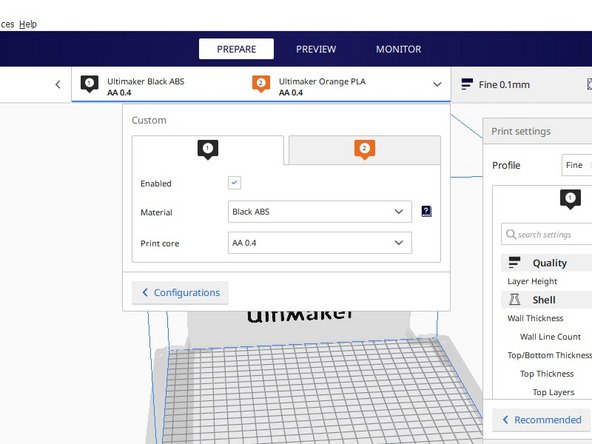
If you click on the drop down in the box in the top middle, it will tell you what material is loaded on the Ultimaker.
-
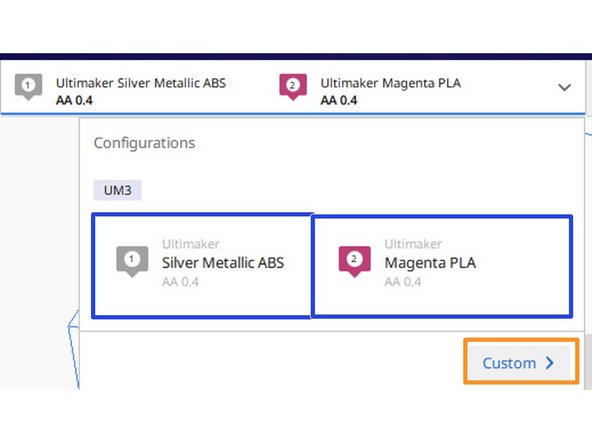
Make sure the color and type of material is correct (extruder 1 – PETG and Extruder 2 – PLA).
-
If the color and/or material type is incorrect, make the appropriate selection under custom
-
-
-
Load a 3D model into Cura via the open file button from the toolbar on the left of the screen.
-
Acceptable file types include: STL, OBJ, DAE or AMF
-
After you select your file, you should see your model appear on the screen
-
-
-
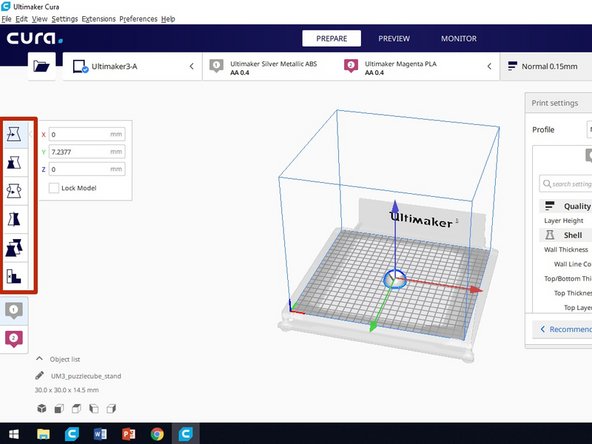
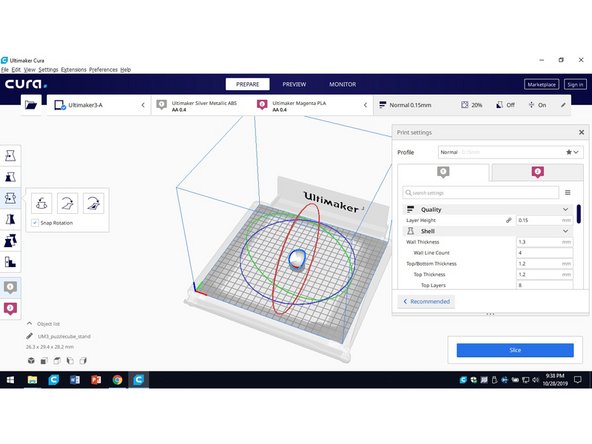
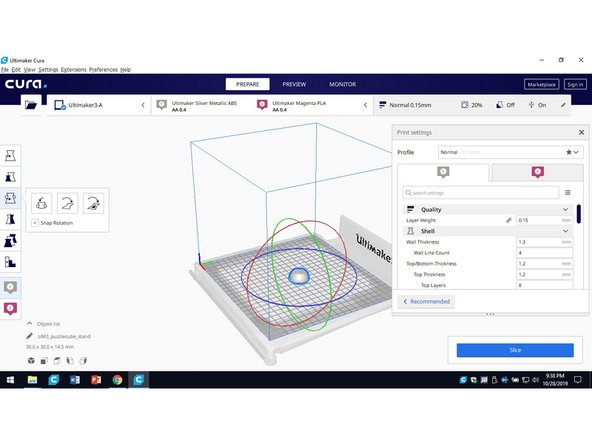
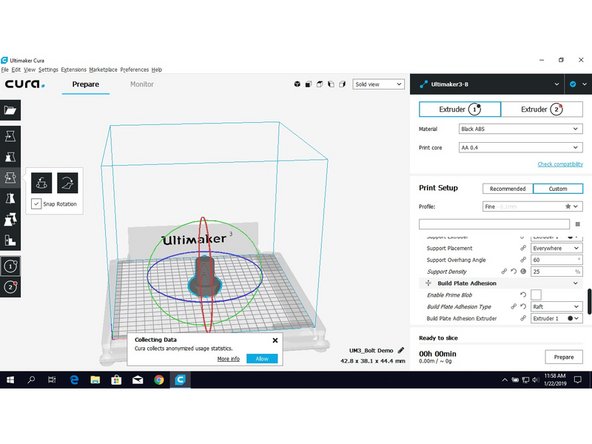
The adjustment tools are in the toolbar on the screen to the left. These tools will allow you to move, scale, rotate and mirror your part.
-
To use a selection tool, left click on your part and then left click on the tool you wish to use. For certain tools, guides will appear on your part to allow you to manually adjust your part.
-
To make adjustments, you can type values in the box or you can manually click and drag the arrows and hoops in order to perform the functions of the tool selected.
-
You should arrange your part so that it is in the ideal orientation for print speed and print quality. You can frequently cut print times and reduce support material simply by changing the orientation. Speak to a technician if you are unsure of the best way to orient your part.
-
-
-
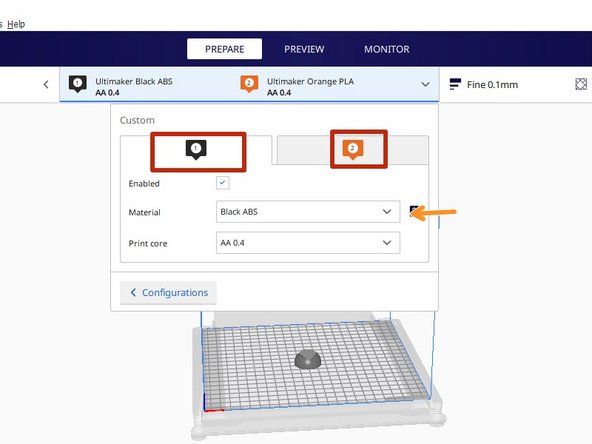
The Ultimaker has a dual print head. Typically they are set up with print core 1 – PETG and print core 2 – PLA. (these materials do not mix.)
-
Click 1 or 2 to select the printhead to change,
-
Then use the dropdown menu to change the material
-
This is the same menu you used to create materials in previous steps
-
-
-
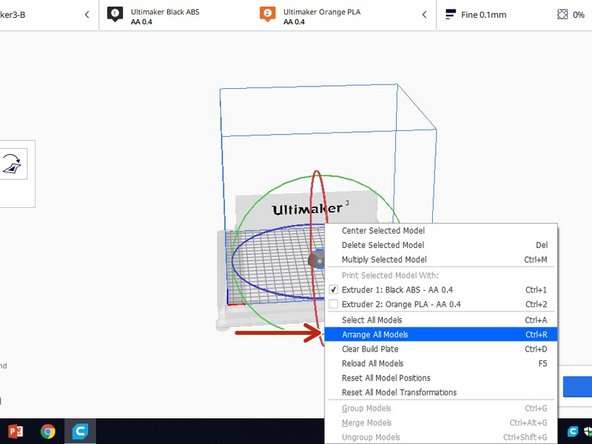
Left click to highlight your part or select multiple parts by shift + left click, then right click on those highlighted parts. You will be given a list of options. From here you can duplicate or auto arrange your parts on the build plate.
-
To arrange the models, either click Arrange or use the keystroke Ctl + R
-
-
-
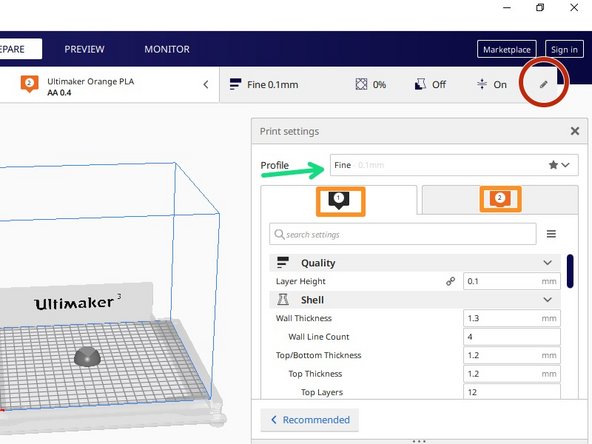
To enter the print settings menu, click on the pen icon in the top right of the window
-
Then use the 1 and 2 panels to change which print head settings you are editing
-
You can use the preset settings by changing the profile, or you can define your own settings. Keep in mind that fine and extra fine prints will take significantly longer.
-
-
-
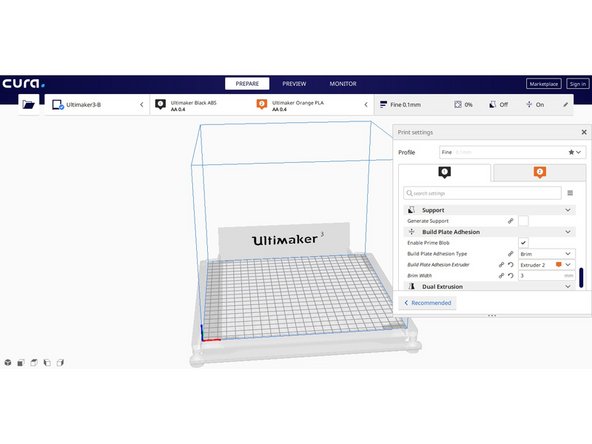
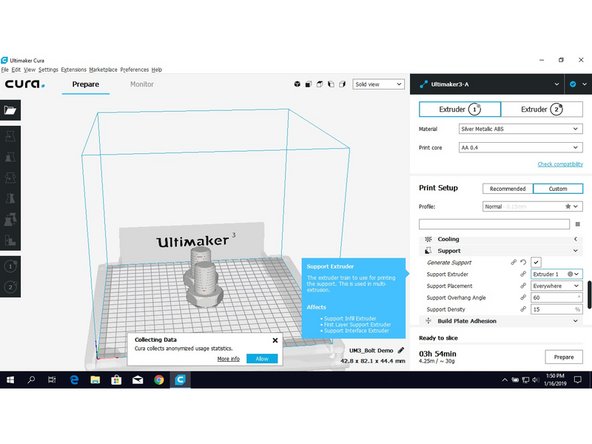
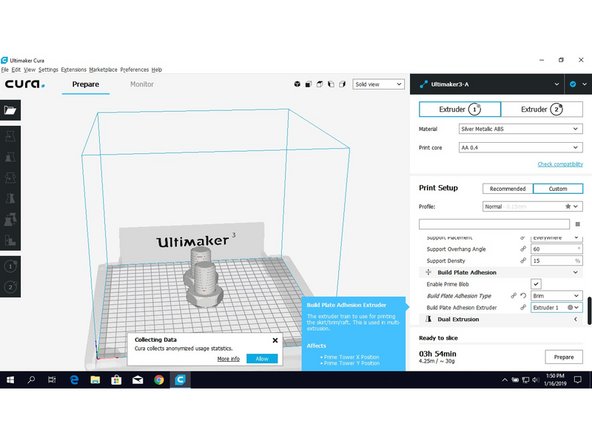
Make sure your Support Extruder & Build Plate Adhesion Extruder match so you are not mixing PLA and ABS in your build.
-
You must check the Build Plate Adhesion Extruder in the Custom Menu. This is also where you will be able to select the Adhesion Type you would like to apply (None, Raft, Skirt or Brim).
-
-
-
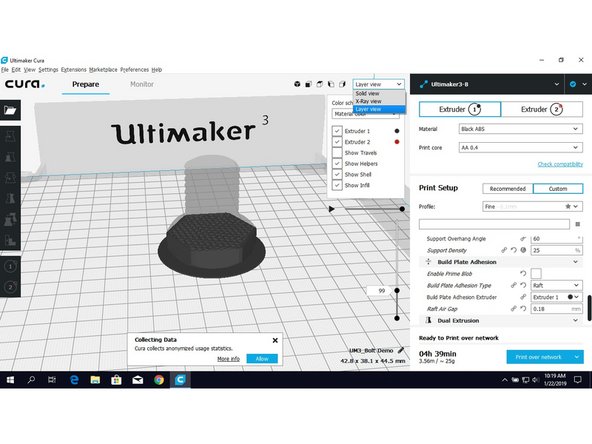
Once you finished your Print Setup you can click Prepare to generate your program.
-
This will give you an estimate on time and material to complete the job.
-
This will also allow you to check your part in the Layer view. Simply by moving the slider bar that appears after selecting Layer view.
-
-
-
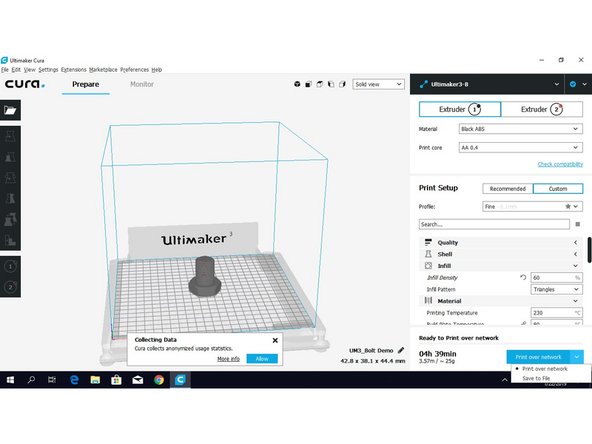
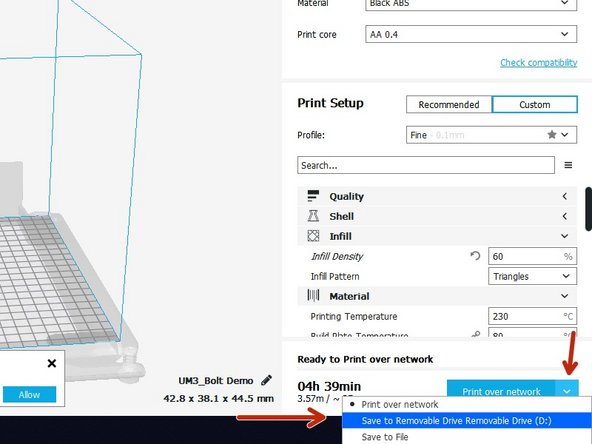
Once you are happy with your Part Position and the Print Setup you can send the file direct to the Ultimaker by selecting Print over network or you can save to a USB Drive. Either method works.
-
When choosing Print over network, be patient the selected printer will respond automatically.
-
-
-
If you wish to print from USB. Insert a USB drive into the laptop.
-
Click on the drop down menu next to Print over network. Select the option Save to Removable Drive.
-
Eject the USB Drive.
-
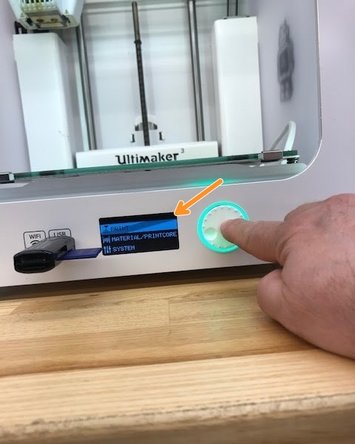
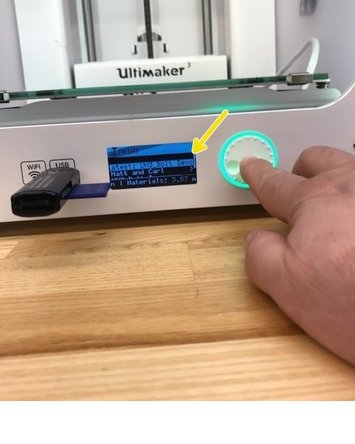
Insert the USB drive into the Ultimaker and select PRINT from the menu.
-
Select your program from the USB Drive.
-
Cancel: I did not complete this guide.
12 other people completed this guide.


