-
-
Open up the Inkscape app (icon shown in red box) on your computer. If you are unable to find the app, use the Windows search area located at the bottom left of your screen to find it (indicated using red arrow).
-
-
-
Click on the rectangle icon (third one from the top located on the left, red arrow pointing at it in picture 1) and create a rectangle.
-
Change the dimensions to fit the diameter and circumference of your tumbler (width and height dimensions shown with red arrows in picture 2).
-
Click on "Object" and "Fill and Stroke" and select there to be no fill for your rectangle (shown in picture 3).
-
Picture numbers indicated by the number of orange circles located on the top right corner of the picture.
-
-
-
Open up Google and search up an image that you would like to engrave that has a clear background. For this tutorial we used the Bucknell emblem.
-
Make sure image has a clear background.
-
Click on "File" and then "Import" to bring your image into the Inkscape file.
-
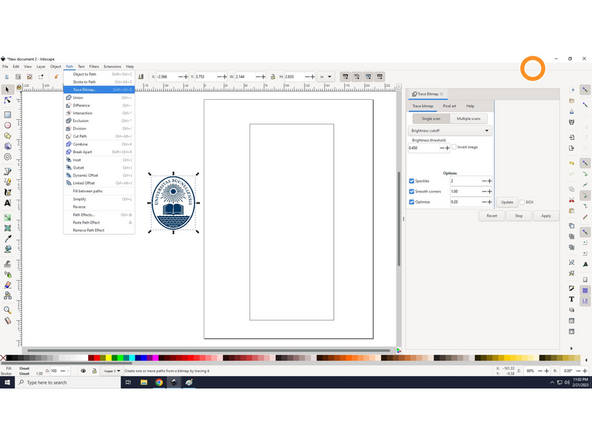
Click on emblem image, select "Path", select "Trace Bitmap", as shown in picture 1.
-
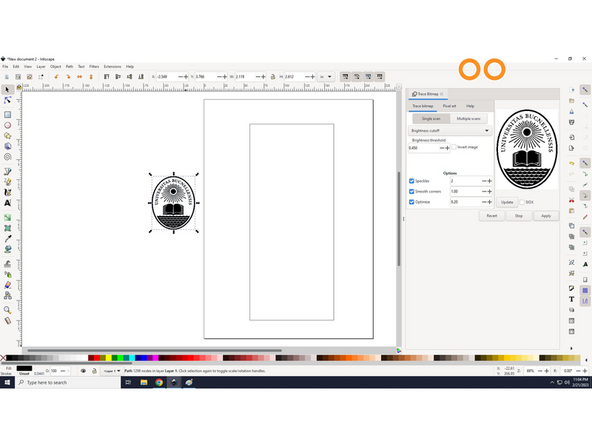
Click "Apply". Your screen should look like picture 2.
-
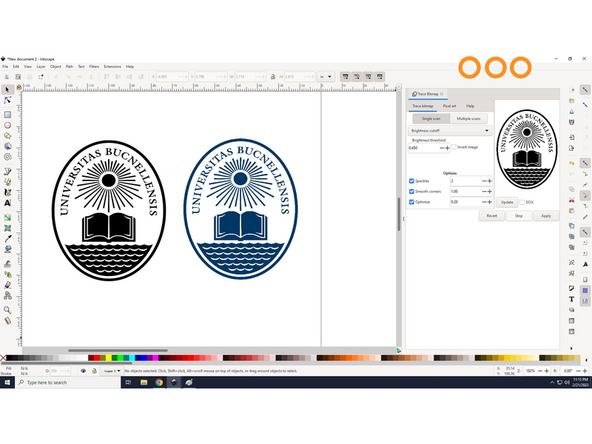
Drag black emblem to the left. If you zoom into the emblems, as shown in picture 3, the blurrier (in this case blue emblem) is the original image and the sharper (in this case black emblem) is the vector image that we generated. Please delete the blue emblem (original image) at this point.
-
Picture numbers indicated by the number of orange circles located on the top right corner of the picture.
-
-
-
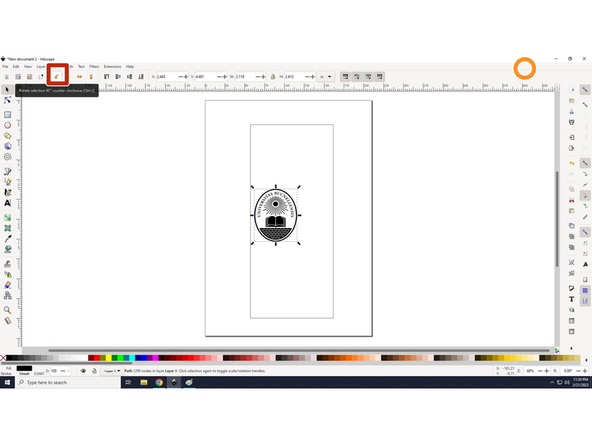
First, click on emblem vector image and rotate it 90 degrees counter-clockwise. Look at picture 1, icon boxed in red will allow you to rotate emblem as described above.
-
For this tutorial, we decided to add text below the vector image. Click on the text icon located on the left (red arrow) and add text to the right of the emblem, as shown in picture 2. You can change the font style using the drop down located on the top left (blue arrow).
-
Rotate the text them same way you rotated the emblem, as shown in picture 1. Picture 3 is what your screen should look like after.
-
Picture numbers indicated by the number of orange circles located on the top right corner of the picture.
-
-
-
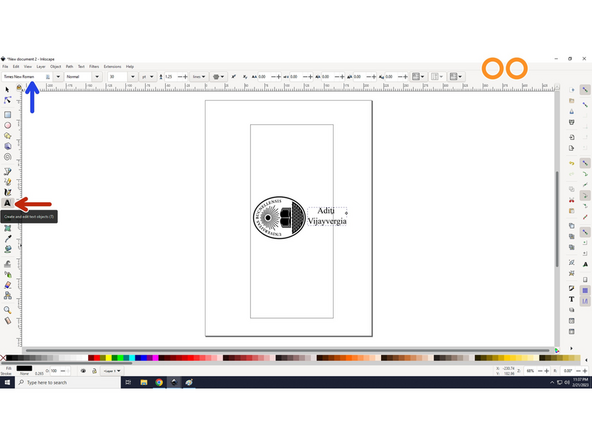
To group just the emblem and the text, click on the emblem, hold the "Shift" key down, and click on your text.
-
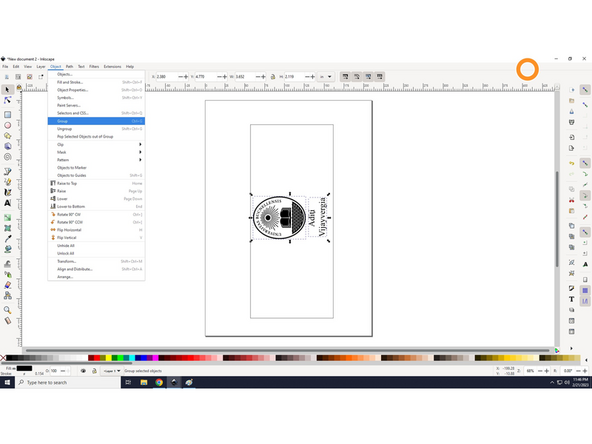
Next, click on "Object" and then "Group", as shown in picture 1. A shortcut to group is after selecting the entities you would like to group, press "Control G" on your keyboard.
-
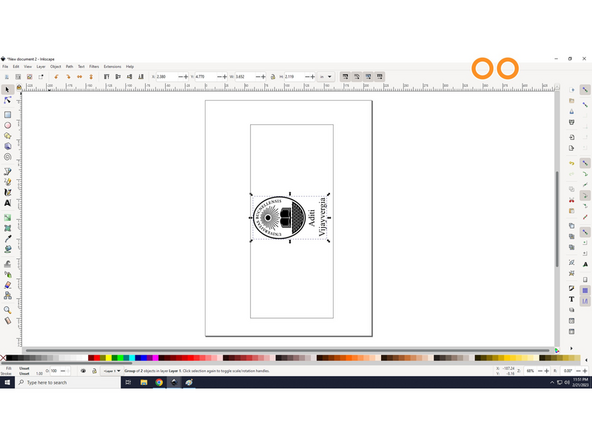
Now that you have grouped them both together, the emblem and text are one entity (as shown in picture 2).
-
Picture numbers indicated by the number of orange circles located on the top right corner of the picture.
-
-
-
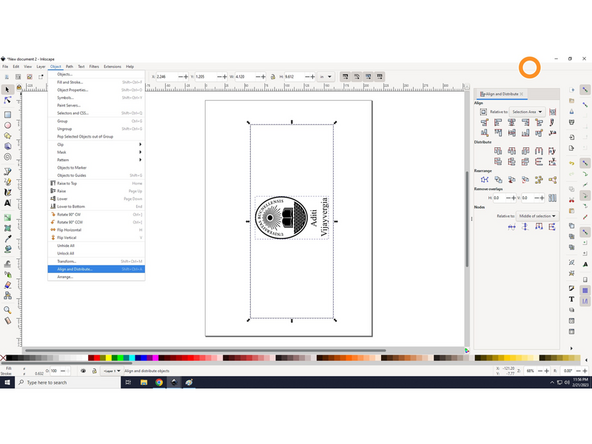
Click on the rectangle, press "Shift" on your keyboard, and click on the emblem/text.
-
Next, click on "Object" and then "Align and Distribute...", as shown in picture 1.
-
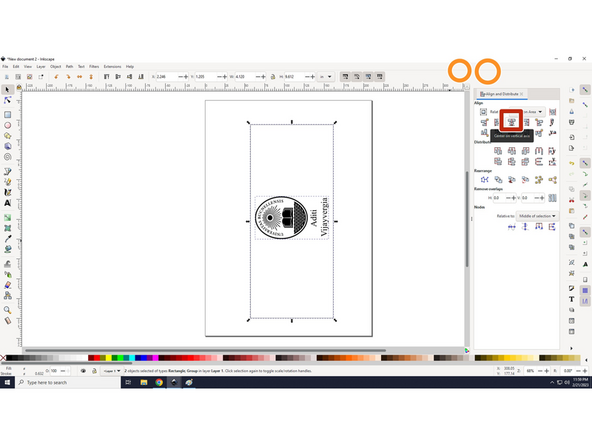
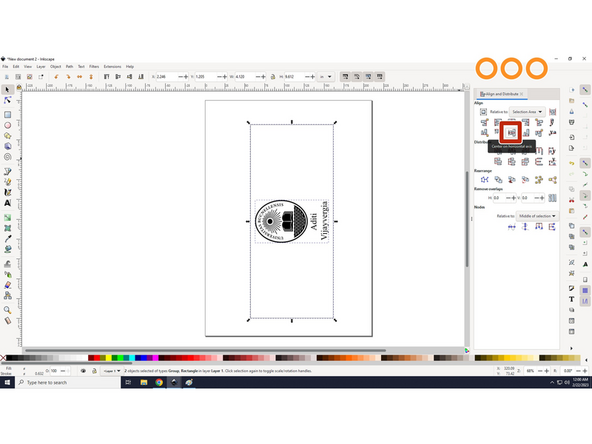
Since we would like to etch on one side of the tumbler, we want to center the emblem/image grouping to the rectangle. Click on the "Center to vertical axis" icon shown in picture 2 in red box and "Center to horizontal axis" icon shown in picture 3 in blue box.
-
If you would like to etch emblem/text on either side of the tumbler, you will need to duplicate the emblem text grouping and calculate distance between both sides of tumbler for placing purpose.
-
Picture numbers indicated by the number of orange circles located on the top right corner of the picture.
-
-
-
We are done with creating the Inkscape file for the tutorial. Please save this file as an "Inkscape SVG (*.svg)".
-