Introduction
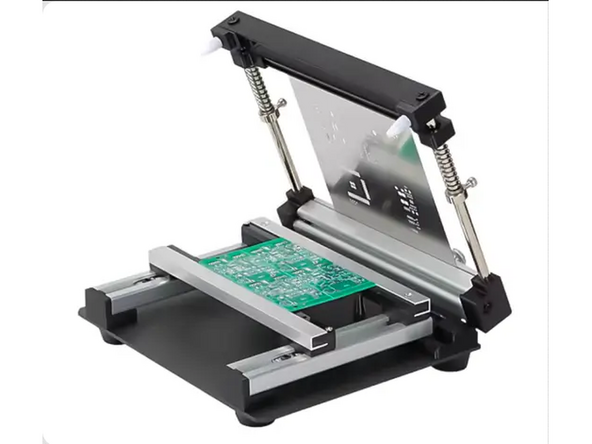
This guide details the process of using a solder paste stencil to apply paste to an entire PCB at once. The stencil printer holds the stencil rigid and flat against a PCB and with proper alignment ensures crisp solder paste transfer without smearing.
-
-
You'll be working on the white craft paper, taped to the large bench in BRKI B63. PLEASE ONLY WORK WITH PASTE ON THIS AREA!
-
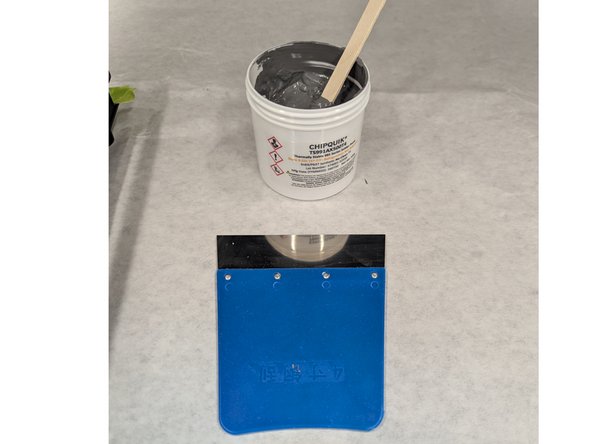
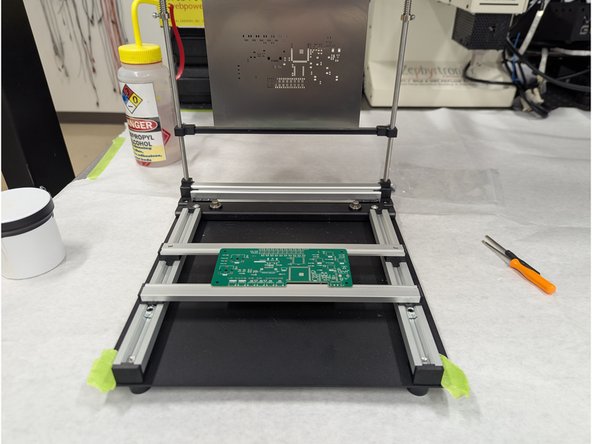
Make sure you've got the solder paste, a popsicle stick to spread the paste, the blue handled spreader, and the stencil mounted in the stencil printer.
-
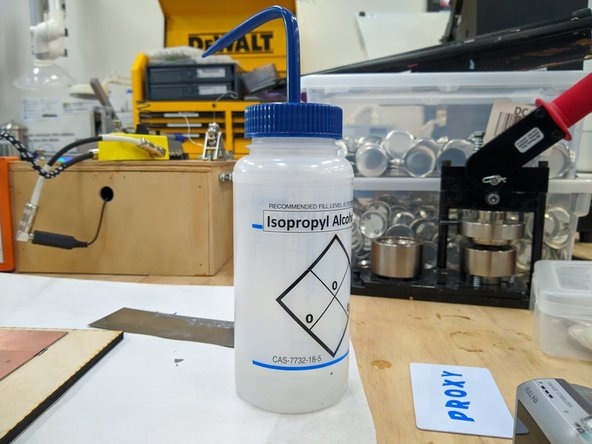
You'll also need IPA (isopropyl alcohol) and paper towesl to clean up when you're done.
-
-
-
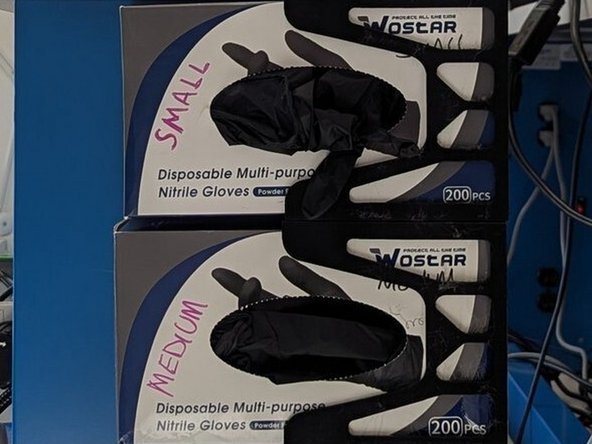
Solder paste contains lead. You should wear gloves while working with solder paste. Gloves are provided in BRKI B63.
-
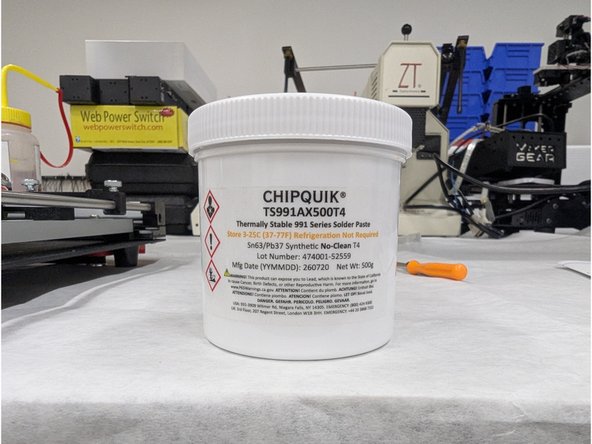
Solder paste is found on the white paper coverer bench in BRKI B63. Grab the paste and open the lid. If it appears to have separated, use a popsicle stick to stir the paste and make it uniform.
-
-
-
The stencil printer is set up already for the ECEG 201 project. All you should need to do is carefully insert your blank PCB into the printer.
-
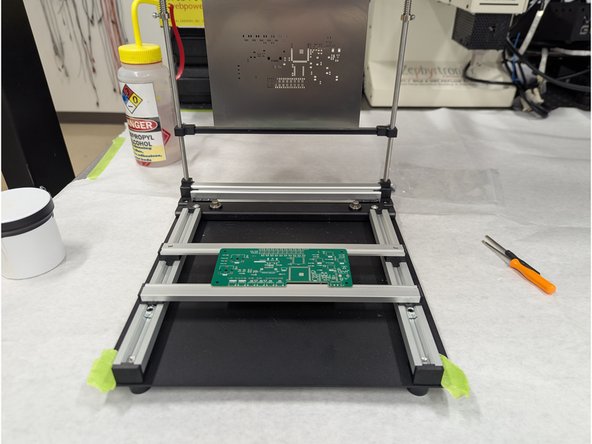
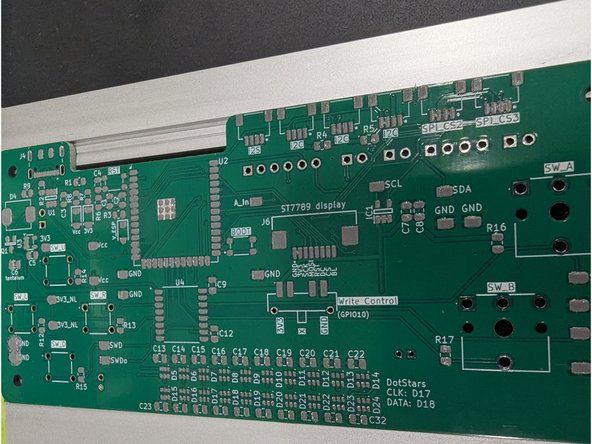
There are green pieces of tape to show you where to position your PCB. Please position it with the cutout facing down or towards you as shown in the second photo here.
-
You will need to place the bottom part of the PCB in the rail first and then gently press on this rail to move it slightly. It is spring mounted so it has a little bit of play. Insert the top part of your board and then confirm the two rails are holding it securely in place.
-
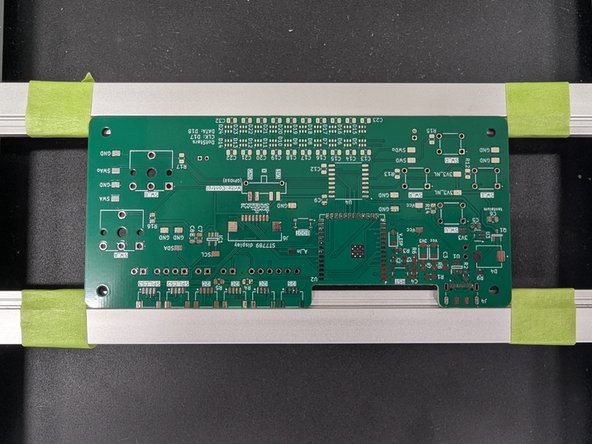
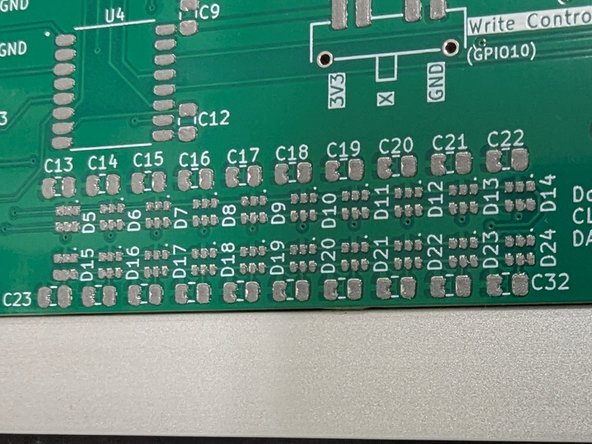
Once your board is secure, gently close the frame on top of your board. Carefully inspect the registration (alignment) of he stencil holes with your PCB pads. You should only see the shiny silver of exposed pads appearing in the stencil openings. See the third image here.
-
If there is any green solder mask showing you may need to slightly move your PCB left or right. Adjust the board carefully and then check alignment again. This can be tedious but it is important to get alignment correct.
-
-
-
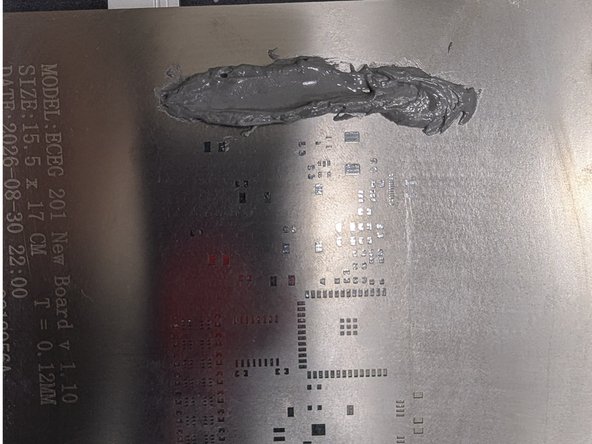
Using the popsicle stick, grab a blob of paste and apply it in a line across one side of the stencil. Make sure the paste is above all of the openings in the stencil. Note in the image that we're applying the paste to a side and not the top of bottom. This is because our spreader is best suited for application in this direction.
-
Locate the blue handled paste spreader. Place the spreader above the paste line you made.
-
Be careful! The metal spreader is great for applying pressure but it is sharp and can cut through a glove and cut your skin. Use caution when handling and treat it like a knife blade.
-
Apply enough pressure to the spreader such that it bends a little. Now continue applying this pressure and use the spreader to drag the paste across the entire stencil. The paste will fill the holes as it moves across them. Complete this process with one motion and do not stop until you have crossed all holes in the stencil.
-
It is possible that paste may not fill all of the holes in one pass. If necessary, you can attempt a second pass from another direction, but in order to minimize the chances of paste smearing beyond the apertures in the stencil it is best to avoid multiple passes with the spreader.
-
When you're done carefully lift the stencil via the printer hinge. Inspect your board. Your pads should all have a clean solder paste layer on top.
-
Very fine pitch holes (small openings, tightly spaced) may smear a little. This is OK and will be corrected during reflow in the oven. But if the paste looks excessively smeared or is missing from spots, you may want to use the IPA and a paper towel to clean off the paste and try again. PAY PARTICULAR ATTENTION TO THE 20 LEDS AT THE BOTTOM.
-
-
-
Once you are satisfied with the paste application you can remove the PCB from the stencil printer. Carefully lift your PCB from the printer, being careful not to smear the paste. Set the PCB aside.
-
Scrape any large excess of paste back into the paste tub. Cap the tub.
-
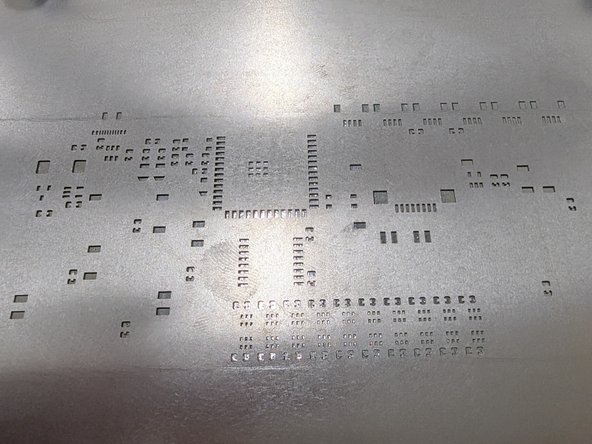
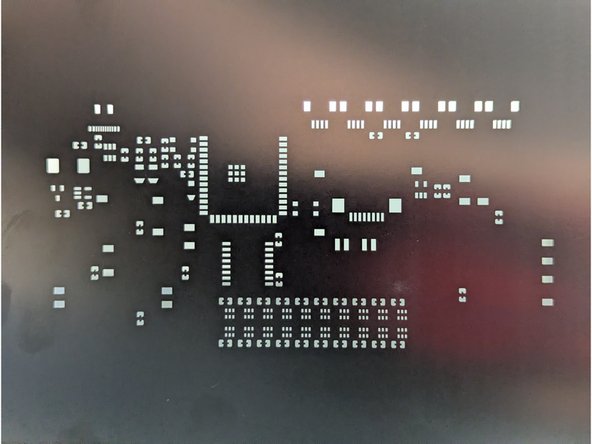
Be sure to clean all of the paste off the stencil using the IPA and paper towels. You will need to repeat this process multiple times, and alternate between sides as paste is pushed through the tiny holes. Hold the stencil up to a light to verify no paste remains in the stencil holes.
-
Leaving paste stuck in stencil holes can cause problems for the next user. Don't be a jerk - clean the stencil well!
-
Be sure to clean any solder paste off of the stencil printer as well, being careful not to move the green tape or alter the alignment of the rails or the stencil in its frame.
-

Team
