
Introduction
This guide details the process of using a solder paste stencil to apply paste to an entire PCB at once. This is in contrast using the pick and place to and utilizing compressed air with a tiny nozzle to individually dispense paste on each pad of a PCB.
-
-
You should only work on one of the two soldering mats in the Fabrication area of the Maker-E. This will isolate leaded solder paste to certain locations.
-
Begin by covering your work surface with a large piece of paper to contain any stray paste. You can tear off a piece of paper underneath the bench near the center of the room.
-
Place the paper on the plywood bench in the Fabrication area.
-
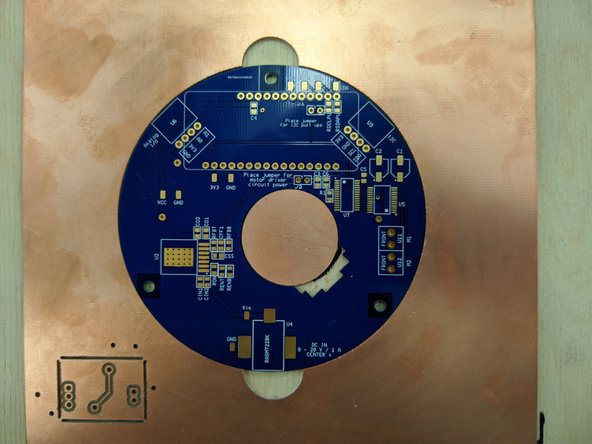
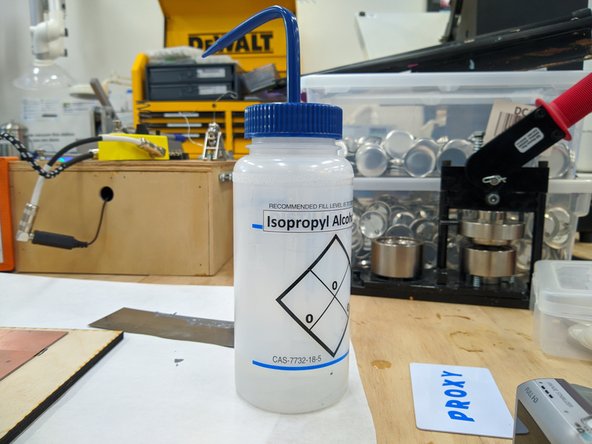
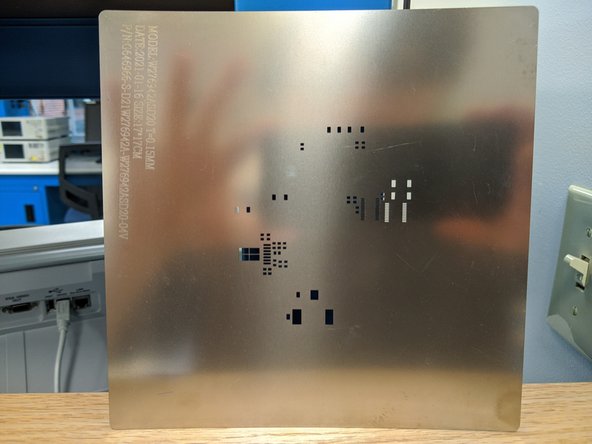
If you're stenciling a DAMNED PCB grab the PCB jig (plywood square with a piece of copper clad glued to it) from the top of a bench in the Fab area. You can also get the paste stencil (thin sheet of stainless steel with tiny holes) from this location, along with a bottle of isopropyl alchohol (IPA), and some steel shims we will use as squeegees.
-
Set everything on top of the paper covering the plywood table, including: your PCB, your jig, your stencil, the IPA, squeegee or shims, a popsicle stick and blue tape (both from the yellow DeWalt cabinet; sticks are in a plastic tub with epoxy packets), and several paper towels.
-
-
-
Solder paste contains lead. You should wear gloves while working with solder paste. Gloves are found in the soldering area in boxes alongside one of the benches.
-
Solder paste is stored in a refrigerator to prolong shelf life. However, it works best when at room temperature. In order to achieve the best results you should allow the paste at least an hour to reach room temperature before working with it.
-
Solder paste is found in the refrigerator below the pick and place machine. Grab the paste and open the lid. If it appears to have separated, use a popsicle stick from the yellow DeWalt cabinet to stir the paste and make it uniform.
-
-
-
Create a jig or brace to keep your PCB from moving around while you are applying paste. You can use scrap boards from the PCB mill drawer. You should tightly pack these scrap boards around your PCB so it cannot move. Tape the boards in place using blue tape.
-
If you have your own jig, place your PCB in the jig.
-
Place your stencil on top of the PCB in the jig. Carefully align the stencil so that all of the holes line up properly.
-
In order for paste to transfer properly it is imperative that you align the holes as best as possible. This may take a bit of patience as SMT pads can be quite small. If aligned properly you should see only the gold or silver of the pads. No colored soldermask should be showing through the stencil.
-
Once the stencil is aligned with the PCB, hold it firmly in place and apply a strip of blue tape across the top to adhere the stencil to the surface underneath. When you're done you should be able to flip up the stencil and put it back down without the PCB underneath shifting.
-
-
-
Using the popsicle stick, grab a blob of paste and apply it in a line across the top of the stencil. Make sure the paste is above all of the openings in the stencil.
-
Locate a squeegee or steel shim that is wide enough to cover all of the holes in your stencil. Place the shim above the paste line you made.
-
Be careful! The metal shims are great for applying pressure but they are sharp and can cut through a glove and cut your skin. Use caution when handling and treat them like a knife blade.
-
Using both hands, apply enough pressure to the shim such that it bends a little. Now continue applying this pressure and use the shim to drag the paste across the entire stencil. The paste will fill the holes as it moves across them. Complete this process with one motion and do not stop until you have crossed all holes in the stencil.
-
When you're done carefully lift the bottom edge of the stencil, using the blue tape as a hinge. Your pads should all have a clean solder paste layer on top.
-
Very fine pitch holes (small openings, tightly spaced) may bridge a little. This is OK and will be corrected during reflow in the oven. But if the paste looks ecessively smeared or is missing from spots, you may want to use the IPA and a paper towel to clean off the paste and try again.
-
-
-
Once you are satisfied with the paste application you can remove the stencil. Carefully lift your PCB from the jig, being careful not to smear the paste. Set the PCB aside.
-
Scrape any large excess of paste back into the paste tub. Cap the tub and return it to the refrigerator if you are done.
-
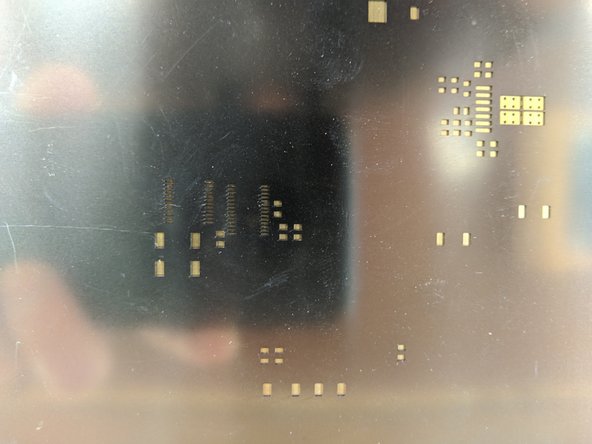
Be sure to clean all of the paste off the stencil using the IPA and a paper towel. You will need to repeat this process multiple times, and alternate between sides as paste is pushed through the tiny holes. Hold the stencil up to a light to verify no paste remains in the stencil holes.
-
Leaving paste stuck in stencil holes can cause problems for the next user. Don't be a jerk - clean the stencil well!
-
After cleaning the stencil, return everything to the proper locations. Throw away the white paper. Do not recycle it.
-
You are now ready to move on to placing surface mount components on your PCB.
-


Please be sure to clean up when you are done. Lead solder paste is dangerous so be sure to throw out the paper you were working on and clean up any smears of paste which may have made it onto the work surface.
Please be sure to clean up when you are done. Lead solder paste is dangerous so be sure to throw out the paper you were working on and clean up any smears of paste which may have made it onto the work surface.
Cancel: I did not complete this guide.
7 other people completed this guide.