
Introduction
Published by Ryder R. Nance with contributions from Matt P. Lamparter.
Tools
Parts
No parts specified.
-
-
Begin by plugging your USB flash drive into the USB port on the front of the oscilloscope.
-
Note that your drive should be formatted as FAT32 (not NTFS, HFS+, APFS, etc.) Failure to format your USB drive properly will result in an inability for the oscilloscope to write to the drive.
-
-
-
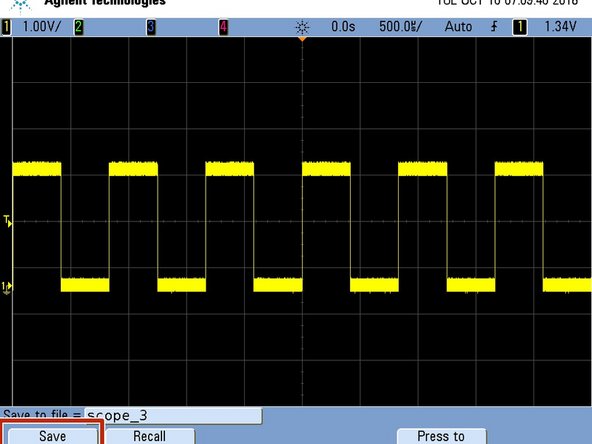
Once you are satisfied with the waveform displayed on the screen, press the Save/Recall Button on the front of the oscilloscope.
-
-
-
Click Save
-
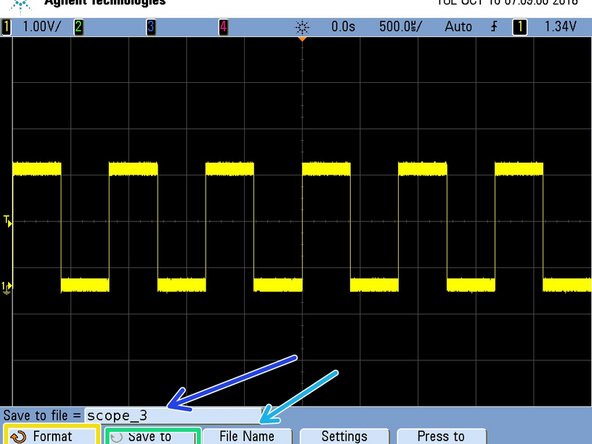
Select the appropriate file format. We suggest PNG(24-BIT)
-
On the next screen, you can select:
-
The save location (Make sure this is set to the USB drive. You can also set the scope to save in a specific folder on the drive if you wish)
-
View the name of the file
-
Change the name of the file (if desired)
-


Cancel: I did not complete this guide.
One other person completed this guide.
Team
One Comment
Screen Clipper is a Free and Portable Screenshot Capturing Tool. It can be used to capture or clip any area of your desktop screen. Once launched, you simply drag the window to the area you want to capture, set the size of the area to clip and then click the check-mark to take the screenshot. Its a good pendrive abd its has a good data security also .Its also have a standard encryption and for more visit Data Recovery Dubai