
Introduction
This guide will show you how to operate the reflow oven, select the appropriate temperature profile for your board, and initiate the reflow process. There are also steps to take to correct portions of your board if they do not reflow completely.
-
-
If your PCB uses surface mount components you will need to add solder paste to your PCB, and then place your components on top of this paste.
-
While the solder paste temporarily holds your components in position while you populate your board, you need to apply heat evenly to your PCB to melt or reflow the paste. This process is accomplished in the reflow oven.
-
This tutorial assumes you have already completed the pick and place tutorial.
-
-
-
Locate the reflow oven under the soldering table in front of the PCB mill.
-
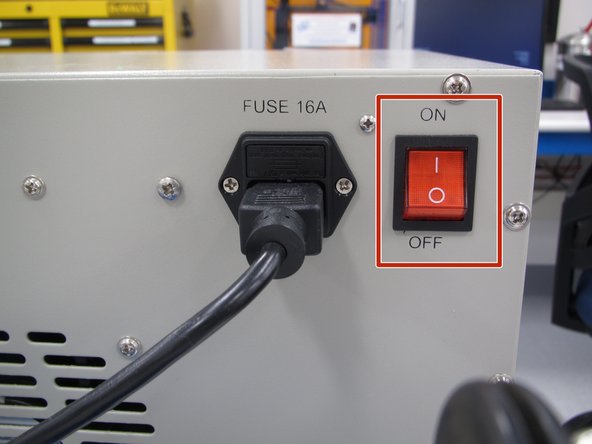
Turn the power on using the rocker switch in back of the oven.
-
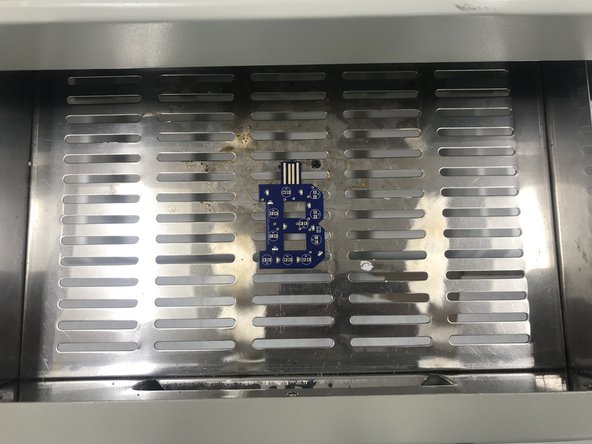
Open the drawer and gently place your PCB in the center of the drawer.
-
Close the drawer.
-
Use caution when transferring your PCB to the reflow oven. Remember that the paste is only temporary and will not hold your components firmly in place. It is important not to disturb component placement when transferring your PCB to the reflow oven.
-
-
-
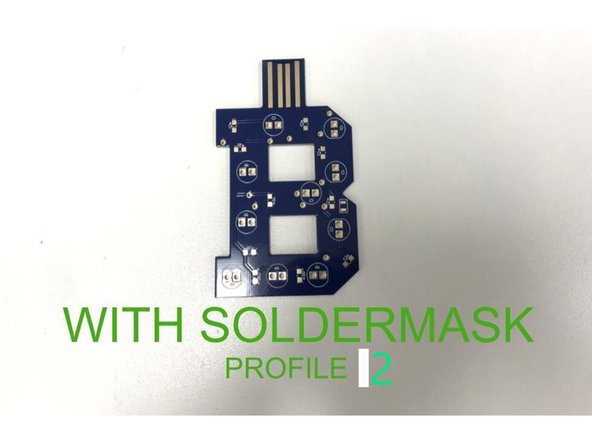
You now need to choose which temperature profile to use.
-
Profile 2 - use this profile if your PCB was professionally manufactured and has soldermask.
-
-
-
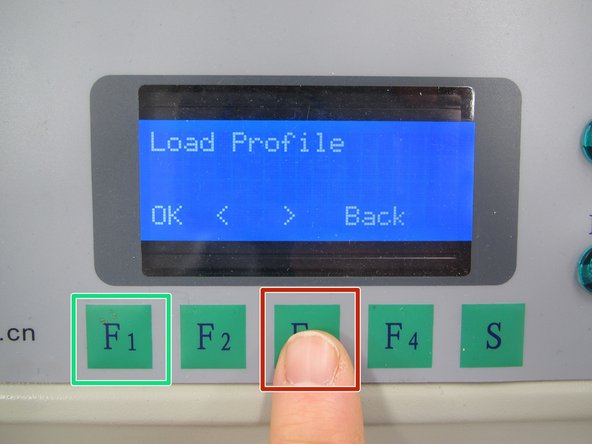
Press the F3 button on the oven twice so that the LCD shows Load Profile.
-
Now press F1 to select the Load Profile menu.
-
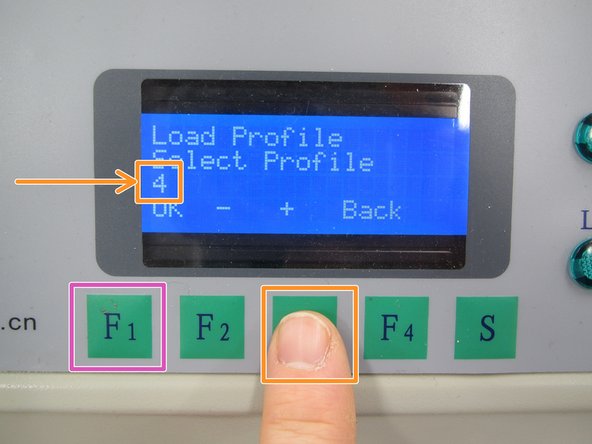
While the LCD displays "Load Profile Select Profile" press the F3 key to cycle through the profiles. Choose the profile that corresponds to your PCB type as described in the previous step.
-
In this example, profile 4 is chosen. Your board is most likely professional and so you should use profile 2.
-
With the correct profile number displayed, press the F1 key to select the profile.
-
-
-
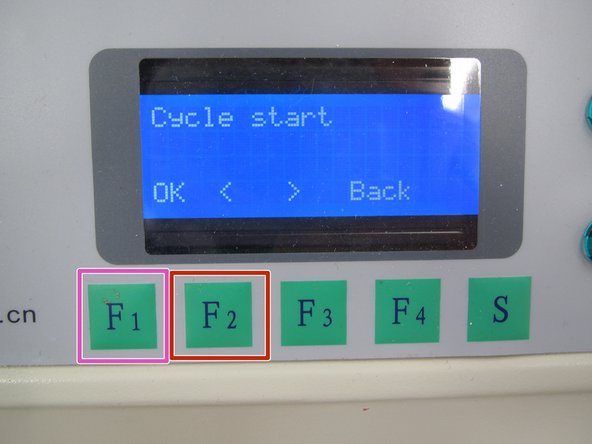
Once you have loaded the correct profile for your PCB, press the F2 key twice to return to the Cycle Start menu.
-
Now press the F1 key to begin the reflow cycle.
-
The display will change to show you various parameters associated with the cycle. You should hear the fans ramp up within the oven as the reflow process begins.
-
The process will take between 10 and 15 minutes, depending on which profile you selected.
-
-
-
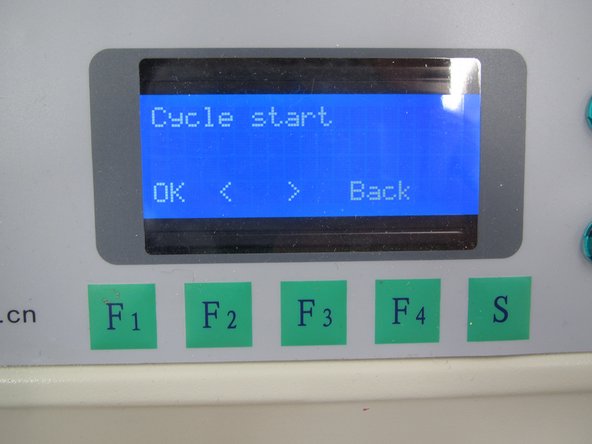
When the process is complete the LCD will return to the Cycle start display. Open the drawer and remove your board.
-
The PCB may still be too warm to handle. Use caution when picking it up. You may open the drawer and let the board cool for a minute or two if you wish.
-
Remember to turn off the reflow oven when you are done.
-
-
-
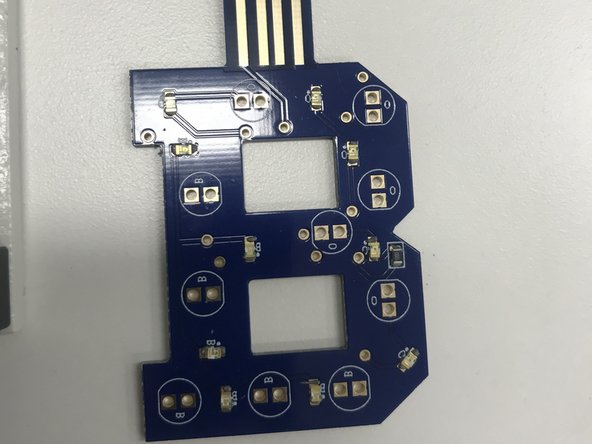
Examine the solder pads on your PCB, particularly if your board is copper clad and was milled in the Maker-E.
-
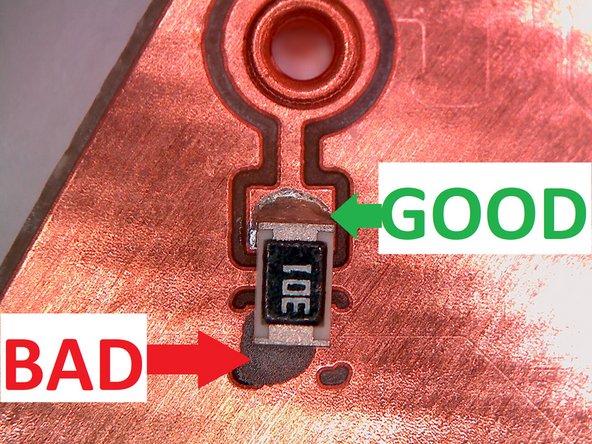
Ideally, all of the solder will have reflowed properly and should appear shiny.
-
Look for any solder joints that did not reflow properly. These joints will be dull grey and will not provide good mechanical or electrical connection. These pads will need to be addressed. See the next step in the tutorial for details.
-
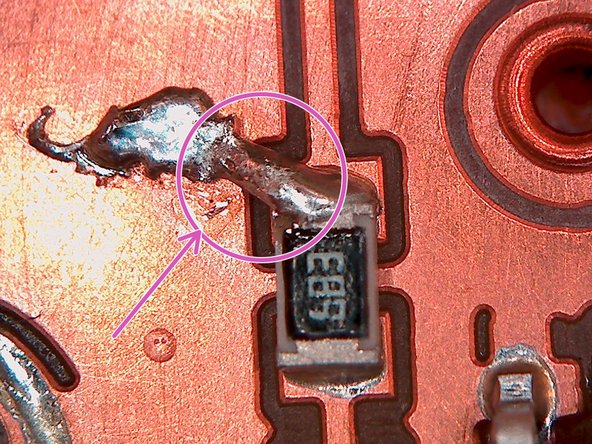
You should also look for solder bridges - places where solder has flowed which was unintended:
-
Look for adjacent pins which have been inadvertently connected by solder.
-
Look for pads which have been inadvertently connected to the surrounding copper plane.
-
-
-
If you have solder paste that did not reflow properly, or you have solder bridges you wish to remove, you have two options to correct these issues:
-
You can use a soldering iron to heat individual solder joints until they reflow. Be sure to hold your SMT components in place with a metal object so that they do not lift off of your PCB along with the hot iron tip. See the soldering tutorial for more information on soldering.
-
Alternatively, you can use the hot air rework tool to reflow solder paste on a small scale. See the hot air rework tutorial for more information. Linked here: Reflowing solder on a PCB
-
For correcting soldering problems, refer to the Basic soldering tutorial linked here: Basic soldering (BUCKNELL B UPDATE)
-
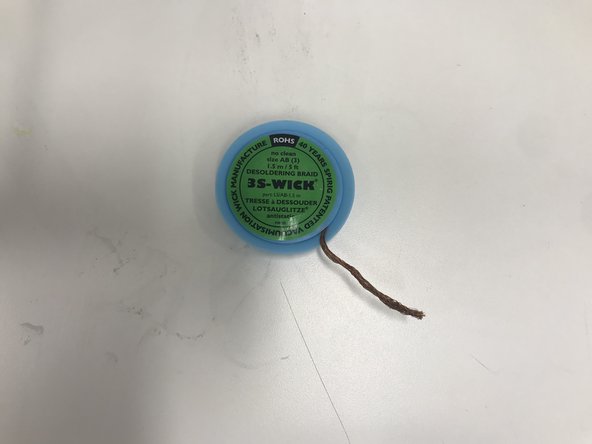
Be sure to use solder wick when correcting issues (Shown in the second image)!
-


Cancel: I did not complete this guide.
19 other people completed this guide.