Tools
Parts
No parts specified.
-
-
First, get the Zoom app on your iPad - it's free in the App Store.
-
Then get something that lets you write clearly on a whiteboard - good options include Explain Everything Whiteboard
-
To get a free copy of Explain Everything Whiteboard, go to the website ExplainEverything.com
-
Sign up for a "new" account and use your Bucknell.edu email address. It will automatically recognize we now have a site license.
-
Then to to the App store on your iPad, download Explain Everything Whiteboard, and log-in
-
Other options for a whiteboard-like thing for iPad include just about any writing app: Notability, Pages, Notes
-
-
-
Start a Zoom meeting from your laptop or office computer (NOT your iPad)
-
-
-
Start the Zoom app on your ipad
-
There are four big happy icons on the screen. Select "Share Screen"
-
Type in the meeting number of the meeting you're running on your computer. It's usually over your head in the title bar of that window.
-
When the pop-up comes up, select "Start broadcasting". Note that ANYTHING on your screen from that point will be broadcast, so do not check your email etc.
-
Switch over to explain everything or whatever whiteboard and teach class!
-
When you're done, go back to the zoom app and select "end broadcast".
-
-
-
IF you can't get the previous steps to work because you only see "start recording' where "start broadcasting" should be, do this instead.
-
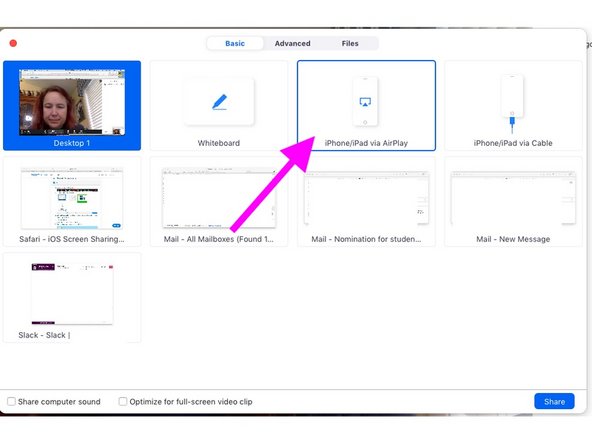
In Zoom your laptop/computer, select "Share Screen" from the pop-up menu at the bottom of the screen.
-
In the options that then appear, select "iPhone or iPad via Airplay"
-
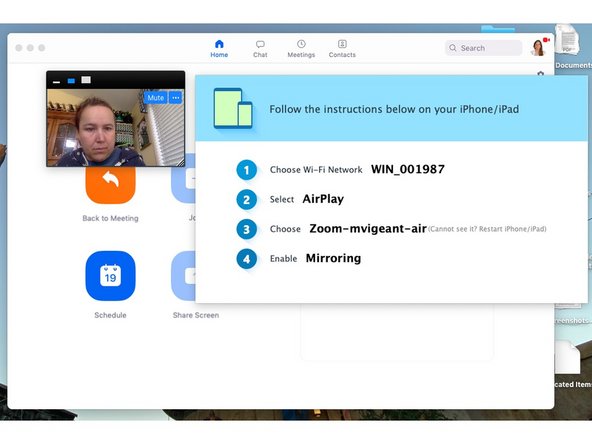
If this is the first time, it will ask you to download a plug-in. Agree, it's easy and will be automatic.
-
You will now see a screen like the second image with instructions for what to do next with the iPad - it's got to be on the same wifi network with the computer, have Airplay enabled.
-
-
-
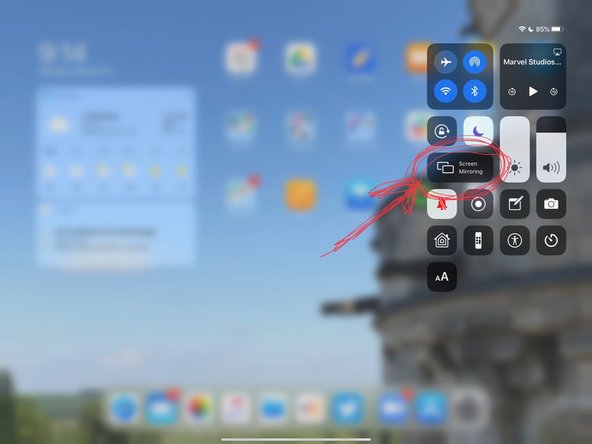
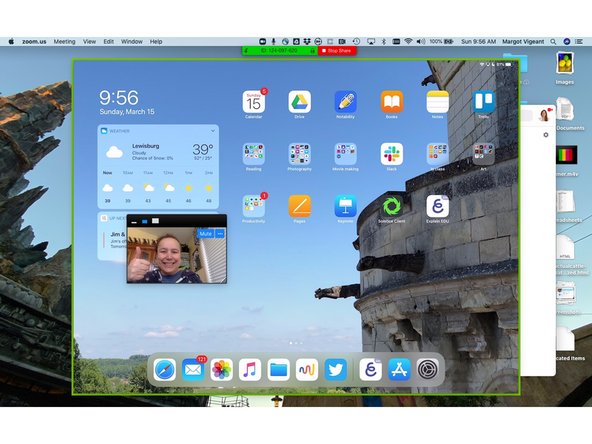
On your iPad, start "Control Center" (usually a swipe-diagonal from the upper right corner of the screen)
-
Hit the "Screen Mirroring Button" as shown in image 1
-
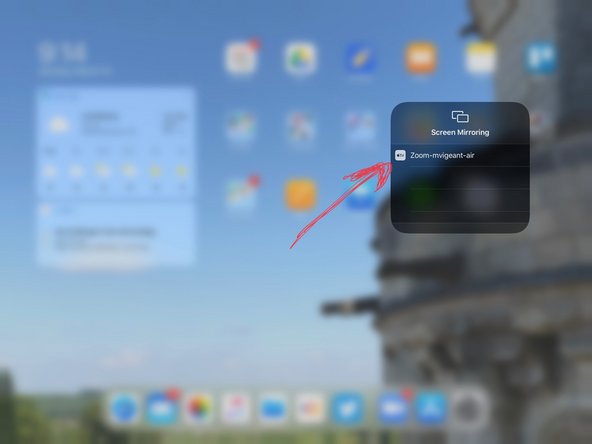
As shown in image 2, you should see Zoom at your computer as an option for sharing. Select that.
-
As shown in image 3, your iPad screen as well as your live image are now available on Zoom.
-
-
-
Explain Everything can do A LOT. You in fact don't need Zoom to share this screen. I recommend looking into its tutorials on its webpage. BUT in the meantime, here's the simple case for use with Zoom.
-
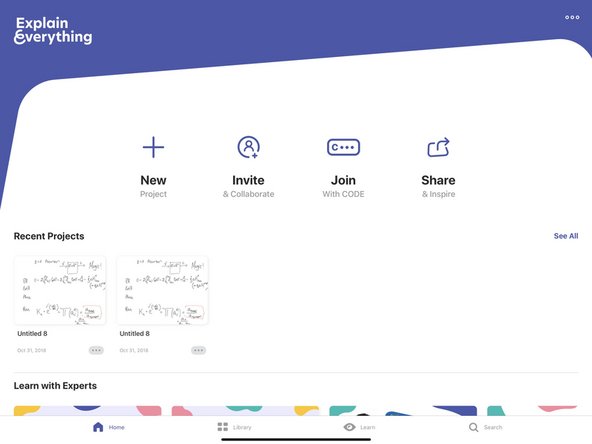
Open Explain Everything. Select "New Project" and "Blank Canvas"
-
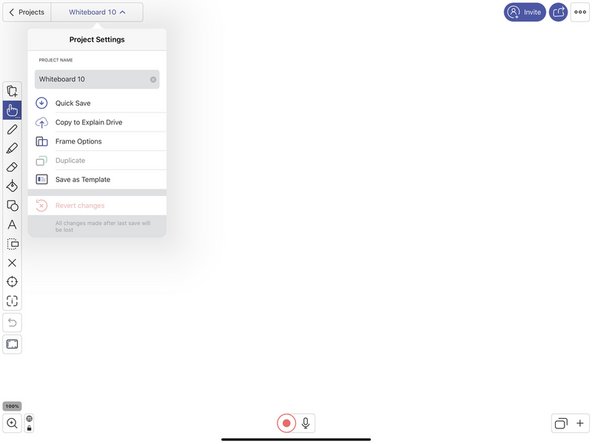
Click in the upper left to give what you're doing a meaningful name, like "Office Hours 3 20"
-
If you are doing this while on Zoom, just write on the whiteboard as you normally would. Click in the lower right to add more whiteboards when you run out of space.
-
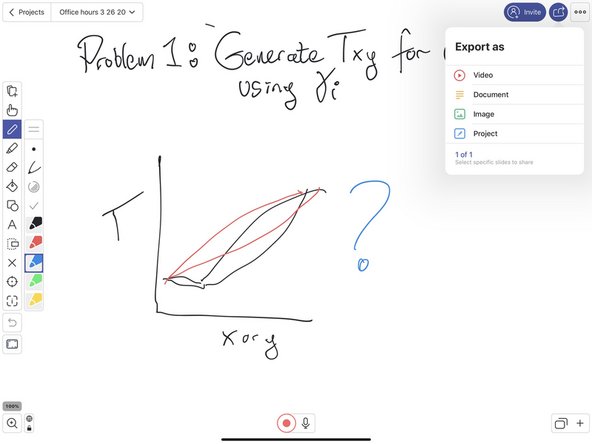
At the end of office hours, it's nice to export this as a PDF and post it where students can see. Select the export icon in the upper right (purple arrow), select "Export", and "Document". Then save the PDF someplace useful and post to Moodle.
-