-
-
From the tool selection screen in the Moku software, pick the oscilloscope tool.
-
-
-
Axis adjustments are found in the menu in the top right denoted by the arrow. you can change whether you want to scale the vertical or horizontal axis, as well as zoom on a box that you select.
-
Once you've selected the axis you want to change, scrolling the mouse wheel will cause the changes
-
Holding left-click allows you to pan around the scope.
-
Double clicking anywhere on the screen will auto-adjust the scope
-
-
-
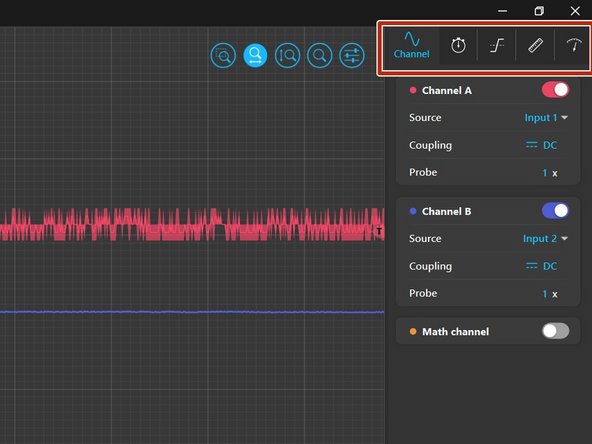
Most of the scope options are found on the right had side of the screen. The options are channel, timebase, trigger, measurement, and voltmeter.
-
The button to the right of the magnification hides the options menu
-
-
-
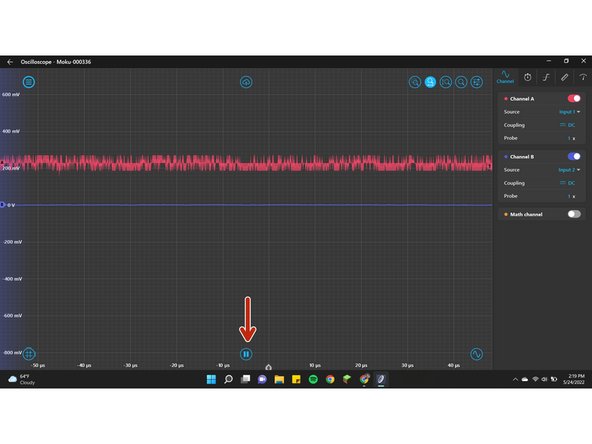
The start/stop function of the scope is found in the middle of the screen on the bottom.
-
-
-
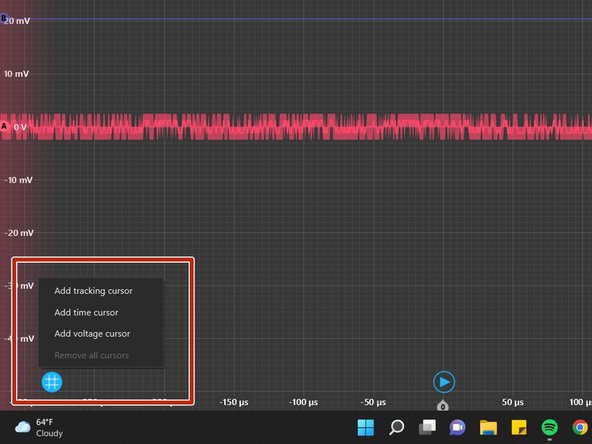
In the bottom left corner, there is an option to place cursors
-
Clicking the bubble brings up a physical menu where you can select the type of cursor you want to add. Additionally, you can remove all cursors from this menu
-
-
-
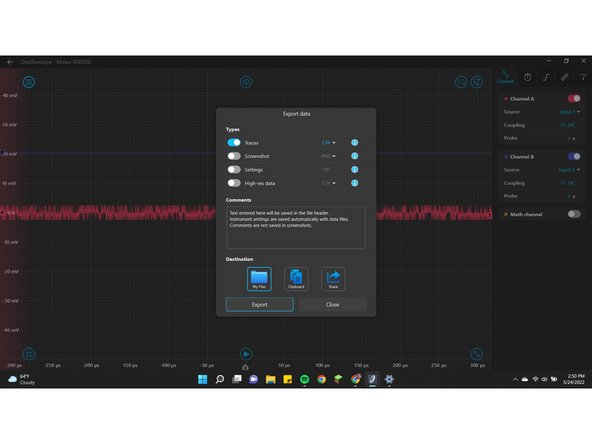
in the top-middle of the screen, there is an option to export the scope reading.
-
Clicking the icon will open up a menu that you can select what you want to export, as well as what format you want the file in.
-
-
-
In the bottom left corner, you can access a waveform generator.
-
In this menu, you can select the waveform you want. They will be in outputs 1 and 2 respectively, which you can view by changing the channel settings
-
clicking the tool icon in the bottom right allows you to sync the phases of the two waves, if needed.
-
-
-
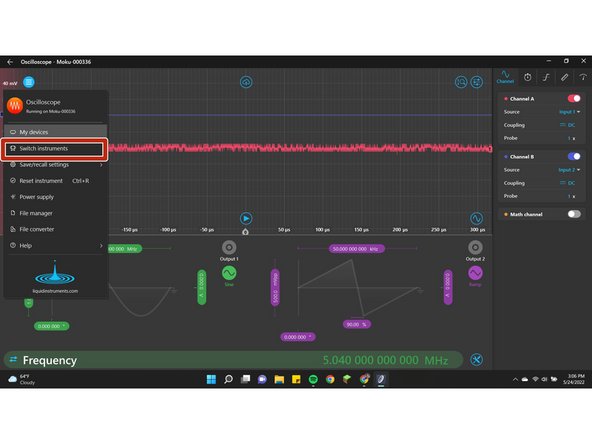
Clicking the menu in the top left corner opens a general menu that is generally the same for each tool.
-
The power supply features can be accessed from this menu
-
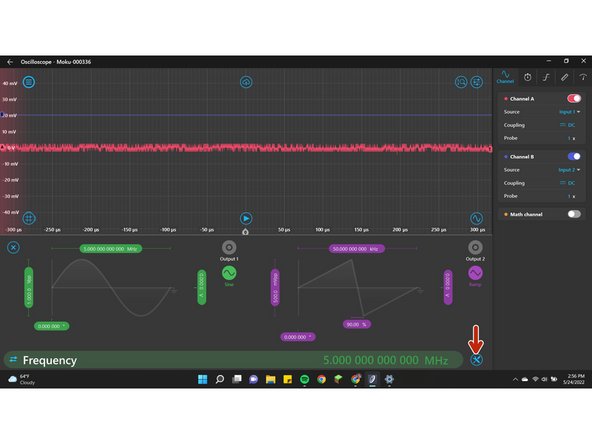
To go back to the tool selection screen, select the "switch instruments" option
-