
Tools
Parts
-
-
Before removing a spool of filament, the extruder head must be heated up to 215˚C. Navigate the printer control interface via the following menu path:
-
Change Filament
-
Change Filament
-
Preheat PLA
-
This will begin heating up the nozzle to 215˚C, which will take approximately 2 minutes from a base temperature of 0˚C.
-
The current temperature of the nozzle can be viewed on the info screen in the top left corner. It is the bottom temperature.
-
-
-
Once the extruder head has reached 215˚C, the filament must be retracted.
-
Follow the instructions on the board. Unload the filament when it is said on the board.
-
When unloading the filament, use your hand to lightly hold the filament above the extruder head. This will allow you to guide the filament and ensure that it is being properly ejected.
-
-
-
Once the filament has been fully ejected from the extruder head, swap the old spool with the desired spool.
-
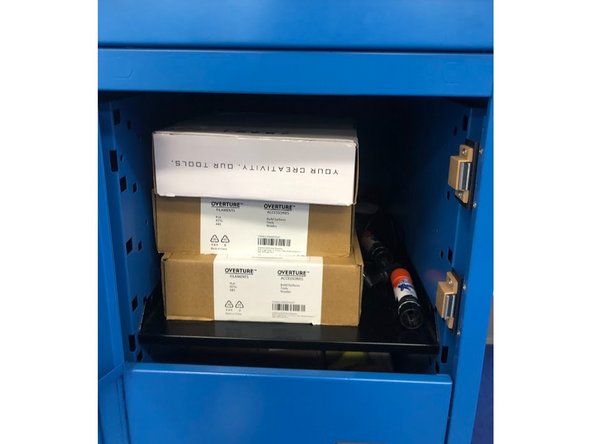
If the color of filament you are looking for is not currently set out near the printers, you can find more in the blue drawers under the 3D printers.
-
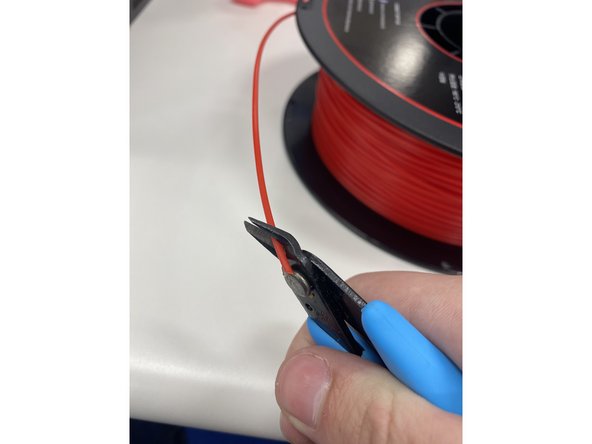
Before inserting the new spool of filament, make sure to clip the end of the filament with a pair of wire cutters. The cut should be at about a 45 degree angle so that the filament tapers diagonally to a sharp point. This makes it easier to insert into the extruder head.
-
Ensure that the extruder head is still heated to about 215˚C. On the printer control interface, pull up the same extruder control screen that you used when ejecting the filament. Guide the filament through the hole in the top of the head with one hand, and begin slowly rotating the scroll knob clockwise.
-
Feed the filament through the head approximately 100.0 mm. This will ensure that your filament has been fully fed through and extrude any remaining filament from the last spool.
-
Ensure that the filament has the correct orientation when feeding it into the head. The "bulge" of the filament should be facing outward towards you. This will prevent the filament from curving above the hot end and obstructing the fan.
-
Make sure that you have pushed the filament far enough through the top hole of the head so that it is caught between the gears; otherwise it won’t feed through. You can check this by lightly holding the filament while adjusting the scroll knob. If you feel tension in the filament, it is feeding through properly.
-
-
-
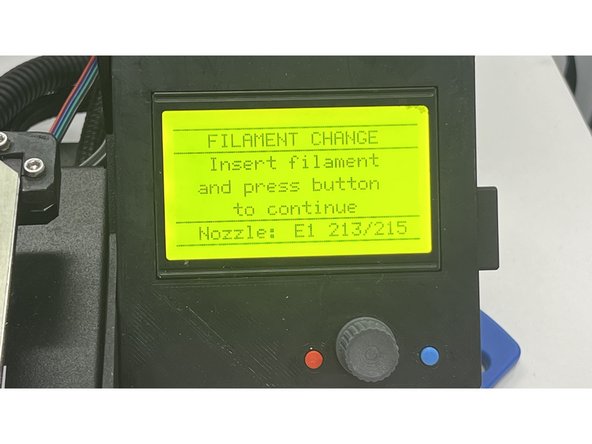
Gently feed the filament when it says so on the board.
-
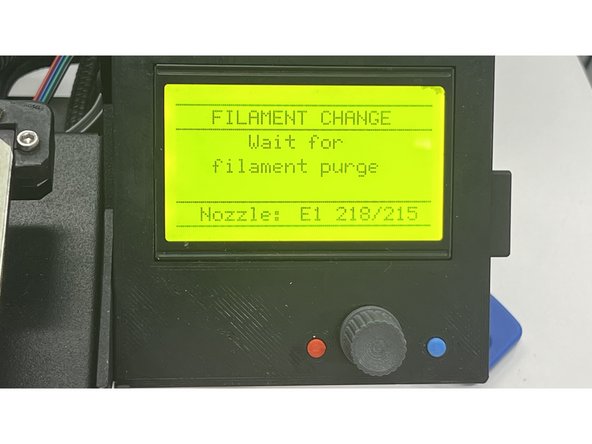
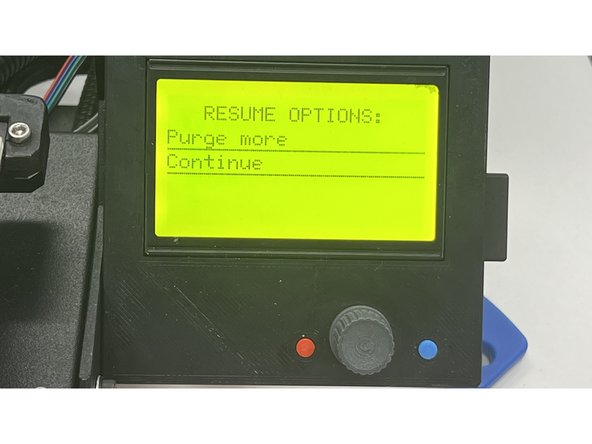
Follow the instruction on the pad, it will purge some filament automatically. Hit purge more if you did not see filament coming out from the head. After you see filament out, hit continue and you finished replacing the filament!
-


Cancel: I did not complete this guide.
28 other people completed this guide.