Introduction
The Epilog Fusion 40 Laser Cutter in Mooney Lab is used to cut and etch wood and certain types of plastic.
Cutting (Vectoring)
Cutting, also known as Vectoring, means moving a high-power laser beam slowly through a material, so as to entirely separate the part being cut from the original stock material.
Etching (Rastering)
Etching, also known as Rastering, means moving a low-power laser beam very quickly over a material, so as to remove just a light amount of material from the surface of the original stock material.
Parts may also be cut AND etched in the same job. The laser cutter will complete all etching before moving on to the cutting.
A word about metal
This laser cutter can not cut or etch any metal. That includes thin metal, aluminum, and so on. To be very clear, it can not cut or etch any metal. If you try to cut or etch metal, you may severely damage the laser cutter. Etching metal *can* be done, but requires the use of chemicals to prepare the surface.
Warping
Warping from heating and cooling is a real concern when you are working with any sort of plastic. Try to avoid etching large areas in your design. If that is not an option, or your piece is still warping, try to run multiple etching passes at a lower power.
Consistency
Lastly, please note that the laser cutters are not consistent. Depending on recent usage, time since cleaning, and many other factors, the actual power of the machines will vary.
Prepare small tests to make sure you have the right settings before running your actual job. Ask a TA about how to make changes based on the results. Taking five minutes to run tests will save you time, money, and frustration. There is usually plenty of scrap material around for running test cuts.
== Mass Manufacturing
==
Mass manufacturing is currently prohibited. If you need to make more than ten of something you’ll need to discuss it with a Mooney or PDL Technician.
Schedule Wisely
Look at the clock. Consider what time Mooney is closing. Your first experience with the laser cutter may take a good deal of time, do you have ample time? If not, you may have enough time to at least get your design ready. Continue, and check the clock again when your design is ready to send to the laser cutter. An unattended laser can be a fire hazard. You will remain in the room while the laser is running.
-
-
You will need something to cut or etch. It is recommended that you bring your own material, but some scrap is available in the racks and bins under the tables in Mooney. For the laser cutter tutorial, find a piece of wood that is at least 6” wide by 6”
-
Some materials produce poisonous gases when lasered. You are the only one who can keep the lab safe. Continue reading this document to learn how to distinguish safe and appropriate materials.
-
These are often everyday materials like PVC plastic (which produces deadly chlorine gas) or Fiberglass (which produces deadly bromide gas) or PET (which produces hydrogen cyanide gas). Those are just examples, and an exhaustive list is not available.
-
If this is your first time using the laser cutter, look in the scrap and leftovers racks to find a free piece of material you can use to learn this process. DO NOT use scraps from the machine shop (PDL) or elsewhere, which may be materials that are dangerous and toxic to use on the laser cutter.
-
In general, you can vector cut acrylic and wood products (plywood, masonite/hardboard, lumber under ¾” thick). You can raster these materials at any thickness.
-
-
-
Once you’ve selected your material check the Speed and Power Recomendations sheet which can be found in Mooney near the laser cutter, and attached to the tutorial-- is your material listed?
-
If your material is not listed, you must find a Material Safety Data Sheet (MSDS) for your material and show it to a TA or PDL technician before using it. Some materials such as PVC and FR4 Fiberglass produce poisonous gasses and may not be cut or etched under any circumstances. This is very serious. Do not cut unapproved materials!
-
Other types of material such as Polycarbonate, Polypropylene, or Polyethylene do not absorb the wavelength of light produced by a CO2 laser and will not cut at all. If your material is not listed in the Speed/Power document, see a student technician or PDL technician before using it in the laser cutter.
-
Look at your material. Is it perfectly flat or is it slightly cupped or twisted or warped? If it is not flat to within 1/4 (0.25) inch, you need to find another piece of material. Later on you will be focusing the laser beam onto the material, and the material needs to be flat.
-
This is serious. If you have a significantly warped workpiece, the laser head may hit the workpiece and permanently damage the laser cutter. These machines are expensive. Don't damage them. Get flat material.
-
-
-
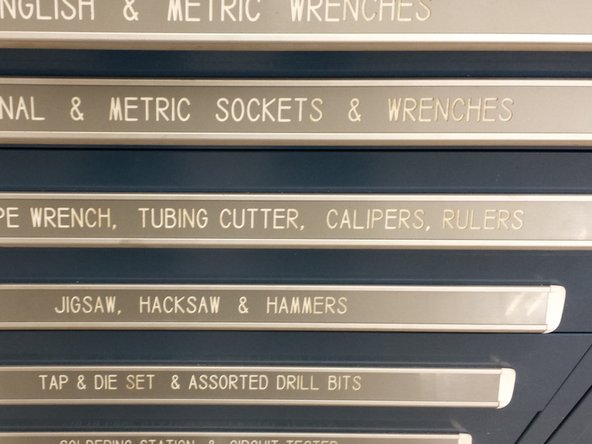
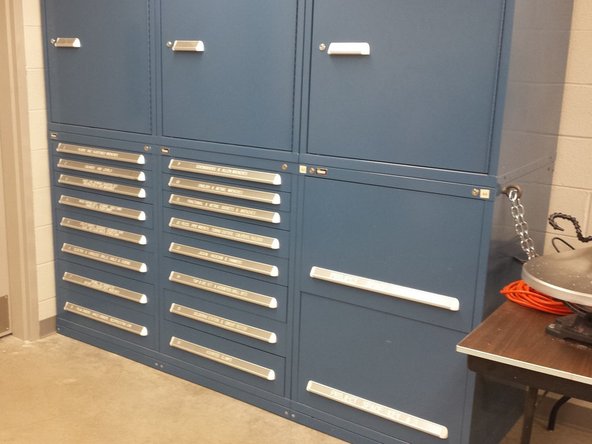
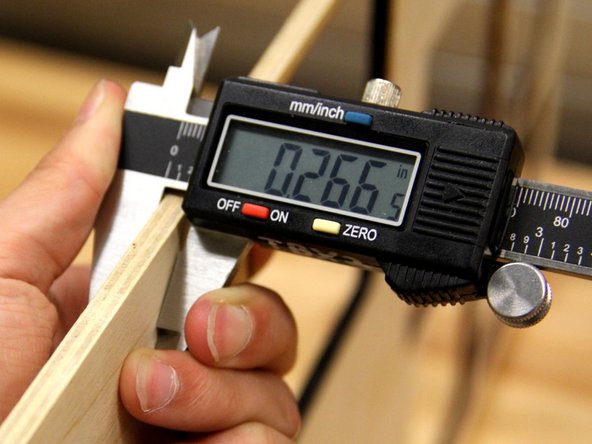
Get a measuring tape or calipers from one of the blue drawers. Make sure to return these once you are done using them.
-
Measure the width, height, and thickness of your material. Your work piece must fit within the laser cutter bed, which is 40 inches by 28 inches. If it is larger than this you will need to cut it down to size.
-
If your material needs to be cut, ask a TA or technician to direct you to the proper cutting tool for your material.
-
-
-
The Laser Cutter works best with CorelDraw. It is available on the computer in the Mooney Lab.
-
You can also use other vector graphics programs such as Adobe Illustrator, however we strongly suggest CorelDraw
-
Open CorelDRAW from the program menu
-
If a product registration dialog box or some other advertisement opens up, simply click the red X at the top right hand corner (or hit “close”). There is no need to register your product
-
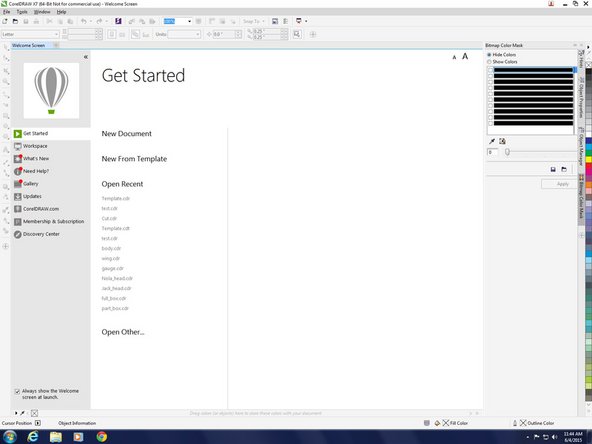
The Quick Start dialog will appear. Click on “New Document”
-
-
-
The "Create A New Document" dialog will appear. You will need to set the following:
-
Type a name for your design, this will be the file name used to save your design. Choose a unique file name that you will recognize later and that will distinguish your file from others. For example a wise name might be "2013-10-21-icc-gear-design-rev1" while an unwise filename might be "test" or "job" or "this_is_it"
-
Select “inches” for the units.
-
Set the width and height as 40” and 28” respectively.
-
Set the “Rendering Resolution” to 300dpi.
-
Click “OK” to continue
-
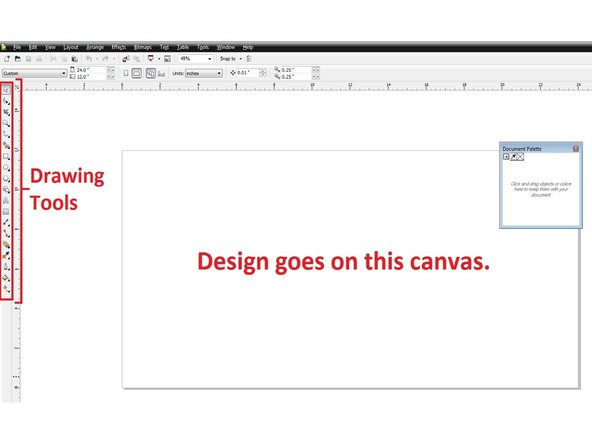
You are now at the main CorelDRAW Screen Notice the toolbar on the left that contains the drawing tools, and the blank canvas in the center of the screen.
-
You do not need to click anything right now. Just look at the drawing tools, and look at the canvas. Now you know the names of these things, and you can communicate more effectively if you need to talk to a teaching assistant later.
-
-
-
Insert wisdom here.
-
Cancel: I did not complete this guide.
21 other people completed this guide.


