
-
-
Supplies needed for Journal Making include:
-
2 Cardboard Pieces (7.5" x5") (Note: You can change the size, but just keep in mind that you will also have to adjust the other sizes accordingly)
-
2 Cardboard Strips (1-1.5"x5")
-
2 Front Papers and 2 End Papers
-
Drill (for the holes)
-
Journal Making Glue
-
16 or more or less pieces of paper Leather/Cottom cord to tie the journal together
-
Binder Clip
-
-
-
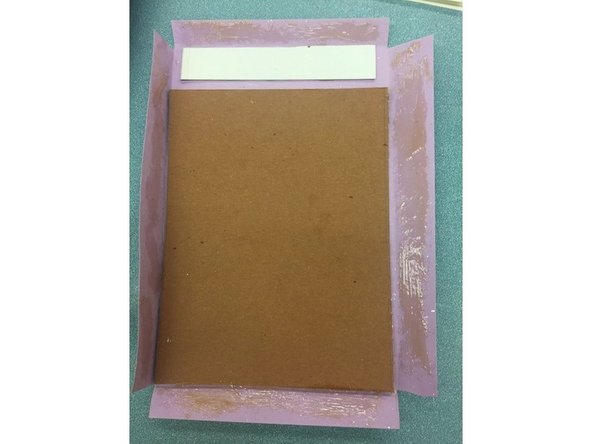
Lightly coat the cardboard pieces (all 4 pieces) with the glue (Thick coats will make the front pages lumpy)
-
-
-
Paste the cardboard pieces so the glue sticks to the front papers.
-
Leave some space between the small cardboard piece and the bigger one.
-
-
-
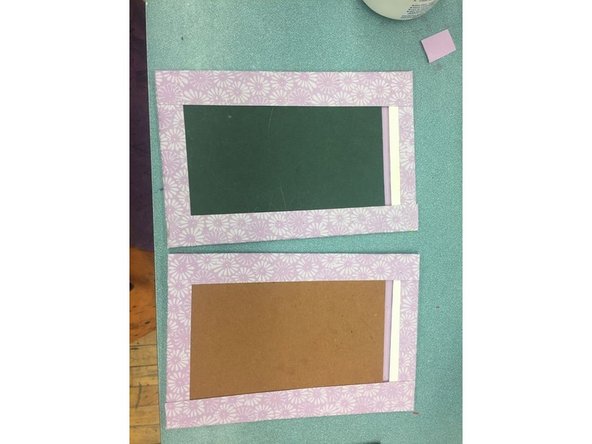
Lightly coat the edges of the front paper and glue it down.
-
The second image represents your finished papers after pressing down the edges.
-
-
-
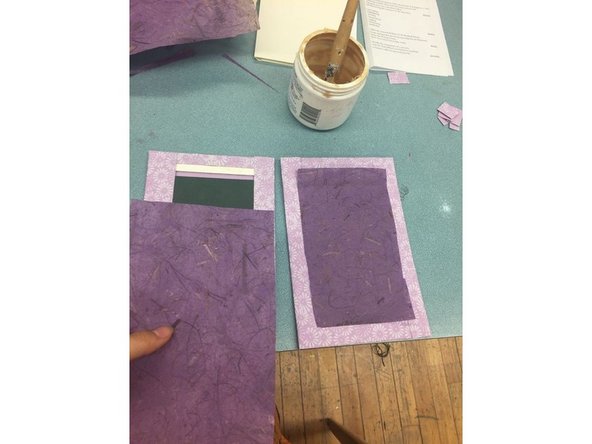
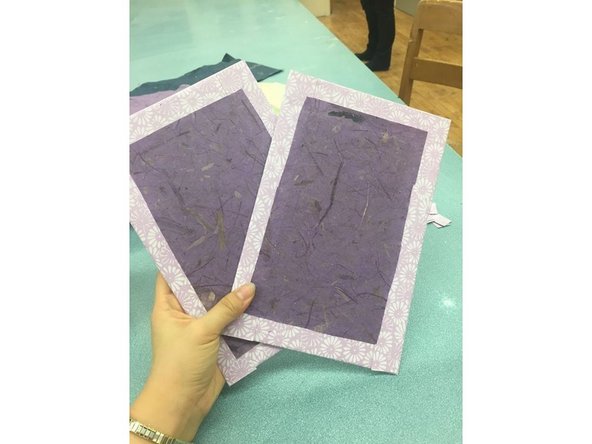
Lightly coat the end papers with glue and stick them over the cardboard cutouts.
-
-
-
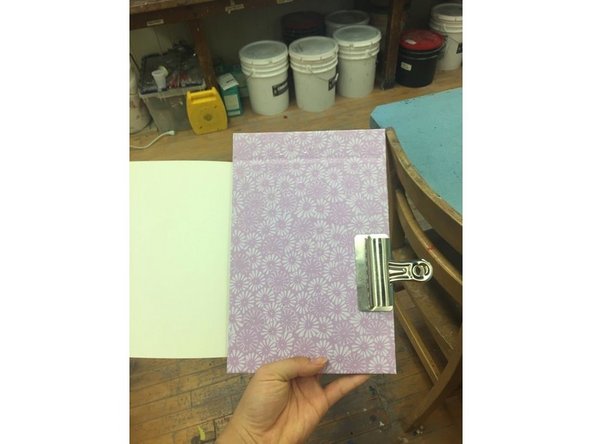
Place your papers between the two covers and align them the way you want them to look.
-
-
-
Clip the covers and paper with a binder to keep it in place for drilling.
-
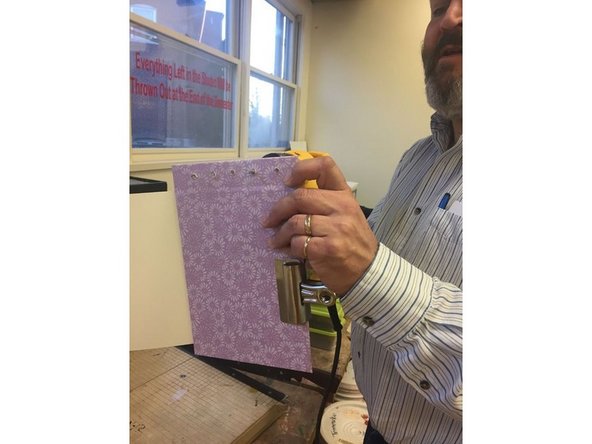
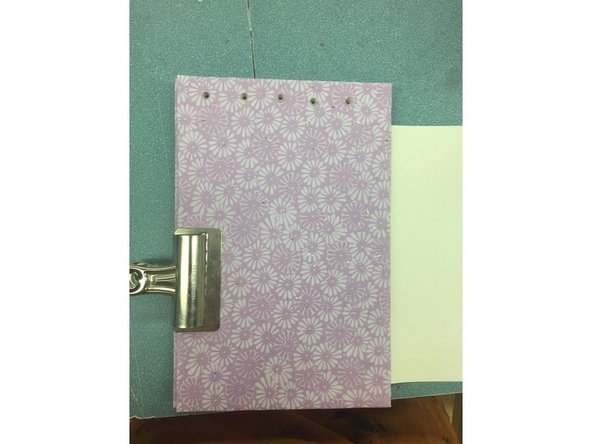
Place five dots where you would like to drill holes through the paper and drill holes through them.
-
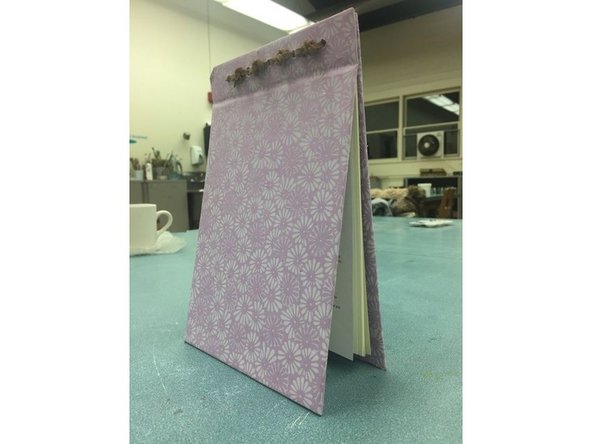
This is how your journal should look like after drilling the holes. Now, leave the binder clip and tie string through the holes.
-
-
-
Congrats on making your journal!
-


Cancel: I did not complete this guide.
2 other people completed this guide.