-
-
Before we begin it is important to note that if you are using a public computer (any computer that is not your own personal computer) then you should not store these library files locally.
-
Storing files locally means saving them to the hard drive of the computer you are working on (in locations like the Desktop or the Downloads folder).
-
Storing files locally means that if you save your work and then attempt to open it on a different computer you will not be able to access the libraries saved on the previous computer.
-
The correct location to save libraries is on networked storage such as Google Drive or Bucknell's Netspace. Libraries saved in a networked location can always be accessed from any computer.
-
In the following steps, please be sure to save all library files to networked storage.
-
-
-
Visit the public Google Drive folder where the library files are stored.
-
Download the MakerstockYYYYMMDD.zip file and note where you save it.
-
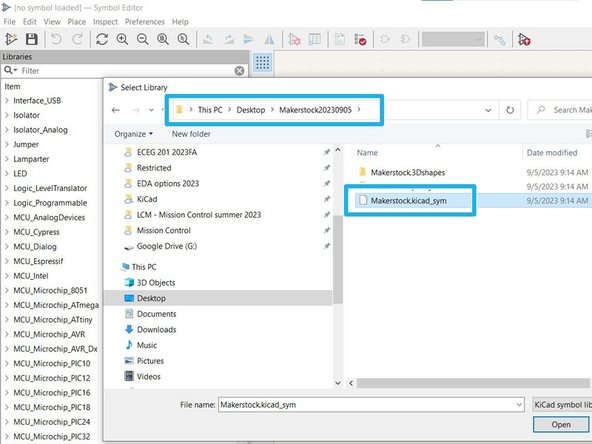
Unzip the file and you should have a single file and two folders as shown here in the second image.
-
Note that local storage (the Desktop) is used in this example. Please do not save things to local storage as you complete this tutorial!
-
-
-
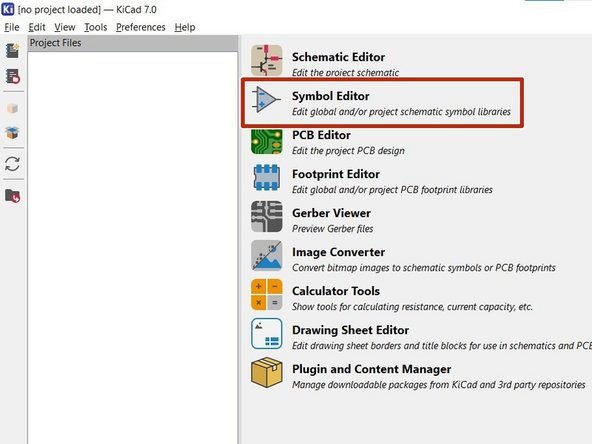
Launch KiCad and open the Symbol Editor.
-
Select File -> Add Library from the menu bar at the top. Navigate to the location where you unzipped the .zip file you downloaded and select the Makerstock.kicad_sym file.
-
Depending on the settings for your operating system, you may not see the .kicad_sym extension.
-
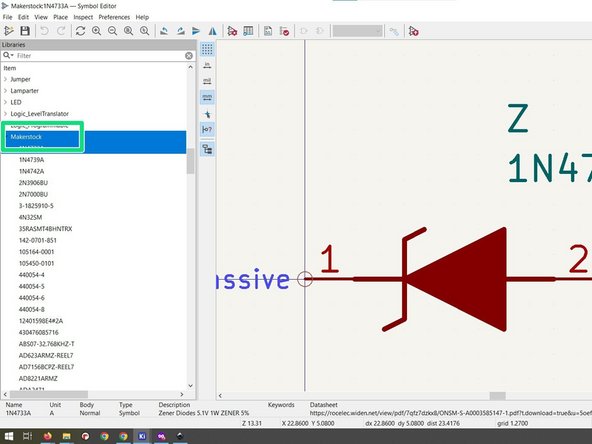
Confirm that you now see the Makerstock symbols library in the left column of libraries. Try double clicking on an arbitrary symbol within the library to confirm that the symbol is loaded on the right side of the screen.
-
When you are confident the Makerstock symbols library has loaded properly you can exit the Symbol Editor.
-
-
-
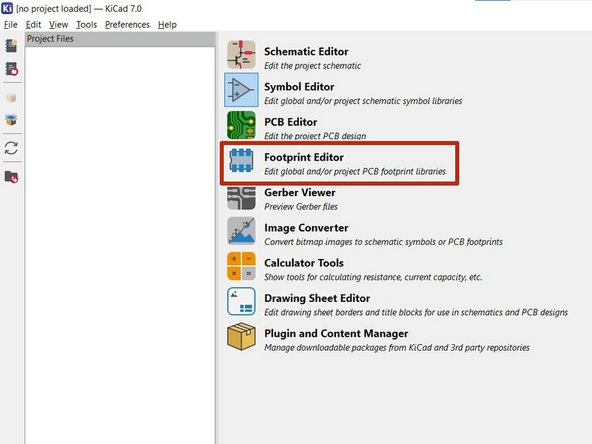
Now launch the Footprint Editor.
-
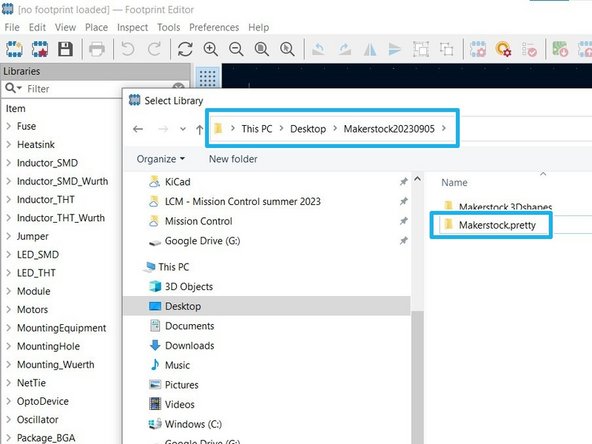
Select File -> Add Library from the menu bar at the top. Navigate to the location where you unzipped the .zip file you downloaded and select the Makerstock.pretty folder.
-
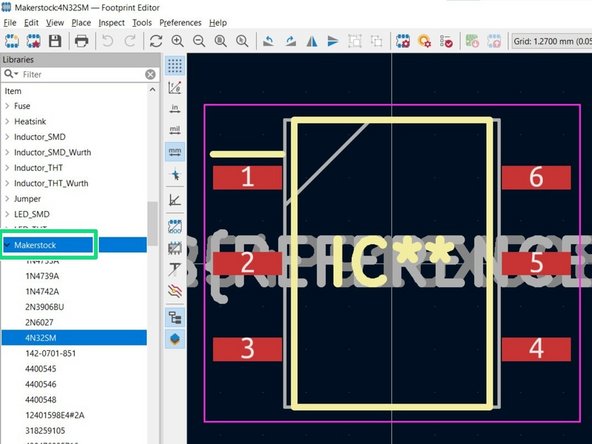
Confirm that you now see the Makerstock footprint library in the left column of libraries. Try double clicking on an arbitrary footprint within the library to confirm that the footprint is loaded on the right side of the screen.
-
When you are confident the Makerstock footprint library has loaded properly you can exit the Footprint Editor.
-
There is one additional optional step that may be completed next, prior to exiting the Footprint Editor.
-
-
-
While this step is not required for designing PCBs, it is helpful to be able to render a populated PCB in 3D to view what the finished product will look like.
-
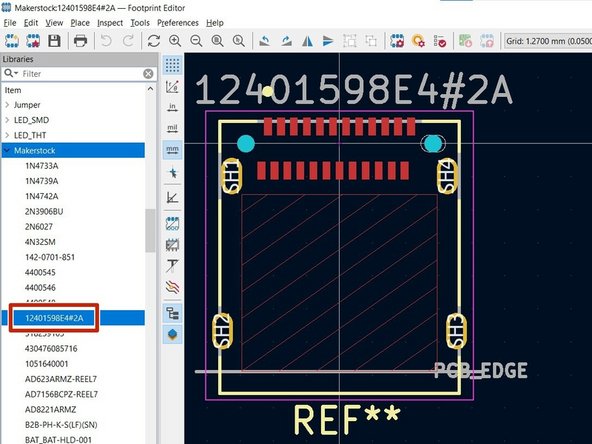
With the Footprint Editor window still open, locate a footprint with a known 3D model included. In this example we will use the 12401598E4#2A USB C connector. Double click the footprint to load it on the right side of the window.
-
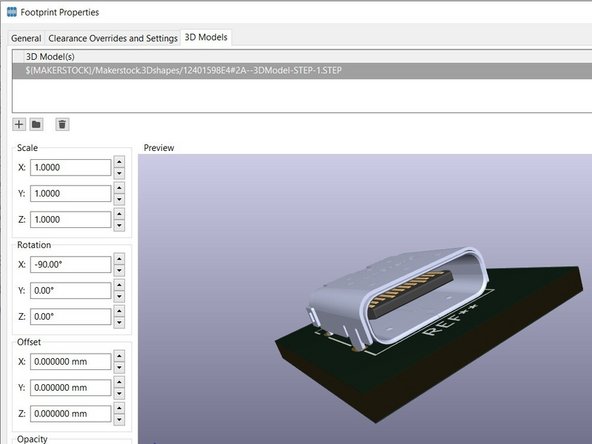
With your mouse hovering over the black area on the right side of the screen press the E key on your keyboard to display the Properties dialog window.
-
If the 3D models were properly loaded with the footprint library you should see a rendering of a USB C connector. If you do not see any 3D rendering please contact the Lab Director for assistance in loading these models.
-
Cancel: I did not complete this guide.
3 other people completed this guide.


