
-
-
It is best to minimize your exposure to the fumes emitted during PCB rework. The Maker-E soldering bench is equipped with two adjustable fume hoods which will help to pull away harmful fumes during this process.
-
Turn on the fume hoods by press down the momentary switch located on the wall to the left of the fume hoods.
-
It will take several minutes for the fume hoods to engage. Be patient. While you are waiting, ensure that the butterfly valve for the hood you wish to use is open (parallel to the tube) to pull air. Close the valve (perpendicular to the tube) of the other station to increase airflow to your station.
-
-
-
Remove the protective cover.
-
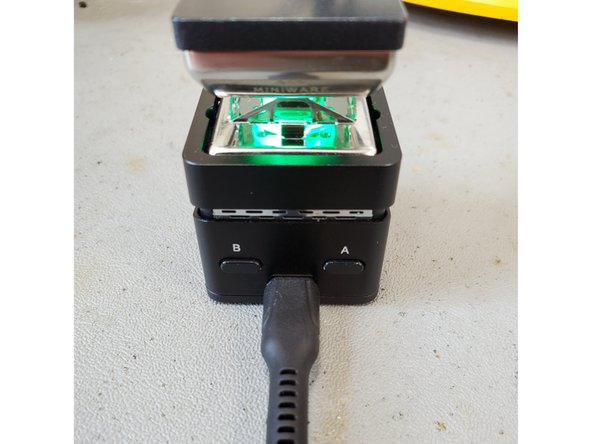
Plug in the Hot Plate using the provided cable and power supply.
-
If the light is green, it's good to go.
-
-
-
On the back of the Hot Plate, there are two buttons: A and B.
-
To begin heating, short press A.
-
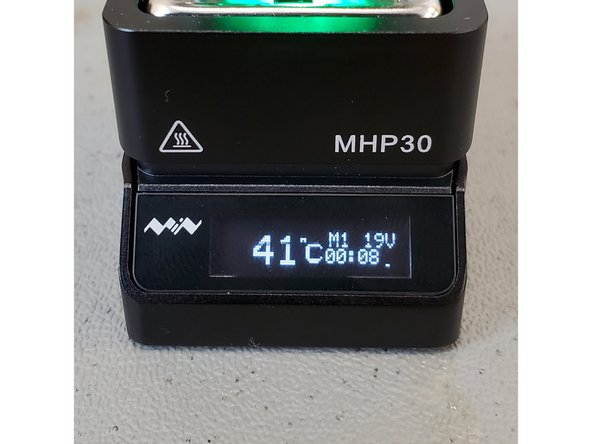
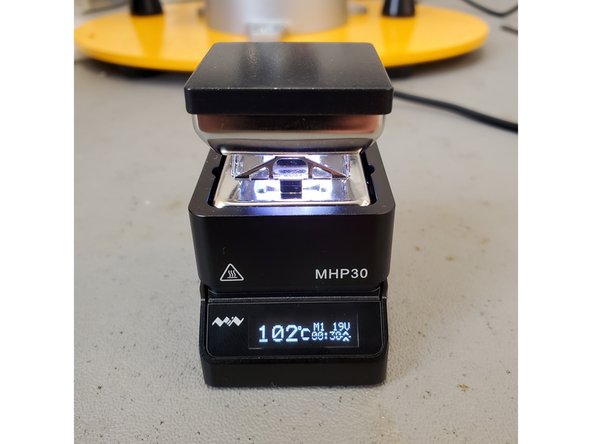
The temperature is displayed on the front, and will be set to the first of three defaults:
-
220 °C (M1)
-
250 °C (M2)
-
300 °C (M3)
-
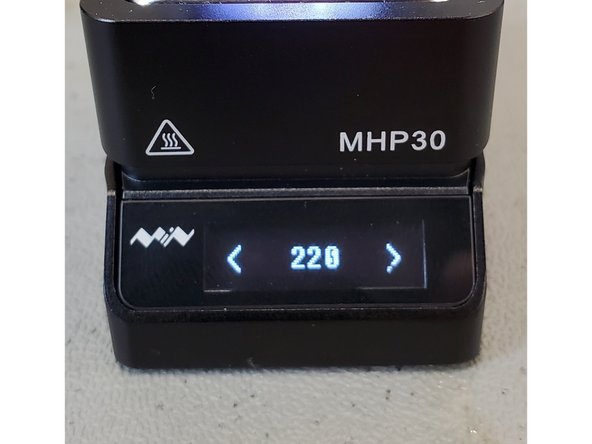
To switch between defaults, short press A while in heating mode. To adjust the temperature more finely, long press A, and then short press A and B to increase and decrease temperature. For the purpose of reworking a PCB, 250 °C (M2) should be fine, and you can turn up the temperature if needed.
-
-
-
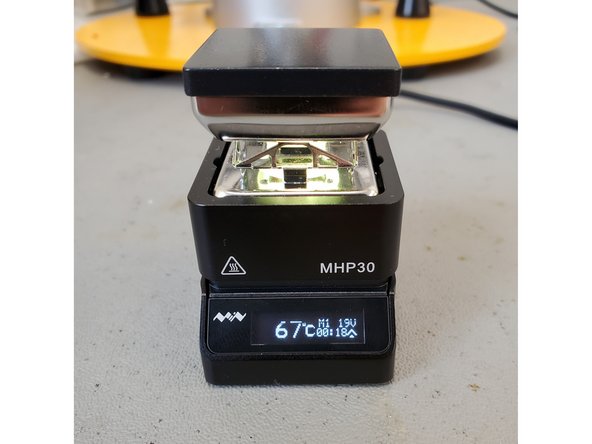
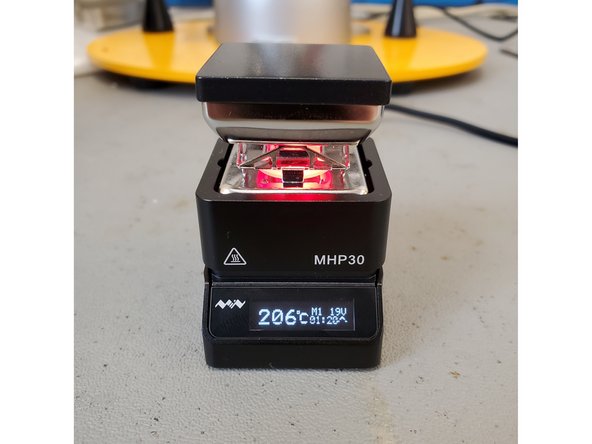
The color of the Hot Plate will change while it's heating. It will start at yellow-green, then turn white at 100 °C, and finally turn and remain red once the temperature reaches 200 °C.
-
The Hot Plate will be very hot. Do not touch the surface during heating mode.
-
-
-
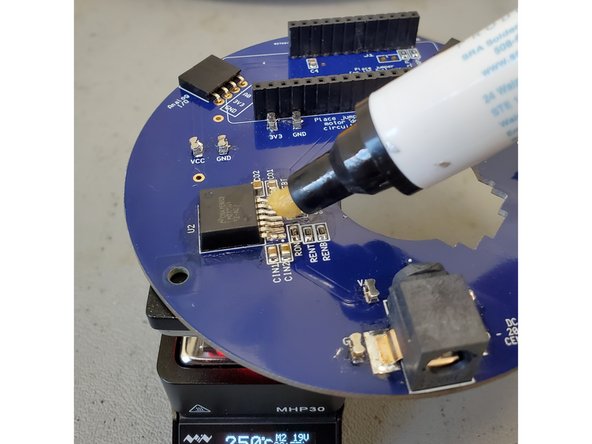
Place your PCB onto the hot plate, making sure it’s as flat as possible and centered under the target component.
-
Apply flux to the component around the solder joints.
-
Wait for about 45 seconds to a minute and a half. The solder may start bubbling.
-
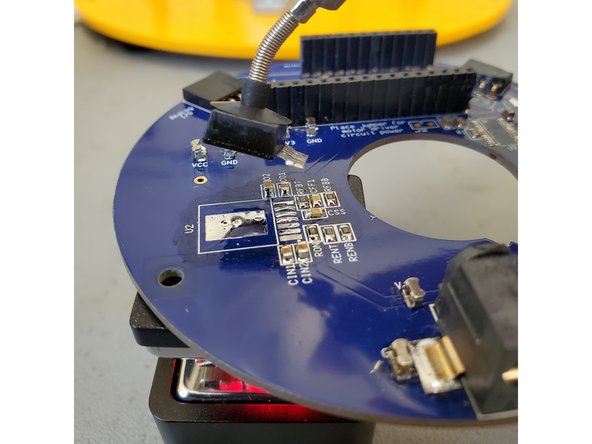
Use tweezers or the suction device to remove or adjust the desired component. Be careful, as the PCB and the Hot Plate will both be very hot!
-
Be very careful while handling the PCB, Hot Plate, or any components. They will all be very hot.
-
-
-
To quit heating, long press B. The light will remain red as long as the surface is hot and will eventually become green again once the device is cool.
-
Remove your PCB from the Hot Plate and set aside.
-
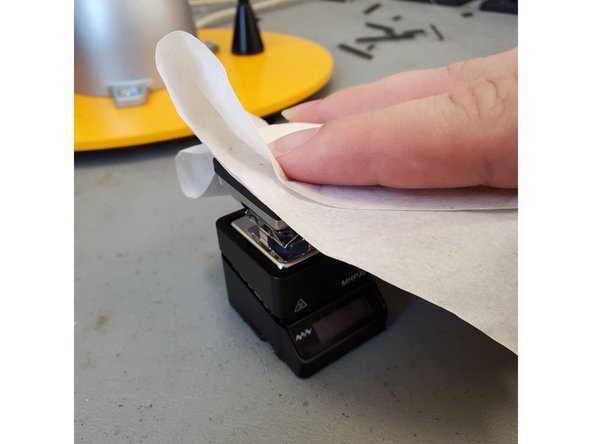
The Hot Plate will take a while to cool down. Once it is cool, wipe off any residue with a paper towel. The surface is non-stick ceramic, but should anything remain, use a proper cleaning solvent.
-
Replace the cover, unplug, and put away the Hot Plate.
-


Cancel: I did not complete this guide.
2 other people completed this guide.