-
-
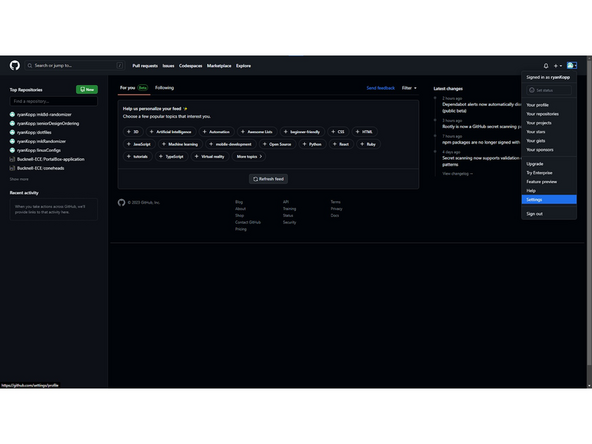
There are multiple services that you can host your repository on, including GitHub and GitLab. Bucknell runs their own GitLab instance, and we have an ECE Github account.
-
I would recommend creating your own GitHub account if you haven't already, and then you can choose to either create your own repository or have Matt Lamparter create one for your project on the Bucknell-ECE account and add you as a contributor.
-
For the rest of the guide I will use images of GitHub, but the process is very similar on GitLab (though some options can be quite hidden in a maze of menus).
-
-
-
SSH is a method of encrypted communication. Two keys are generated, a public key used by others to encrypt data coming to us, and a private key which we use to decrypt that data. We'll be giving GitHub our public key so that we can communicate without a password.
-
First, you'll need to install git.
-
To generate a keys, open a terminal (Git Bash on Windows) and use the command 'ssh-keygen'. This command is the same on Windows(Since April 2018), Mac, and Linux.
-
I'd recommend saving the keys in their default location, so just hit enter when prompted the first time.
-
If you are prompted that keys exist already, you may be using them for something else. Hit Ctrl+C and continue to the next step.
-
-
-
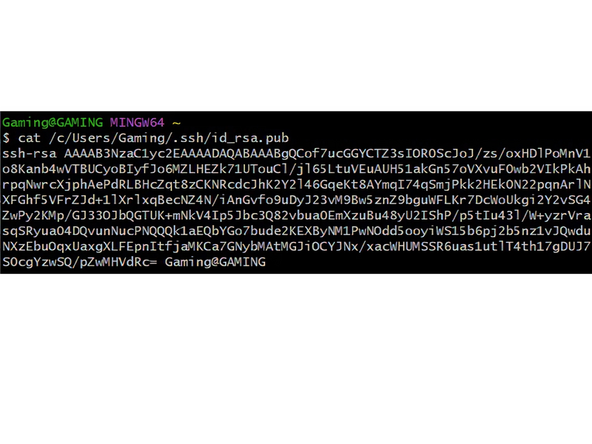
Go to Github, then click on your profile picture in the top right. Then click Settings->SSH and GPG Keys->New SSH Key.
-
In the Title box, enter a descriptive name for your computer. This way if you ever lose it, you can delete the key and prevent any unauthorized access.
-
Go back to your terminal window, and use the cat <path to key.pub> command as shown to output your public key. Highlight the output of the command, right click and hit copy.
-
Paste your key into the Key box and hit "Add SSH Key"
-
-
-
If you are doing a Senior Design project, Matt Lamparter should do this step for you under the Bucknell-ECE GitHub, and you will need to give your emails to him so he can add you as a contributor.
-
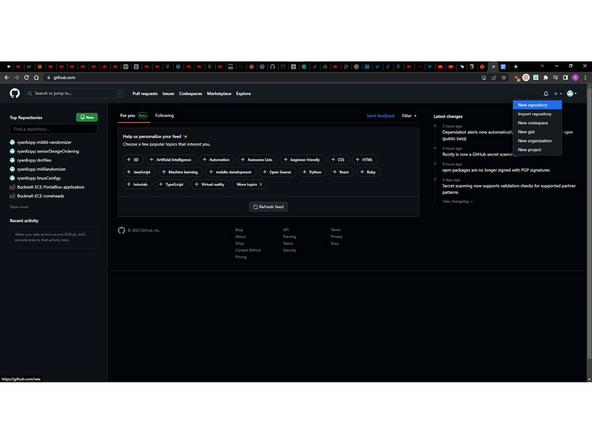
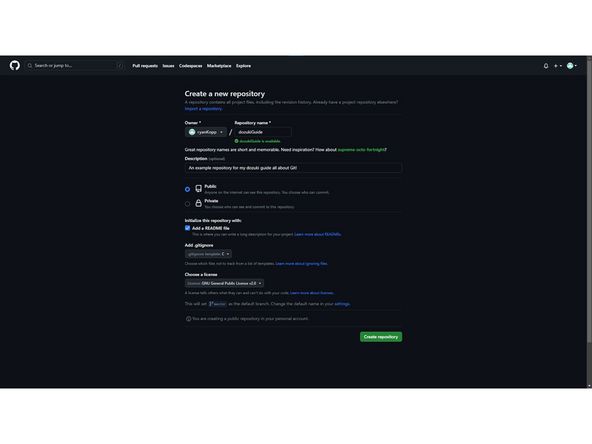
Hit the "+" next to your profile picture, and click "New Repository". Give it a name, and maybe a description.
-
You will likely want to set this repository as Private for any school project.
-
I would recommend initializing a README, as well as a gitignore using one of the provided templates for your project language, this will keep a lot of non-essential files out of the way.
-
Additionally, you may want to add a license to your project. My personal favorite is the GNU GPL v2.0.
-
Finally, click "Create repository".
-
-
-
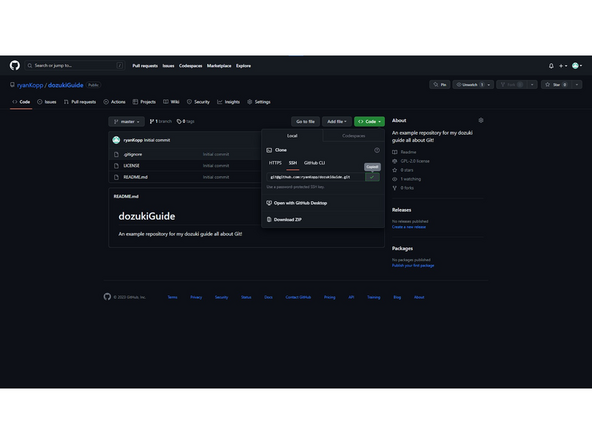
Now that the repository is made, we can copy it onto our computer. From your Repository's main page, hit Code. Then select SSH.
-
Click the button to the side of the text ending in ".git" to copy the link to your clipboard.
-
You may want to move out of your default folder to clone the repository. You can go to a file explorer Window and right-click there, then select open Git Bash/ terminal here to do that, or navigate using the "cd" command.
-
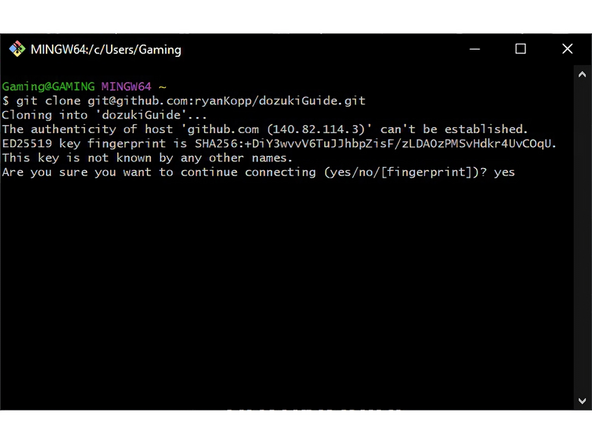
Once in the desired folder with your terminal, type "git clone" and then paste in the text from GitHub (you'll probably have to right-click then select paste).
-
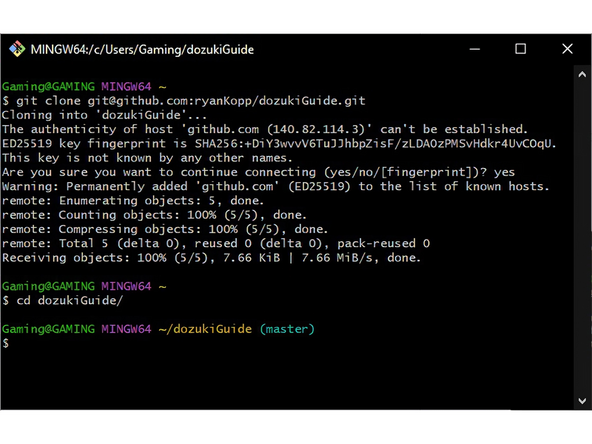
If you are prompted about a fingerprint, type yes and then hit enter.
-
Finally, move the terminal into your repository by typing "cd <your repository name>". You can use the tab key to autocomplete your repository name once you have the first couple letters.
-
-
-
If you already have some code, you can simply copy it into the folder. Otherwise, you can open your favorite editor and start writing your code here.
-
Git works by tracking changes to files within the folder. The folder is your local repository, while the version on GitHub is the remote version. When you write code, you commit it, making your local repository ahead. When you push, you are putting your changes up into GitHub and bringing the two in sync.
-
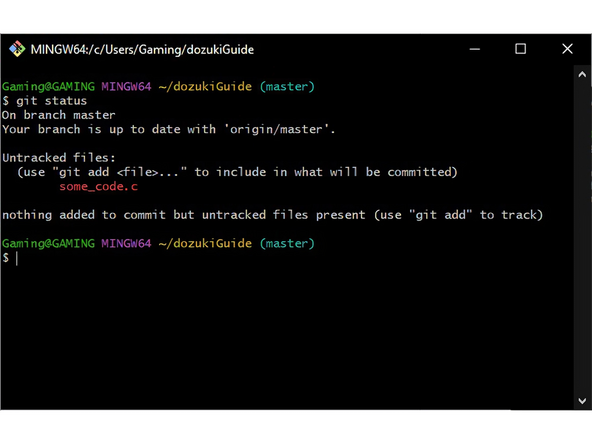
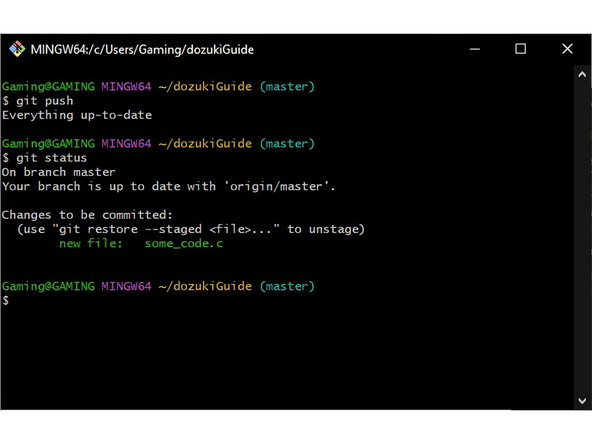
The most basic command is "git status". This will show all your changes that you have not yet committed.
-
To add changes to any files use "git add <filename>". This will stage the file to be committed.
-
-
-
Now we can commit the changes. Each commit is a distinct state the project was in, that we can get back to later if we have any problems in the future.
-
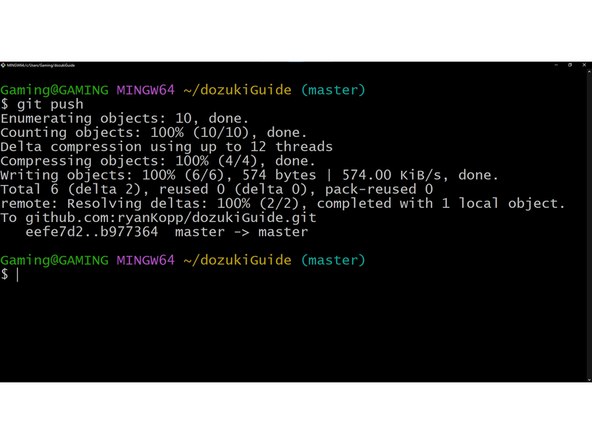
Use the command: git commit -m "descriptive message about changes". Now we can share these changes with our teammates!
-
To share these changes with our teammates, we need to push the changes to GitHub. We can do this by simply typing "git push". If our local repository was up to date with the remote repository, it should succeed and upload. Otherwise, we'll need to do some extra work before we can do that.
-
-
-
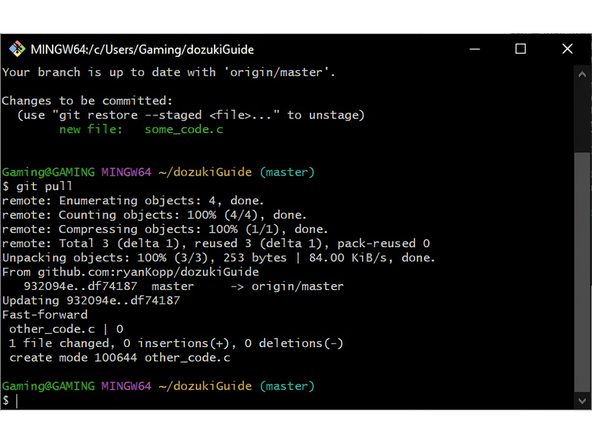
When you start working, you should always issue the command "git pull" to get up to date with anything your teammates have worked on.
-
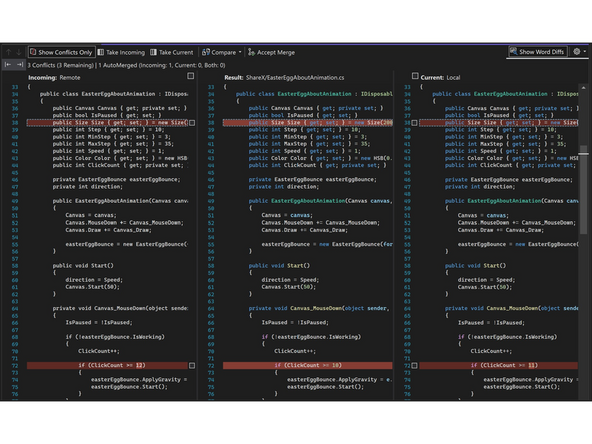
If you made changes that weren't pushed and somebody else pushed in the meantime, the remote repository and local repository are now out of sync, and we will need to merge these changes together.
-
As long as your changes were to different files, it will merge for you. Otherwise, you can do this through your IDE (as shown in the second picture) and pick which changes in the file to keep. This is a great reason to split your project into multiple files, as it can keep it more organized and save you some headache.
-
-
-
Congratulations! You should have enough to get started with Git.
-
A good next step is to learn about branches, which are a great way to keep a working copy always on the repository, but also have some work in progress.
-
A great reference sheet can be found here if you forget anything.
-