Introduction
Learn to make a handheld fireball that lights up! This tutorial was originally found on https://learn.adafruit.com/cosplay-fireb...
-
-
You'll need one half of a clear ornament holder. You'll want an ornament holder that is ~80 mm wide.
-
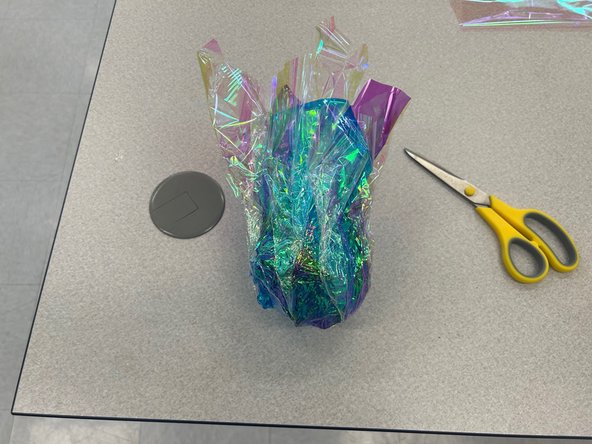
To make the flames you'll need colored cellophane
-
To make the fireball light up, you'll need one Circuit Playground Express and one 3.7V LiPo battery. The battery has to be small enough to fit inside the ornament
-
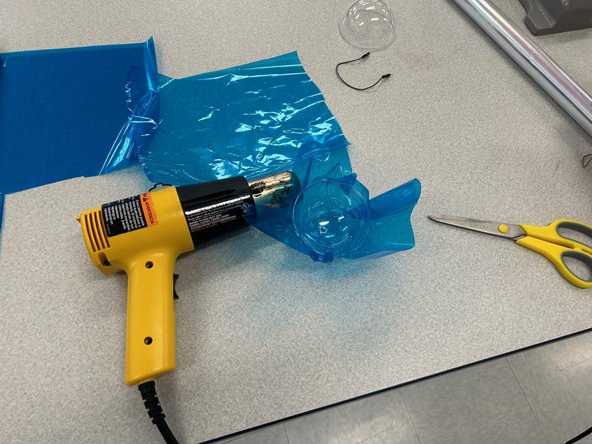
The tools needed for this project are a heat gun, a hot glue gun, and a 3d printer.
-
-
-
The base will help you hold the fireball in your hand. The case will hold the circuit playground in place
-
Download the fireball base stl files here: https://drive.google.com/drive/folders/1...
-
The files come in 3 different sizes, 15mm, 22mm and 28mm width. Choose according to the width of your fingers!
-
Download cpx-mount-simple from Thingiverse
-
3D print the fireball holder and circuit playground case using your choice of printer and filament color
-
It'll take ~1 hour for the parts to print, but in the meantime you can continue onto the next steps!
-
-
-
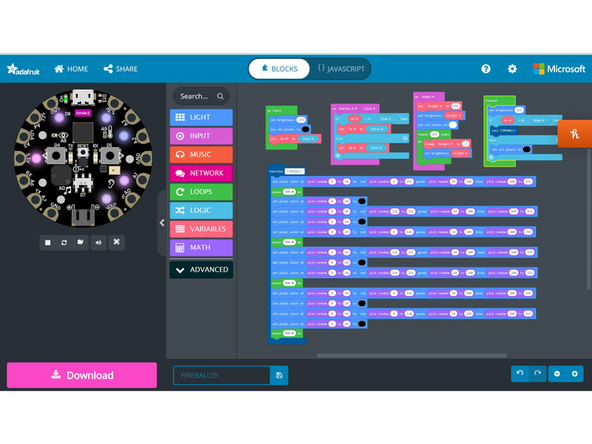
For the example code and an explanation of how it works, visit the adafruit guide here.
-
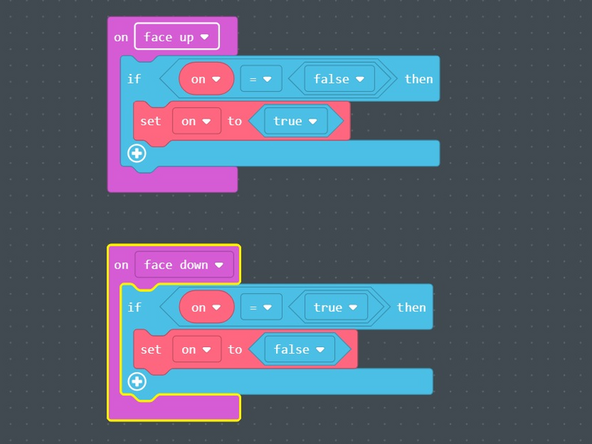
I added additional code (image 2) that will make the lights turn off when the fireball is flipped upside down and vice versa
-
-
-
To learn how to add the flame effect, visit this step in the original guide
-
Use hot glue instead of glue dots
-
Also, gluing the fireball base in place will help the fireball be more sturdy
-
To secure the Circuit Playground, use the case you printed earlier and tape it inside the fireball
-
-
-
To turn the lights on or off, reach in and press the button on the circuit platground
-
This won't turn the board fully off, so it will still use up the battery! To turn it fully off, disconnect the battery
-
If the battery dies, you can replace it or charge it using a LiPo battery charger
-


