-
-
This guide walks you through the steps of creating an embossing stamp, then using it to put a shallow imprint on soft objects like the cover of a journal.
-
There are three basic steps: 1) creating the image to emboss, 2) printing a custom embossing stamp using a 3D printer, 3) using the arbor press in the PDL to emboss your journal.
-
Some of the steps, particularly doing the embossing, have hazards to read the instructions carefully.
-
-
-
First you need to make a base for the embossing stamp. Note that the instructions here are for Inkscape, and you'll have to modify them if you use another program.
-
Choose the size of the imprint you want. Keep the imprint small for best results, no more than about 6 cm on the longest side. Smaller is better.
-
Using Inkscape or another drawing program create a rectangle in Inkscape about 1 cm bigger on each side than the size of the imprint you want. It can be filled in any color.
-
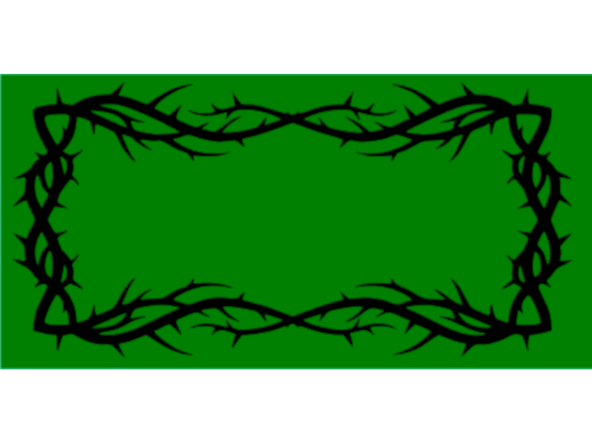
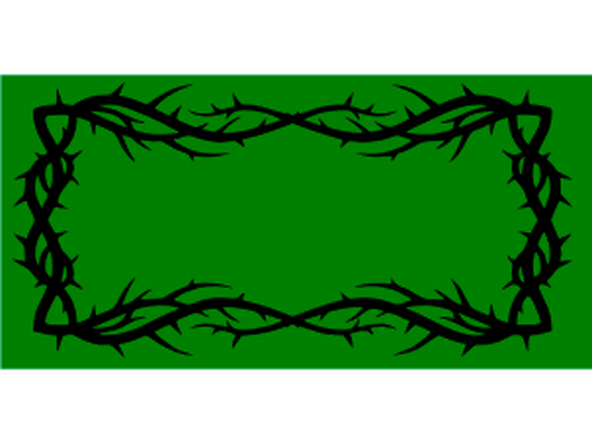
The picture shows the image I chose for my imprint overlaid on top of the (green) rectangle. We'll get to the image in the next step.
-
Once you create the rectangle export it as an .svg file. It must be .svg format.
-
-
-
If you want to have a image on your imprint choose something you like, but make sure it is black and white – no color or greyscale. See an example in the first picture.
-
Keep the image relatively simple. Things with fine lines or woodcut like images will likely not imprint that well.
-
The image *must* fit inside the rectangle you created for the base. This is shown in the second image.
-
Open Inkscape, then go to File > Import (or drag and drop) the PNG or JPEG image onto the canvas.
-
Select the Image: Click on the image using the Select tool (arrow cursor). Then navigate to the top menu and select Path > Trace Bitmap. Choose “Single Scan with Brightness cutoff the click the Apply button at the bottom of the panel, then close the dialog. This turns your image into a vector graphic.
-
Delete the rectangle – you created for the base since you already saved it and you want the base and image to be two separate objects.
-
-
-
In Inkscape, click the Text tool (the "A" icon or press F8) on the left toolbar, click on your canvas, and type the words you want to appear on the embossing stamp.
-
Do not use a font with very thin lines! The font shown in the image is Aniron.
-
Switch to the Select tool (the arrow icon or press F1) and click on your text box to select the entire text object. Next convert text to a path: Go to the top menu and select Path > Object to Path. This changes your editable text into vector shapes.
-
Move the text inside the image and make sure there is no overlap. If there is scale your text appropriately.
-
Next use the horizontal mirror button on the top menu to flip the text and image to a mirror image as shown in the second figure. It must be mirrored to show up correctly in the imprint. Save the overlaid image and text as an .svg file
-
-
-
You should have two files – one for the base and one for the image and text. All should be .svg files. If not, go back to the previous steps and create these files. Remember to keep the size small, only a few cm on a side.
-
You can use whatever CAD software you want for the next step, but here we’ll assume you don’t know CAD and so will walk you through the free package TinkerCAD. Go to Tinkercad.com and create an educational account if you don’t already have one. Open TinkerCAD in your browser then start a new project - it should open with a blank project.
-
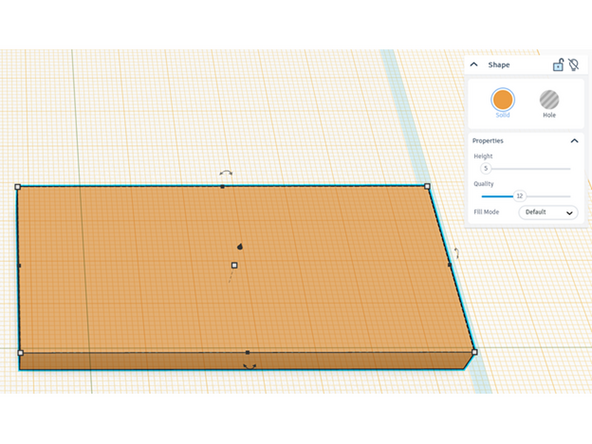
import the base .svg file using the import button on the upper right. It may take awhile. Once it is imported select it and set the height to 5. The dialog box in the upper right is where you set the height.
-
With the base selected press the W key to put the top surface of the base at the work plane. It should look like the first image.
-
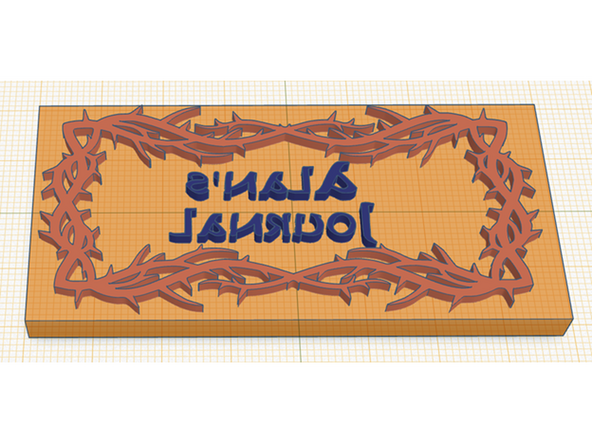
Now import the image/text .svg file and set the height to 2 after you center it on the base. Once it is centered and the height set hit the D key to drop it on top of the workplane. The object should have two separate layers with the image/text sitting on top of the base as shown in the second picture. Save it to a .stl file.
-
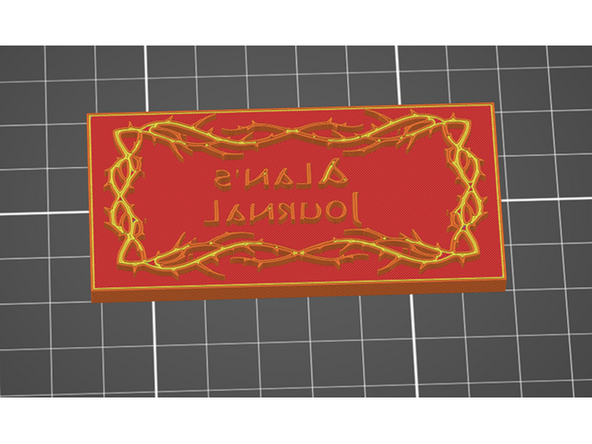
Import the .stl file into slicer software for the 3D printer you’ll be using. Since we are going to use this to create an imprint in your journal we want a pretty sturdy object. Use an infill of about 50%, much higher than normal. Print the embossing stamp, remove it from the printer, and clean up your mess. Standard PLA filament works.
-
-
-
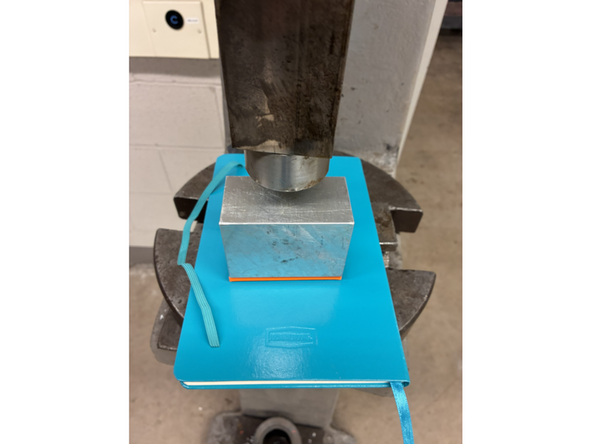
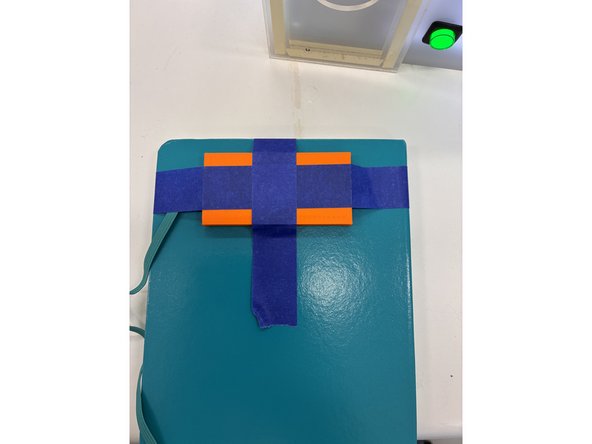
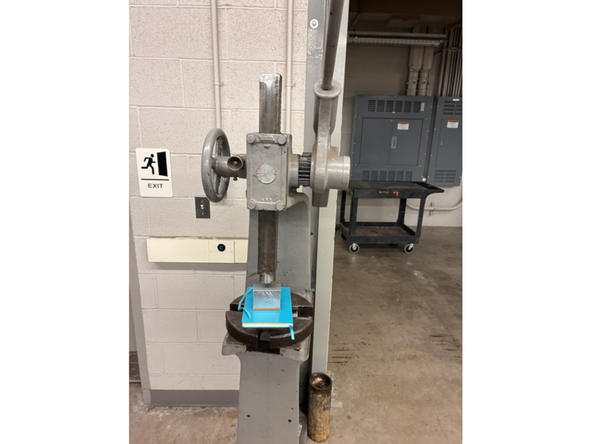
Put the embossing stamp on the journal where you want it then hold it down with blue painter’s tape so it won’t move as shown in the first image.
-
DO NOT use a press or hammer directly on the 3D printed embossing stamp since it can shatter and send shards into your eyes. Use a piece of scrap wood or metal about the same size as the embossing stamp on top, the thicker the better.
-
You will also need a piece of scrap wood or metal the size of your journal or larger to protect the bottom from the cutouts in the arbor press base. If it is dirty lay down a piece of paper so as not to press the gunk in.
-
Go down to the Mooney Lab or PDL and get the technicians to help you select an appropriately size piece of scrap and use the hand arbor press to press the stamp into the journal.
-
The best way to get a good imprint is to use the arbor press back in the welding space. A vice or hammer might work for small imprints. Make sure to get help from the PDL technicians!
-
Place the wood or metal bigger than the journal on the base (note I did not do this in the picture). Then place the other piece of scrap on top of the taped-on embossing stamp. Give the handle of the arbor press a good pull. Again, ASK FOR HELP in this step!
-
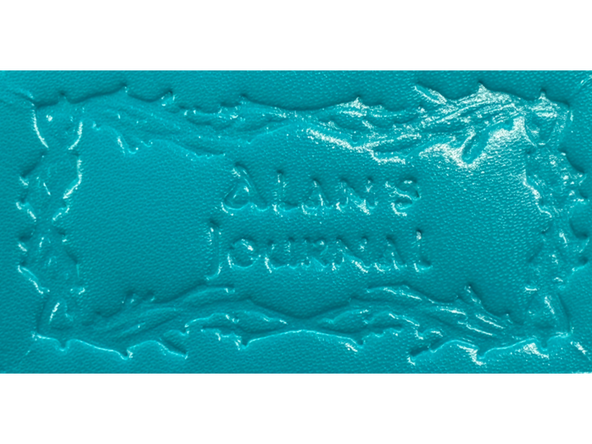
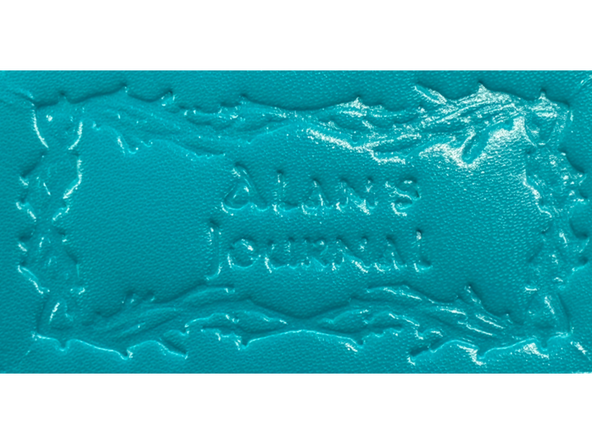
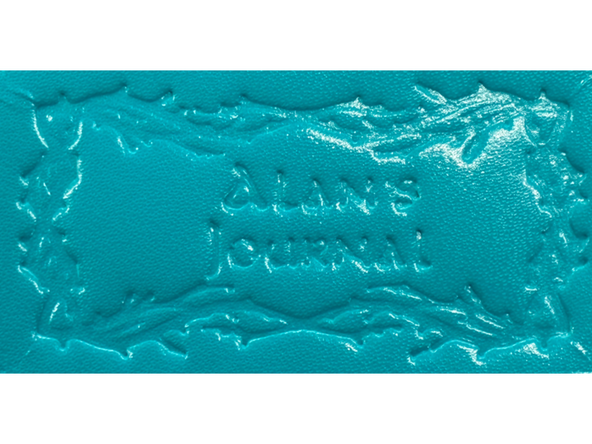
When you are done you should have a permanent imprint on your journal as shown in the third image. Thank the PDL techs, return the scraps, and clean up the space.
-