
Introduction
The Glowforge can both etch and cut. This tutorial will show you how to cut designs. The guide assumes you already have an SVG file for cutting. If you do not, please see one of the previous tutorials.
Only materials up to 0.25" thick may be cut on the Glowforge.
Note that only Maker-E approved materials can be cut on the Glowforge. Failure to follow this rule is grounds for revocation of your Maker-E access.
-
-
Maker-E supplied materials such as wood, acrylic, cardboard, or natural leather, may be used with the Glowforge. Cutting other materials may release toxic fumes. USE OF OUTSIDE MATERIALS MUST BE APPROVED BY MAKER-E STAFF PRIOR TO USE WITH THE GLOWFORGE.
-
Never leave the Glowforge unattended while it is etching or cutting. There is a small potential for fire. If your cut job will take a long time, plan accordingly and bring a book or something to work on!
-
If a fire appears inside of the Glowforge, stop the job immediately by removing the maker card from the Portal box.
-
There is a fire extinguisher immediately to the right of the Glowforge. For small fires involving the paper masking tape, often it is sufficient to blow them out. For more serious fires you must use the fire extinguisher.
-
-
-
ALWAYS BEGIN BY LOOKING THROUGH THE SCRAP MATERIAL TO SEE IF THERE IS MATERIAL THERE WHICH YOU CAN USE FOR YOUR PROJECT.
-
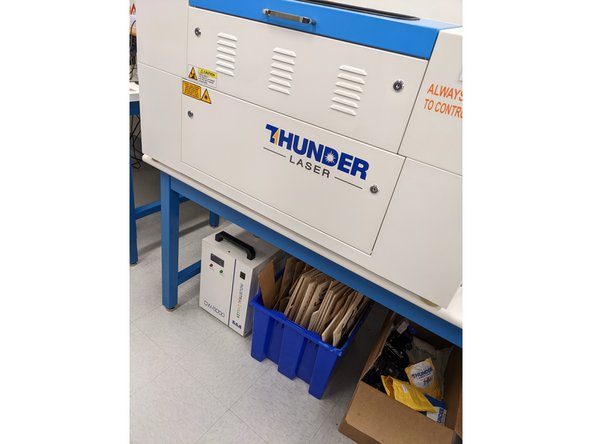
It is wasteful to always use fresh stock when working on a project. Whenever possible you should sort through the used stock in the blue bin underneath the Thunder Laser.
-
Grab a ruler and measure the remaining areas on scrap material to see if your project will fit on one or more pieces of scrap.
-
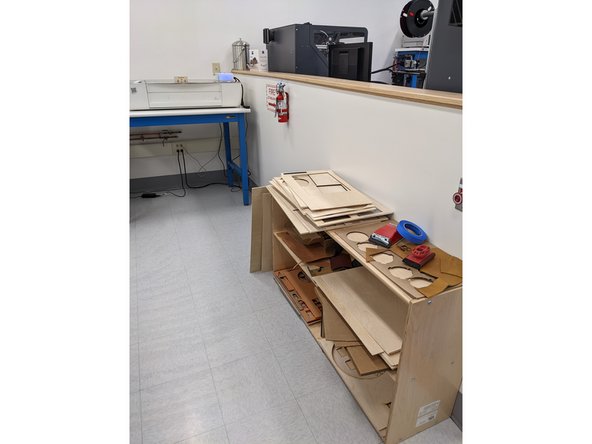
If your work is too large to fit on scrap then feel free to use new stock located on the shelf underneath the Glowforge.
-
-
-
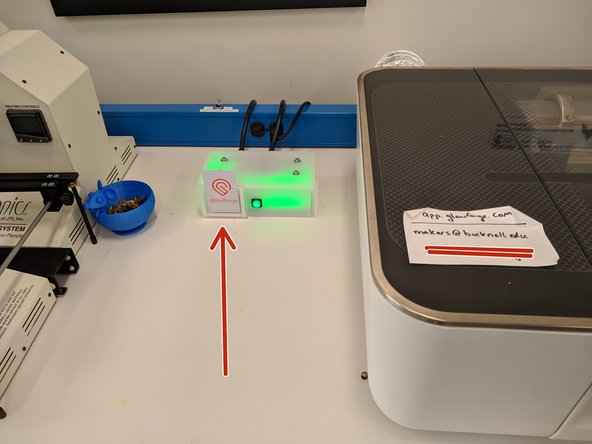
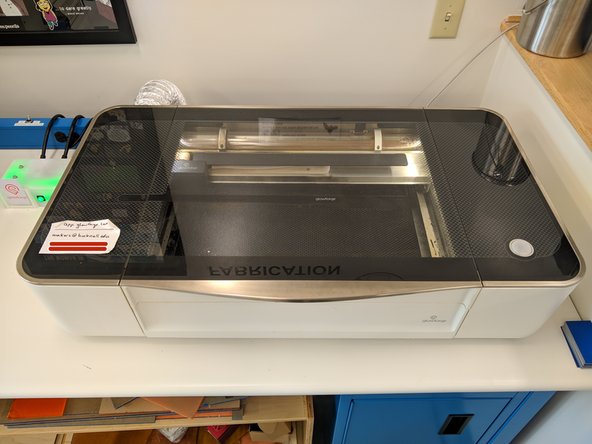
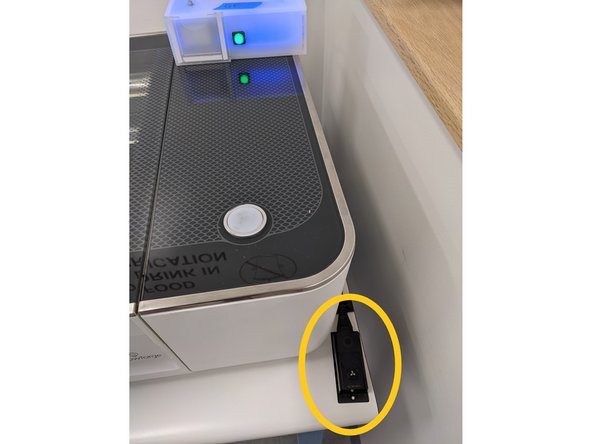
Begin by turning the Glowforge on by inserting the training card into the attached Portal box.
-
The Glowforge will power on and spend several minutes aligning the laser head and calibrating the camera. Do not open the lid during this process.
-
-
-
The Glowforge bed will accommodate material up to 20.5" x 12.5". The usable area is limited to 18.75" x 11".
-
Begin by looking in the blue scrap bin under the Thunder Laser for material you can use. This bin contains pieces of 1/8" and 1/4" wood, as well as 1/4" acrylic.
-
If you cannot locate scrap material that will work for your design, you may use new stock material located on the shelf next to the half wall. If none of the desired material is on the shelf, check the shelf in the stock room.
-
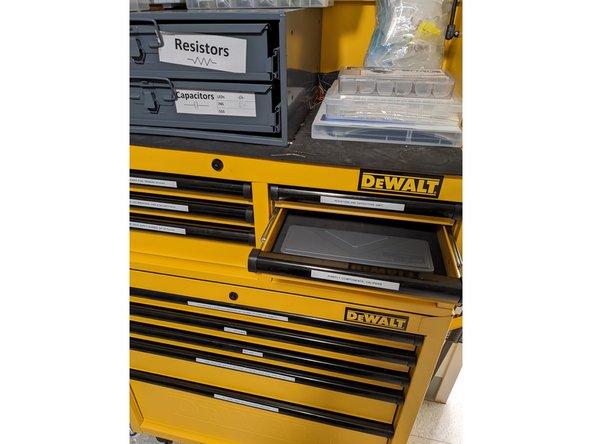
After selecting material that will work for your design, use calipers to measure the thickness of your material in inches. Calipers can be found in the yellow DeWalt cabinet in the stockroom in a drawer labeled "Firefly components, calipers." If you are not familiar with how to use digital calipers, watch this tutorial. You will need this measurement later.
-
-
-
Smoke from the cutting process can stain the surface of your material. In order to prevent these stains it is recommended to apply a layer of protective tape to your material.
-
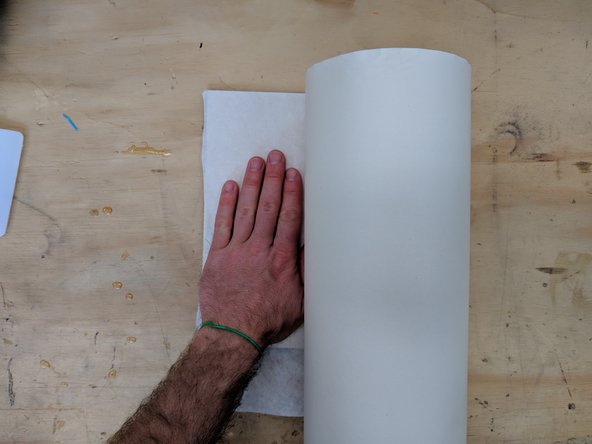
Locate the 12" roll of masking tape at the Infrared Camera work station. Peel off several inches of this tape from the roll but do not yet cut it off. Begin by aligning the top left corner of this strip with the top left corner of your material. Make sure the top edge of the tape is parallel with the top edge of your material.
-
It is helpful to hold the tape down with your left hand while your right hand unrolls the tape. With the tape firmly held in place, unroll enough tape to cover your entire piece of material.
-
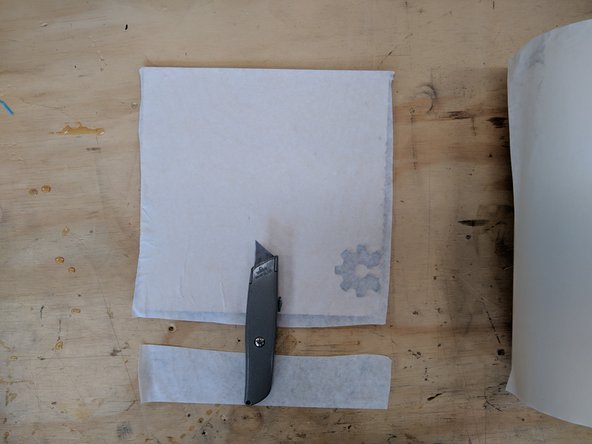
Use a utility knife from the yellow DeWalt cabinet in the stock room to cut the tape.
-
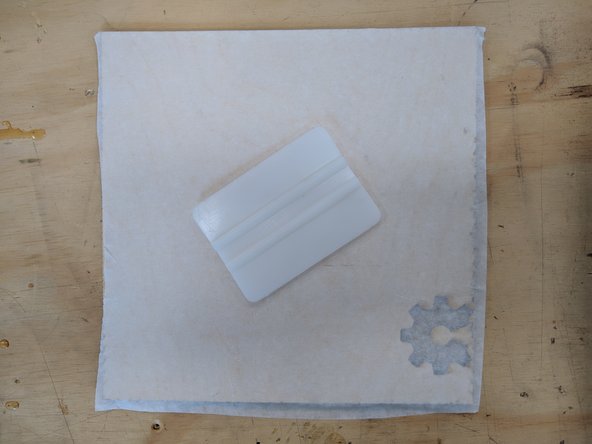
Use a white plastic squeegee next to the roll of tape to firmly press the tape against your material.
-
Repeat this process to cover both sides of the material.
-
-
-
With your material properly covered, lift the Glowforge lid and place your material on the bed.
-
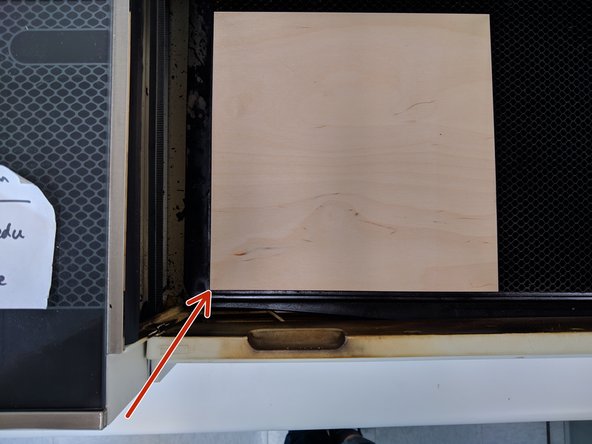
You should place your material so that it is flush with the left and bottom edges of the honeycomb surface.
-
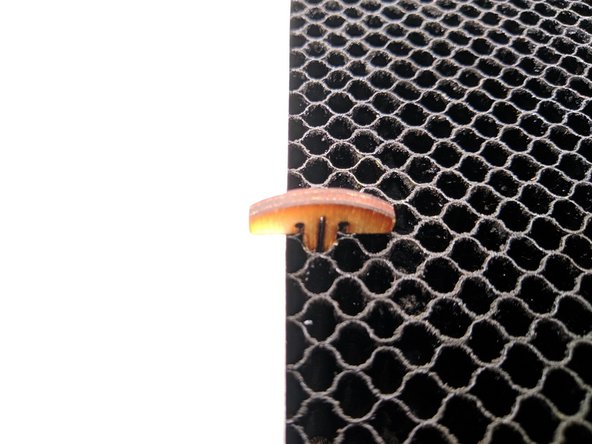
If your material is slightly warped and will not lay flat on the bed you may use T pins to help flatten it. The pins are located in a blue dish to the left of the Glowforge.
-
Insert a T pin in the honeycomb along an edge of your material and rotate the pin until you feel resistance inside a honeycomb cell. Push down to secure the edge of your material to the bed.
-
Add as many T pins as you need to flatten your material.
-
-
-
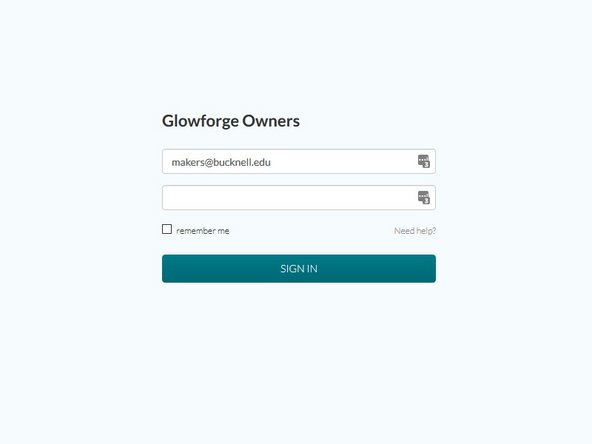
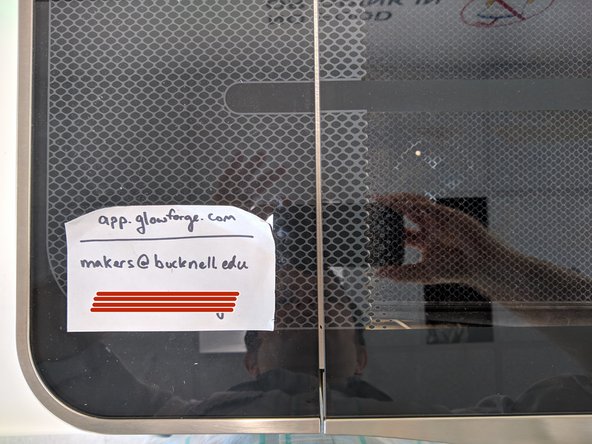
Visit app.glowforge.com using any Maker-E computer or your own device. Use the login credentials taped on top of the Glowforge lid.
-
-
-
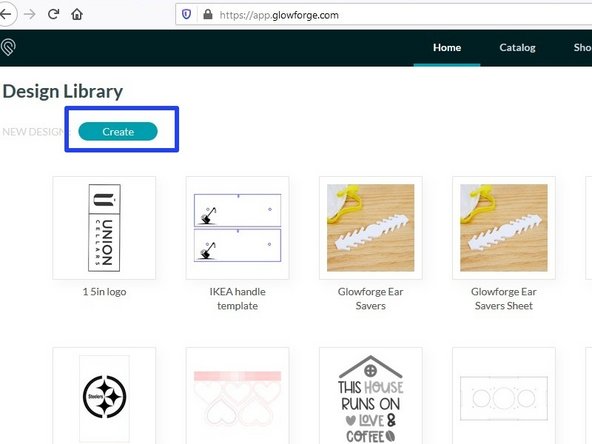
Within the Glowforge web app, click the Create button in the top left corner. Choose Upload from File from the next menu and choose your SVG file.
-
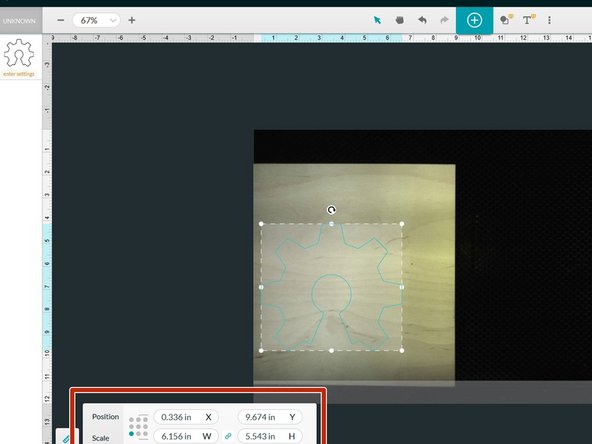
You should now see your design on the screen, as well as the material you placed in the bed during the previous step. You can drag your design to where you want or use the Position/Scale dialog box to define a location. You can also use this box to confirm your item scale and change it as necessary.
-
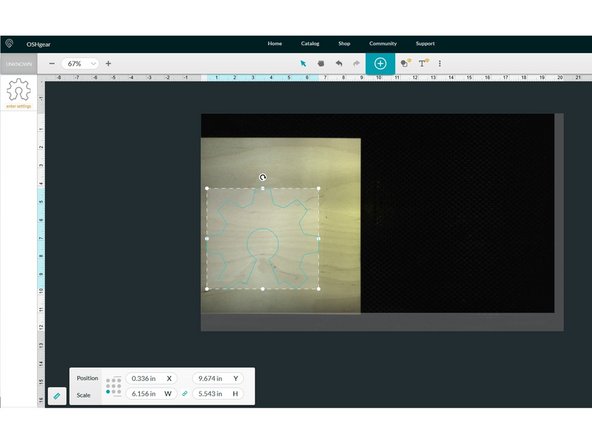
Be sure to have the entirety of your design within the bounds of the usable Glowforge operating area. Notice the light grey border in the third image here. Your design must stay within that border for it to be cut. Your material should likewise be within that border.
-
-
-
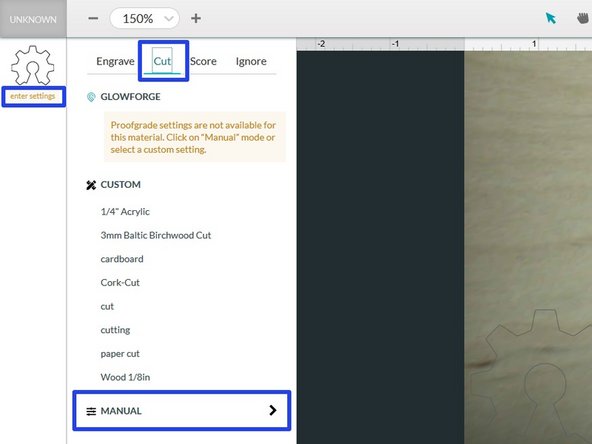
Now you need to enter the settings the laser will use to cut out your design. Find your design in the left column and click on enter settings to display a dialog. Be sure that the Cut tab is selected and then click on Manual at the bottom.
-
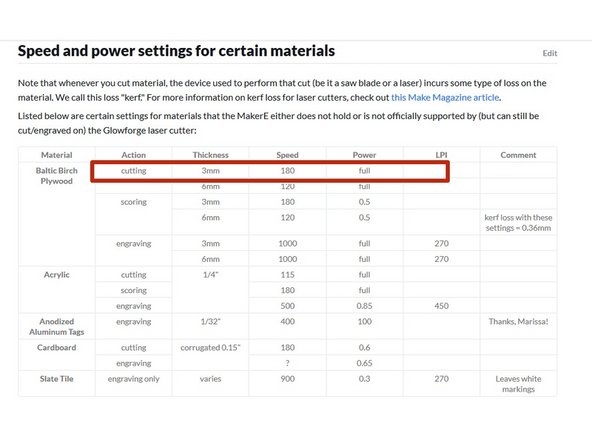
Here you will need to enter settings for speed and power. These settings are dependent upon the material type and thickness you are cutting. There is a table with these settings on the Maker-E Glowforge Dozuki page.
-
For this example we are using 1/8" (3mm) baltic birch plywood so we use a Speed setting of 180 and a Power setting of Full.
-
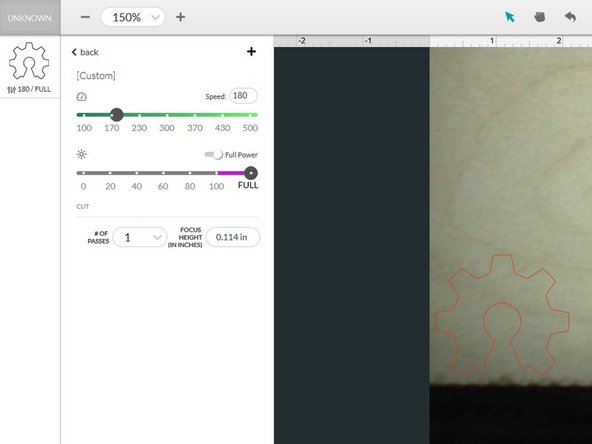
Enter the settings from the table into the Glowforge Cut dialog window. Number of passes should be set to 1. Focus height is the value you measured with calipers earlier.
-
Notice that when you are done entering settings your design outline should now appear orange.
-
When finished entering settings, DO NOT click on the < back button in the top left. Doing so will clear your settings. Instead, click anywhere else on the screen to save the settings.
-
-
-
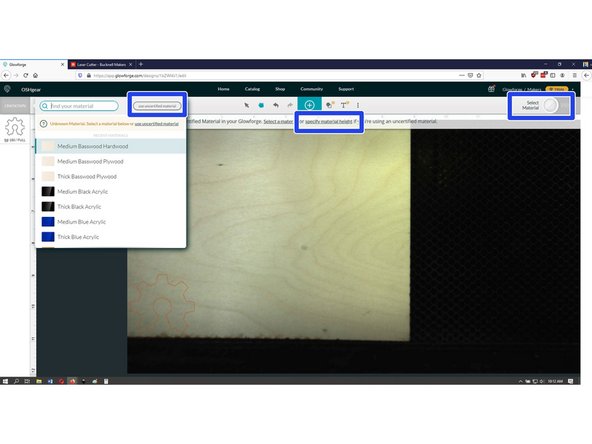
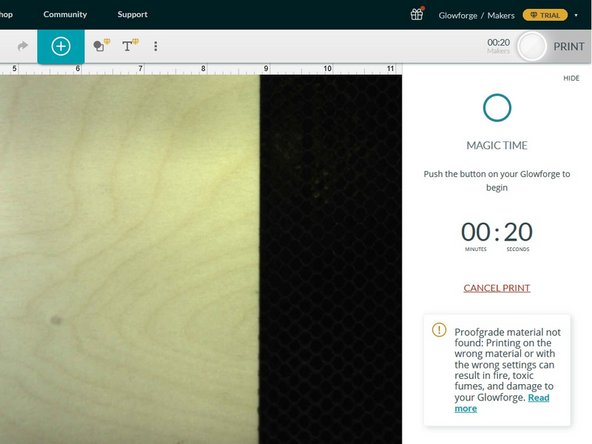
You are now ready to send your cut job to the Glowforge. Click on Select Material in the upper right corner of the screen. Click specify material height from the bar that appears, then click the use uncertified material button.
-
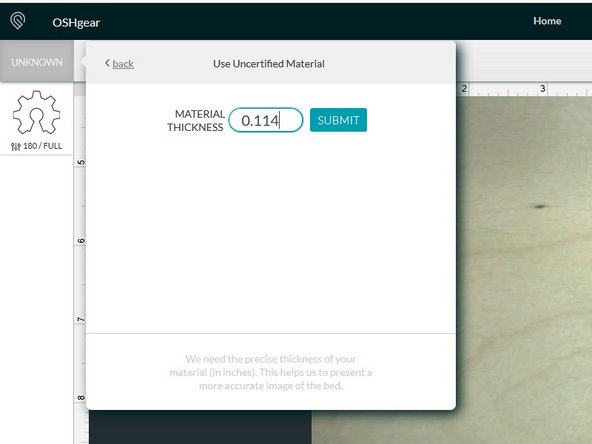
Again, enter the value you measured with calipers in a previous step. Click Submit.
-
Finally, click the Print button in the upper right corner. After your design is transmitted to the Glowforge you will see an estimate showing you how much time your cut job will require.
-
-
-
Before running the Glowforge, the exhaust system must be turned on! The exhaust system removes smoke and odor from the Glowforge and Maker-E.
-
Locate the Glowforge fume extractor switch to the right of the Glowforge. Press the fan button until the entire LED ring is illuminated (8 times).
-
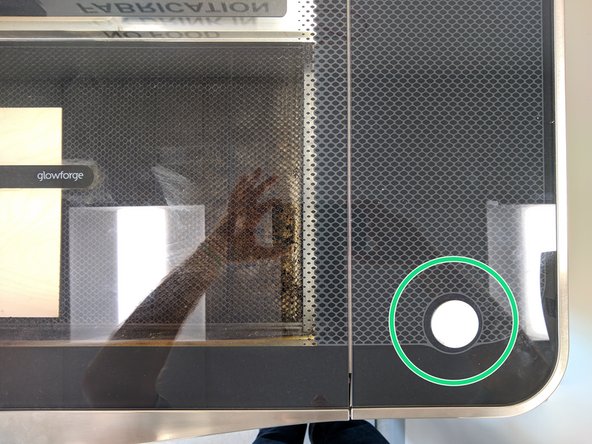
You are now ready to cut your design. Press the glowing button on the top right of the Glowforge.
-
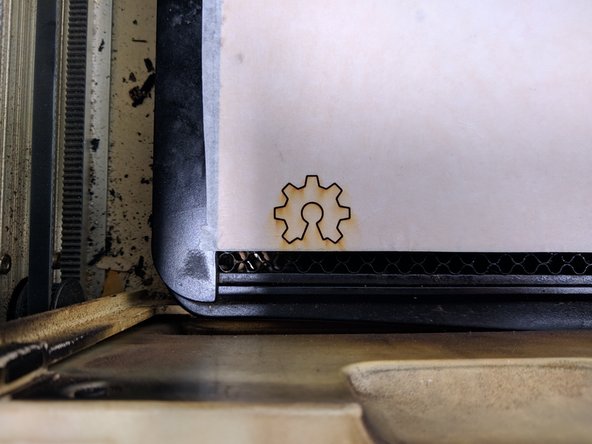
Your design will now be cut out. Remember, you are responsible for staying by the Glowforge the entire time it is operating.
-
-
-
When your job is complete, press the fan button once to turn off the fume extractor. The LED indicator ring will turn off.
-
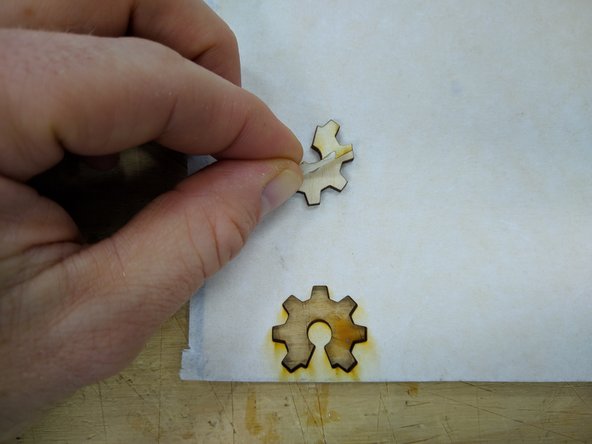
Lift the Glowforge lid and remove your material and your cut part(s).
-
Be sure to remove any scrap pieces of material from the Glowforge bed! You are responsible for keeping the Maker-E clean.
-
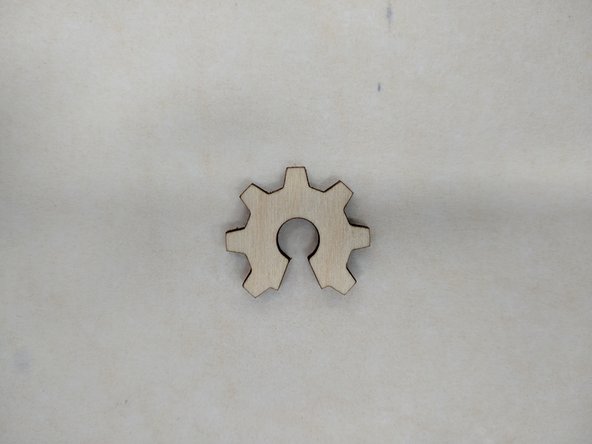
Remove any masking tape from your finished part. There is sandpaper available for removing any charring on the surfaces of your part located on the shelf by the half wall.
-
-
-
When you are done, be sure to:
-
Remove the training card from the Portal box and return it to a Maker-E staff member.
-
Remove scrap from Glowforge bed. Small scraps can be discarded. Large pieces which can be reused should be added to the blue scrap bin.
-
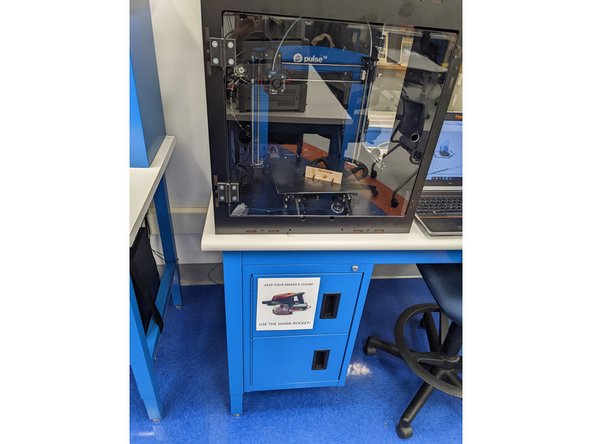
Clean up any mess you make with dustpan and broom or the vacuum available in the left cabinet below the PulseXE.
-


Cleaning up your workspace when you are done ensures that the Maker-E is ready for the next maker! Not only is this polite maker etiquette, it's required by the user agreement you signed.
Cleaning up your workspace when you are done ensures that the Maker-E is ready for the next maker! Not only is this polite maker etiquette, it's required by the user agreement you signed.
Cancel: I did not complete this guide.
8 other people completed this guide.