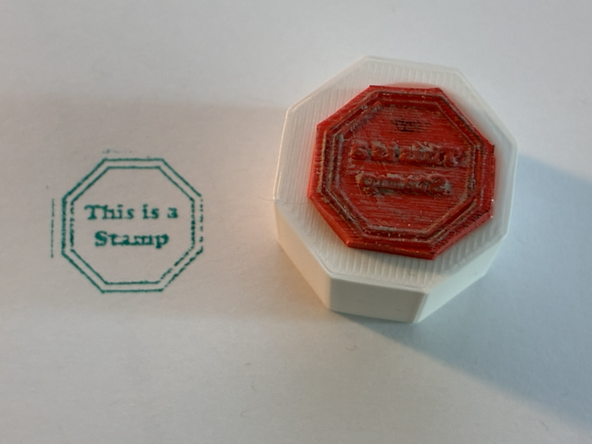
Introduction
You can create a permanent custom rubber stamp for marking documents in about 30 minutes using the laser cutter and optionally a 3D printer. This tutorial walks you through the steps. You must be certified to use the ThunderLaser laser cutter first though.
Tools
Parts
Video Overview
-
-
Before you start you will need to get laserable stamp rubber. It may be available in the MakerE or you can order from Amazon: ``https://www.amazon.com/Rubber-Engraving-...
-
ONLY use laserable rubber since other compounds make create toxic or corrosive gasses. If you use your own material it MUST be approved by the lab director.
-
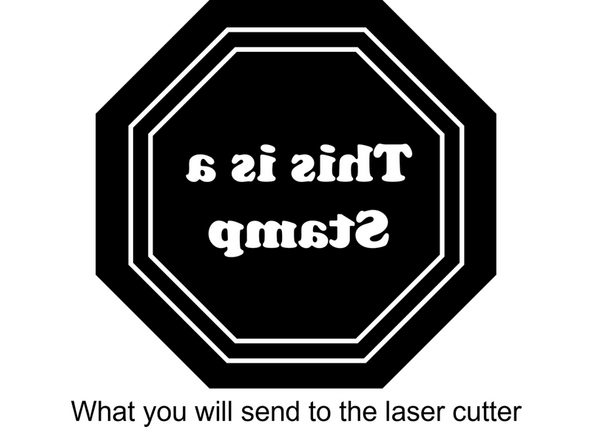
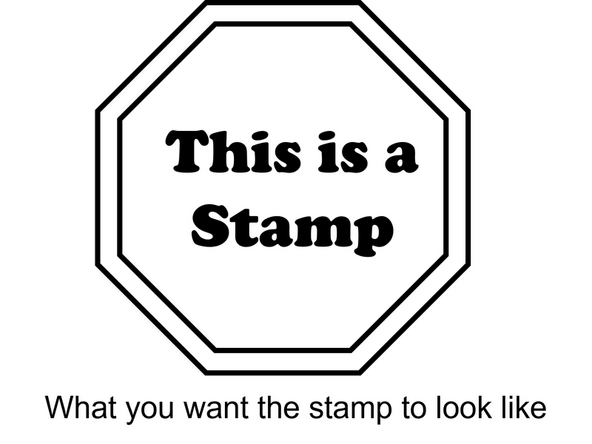
You will also need to create an image (.jpg or .png) of the stamp you want to create (first image). The image you send to the laser cutter needs to be a negative, that is white for areas that will hold ink and black for areas that do not transfer ink to the paper.
-
The image or text on the stamp ALSO needs to be mirror imaged as shown in the second image. You can use software like Inkscape or PowerPoint to create your stamp.
-
You must also leave a black perimeter around the stamp as shown in the second image so you can cut out the stamp from the rubber sheet.
-
Remember not to use colors or shades of grey, only black and white.
-
Note that the larger the stamp the less likely it will work well. Also large blank areas should be avoided.
-
-
-
You MUST be certified to use the laser cutter in the MakerE to proceed. If you are not please visit the Dozuki tutorial and get certified: ``Thunder Laser``
-
Using the laser cutter without being certified will result in immediate expulsion from the MakerE.
-
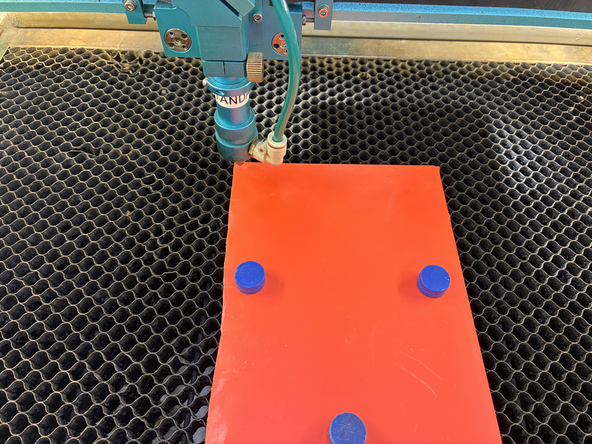
Place the rubber sheet on the bed and hold it down with magnets. You will want to place the sheet near the center of the cutting area since the high cutting speed will generate an error if it is near an edge.
-
In the picture the stamp will be cut in the area above the magnets. Because of overshoot, don't place magnets horizontally left or right of the cutting area.
-
-
-
Upload your negative, mirrored image to the LightBurn software and align the image to the part of the rubber sheet you want to create your stamp on. Please put the image near an edge of the sheet so you don't waste material.
-
Use the following settings: air set on high to blow the dust away, power 90%/90%, speed at 800 mm/s, resolution set to 400 dpi, and two passes. If you have questions about settings please seek help from an experienced user or MakerE tech.
-
Always double check the cutting settings table before you cut a material:
-
Once you have the laser cutter set up properly go ahead and etch the stamp. Don't forget to set the focal height and do an outline to make sure it etches in the right place before you start!
-
-
-
Once the stamp is etched remove it from the laser cutter.
-
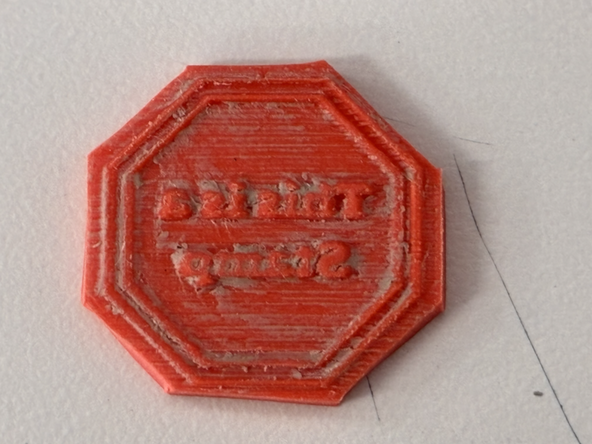
There will be a lot of whitish powder created by the cutting process. You will need to remove with with a brush, soap, and hot water. You may need to clear out small gaps with a toothpick.
-
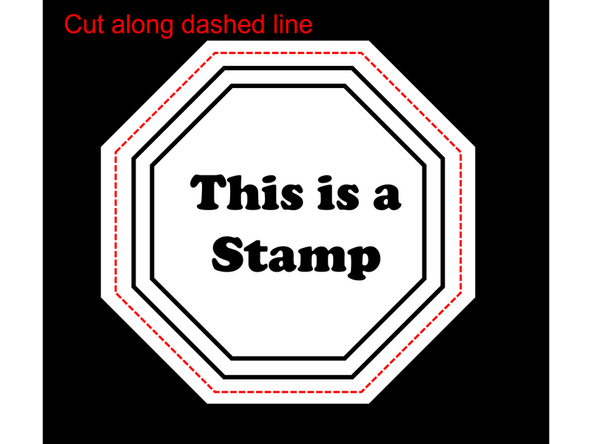
You will need to cut out around the perimeter of the stamp - make sure you only cut the etched part! See the picture. You can use regular scissors for this if you are careful.
-
Once your stamp is cut out you need to glue it on to a hard handle so it can be used to stamp paper. You could 3D print this or use some scrap wood. Make the handle the same size or a bit bigger than the stamp so it will fit in your stamp pad!
-
Have fun stamping things! Remember forgery is a crime and any use of something you create in the Bucknell Makerspaces that is used in criminal actions will result in permanent banishment!
-