-
-
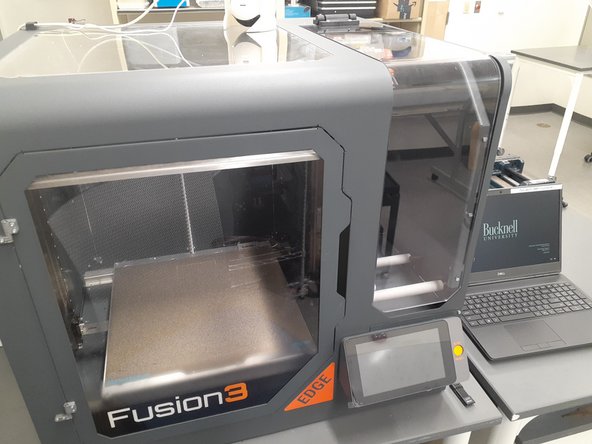
This filament changing tutorial is intended only for the Fusion3 EDGE printer in the fabrication lab (ACET 237). Other printers may require different instructions.
-
This tutorial only works for commonly used filament such as PLA, PETG and ABS. If an engineering-grade filament requiring higher temperatures or a flexible filament needs to be loaded, ask the lab director for assistance. This tutorial does not cover the needs these specialized filaments have.
-
-
-
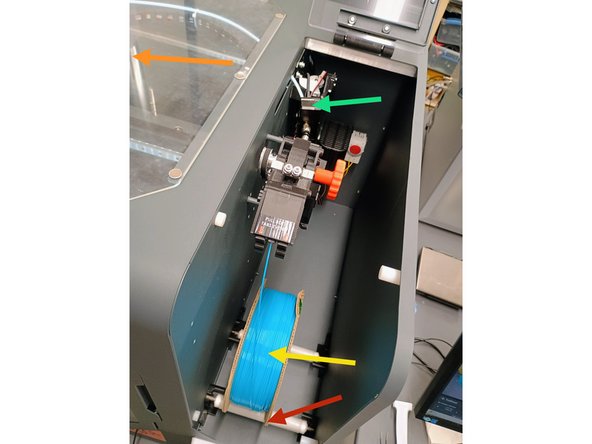
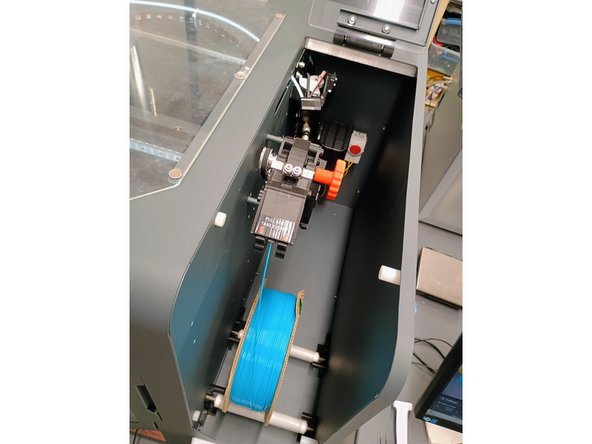
Filament is defined as a thin (typically 1.75 mm in diameter) polymeric extrusion that is typically wound onto a spool.
-
A spool is a plastic cylinder which conveniently stores wound up filament.
-
A filament sensor notifies the printer when filament has run out or is not properly feeding through the extruder / hotend.
-
An extruder is a stepper motor and other hardware that drives the filament through the hotend.
-
The hotend heats up the filament until it can be extruded through a nozzle.
-
Note that the colors in the images correspond to the definitions.
-
-
-
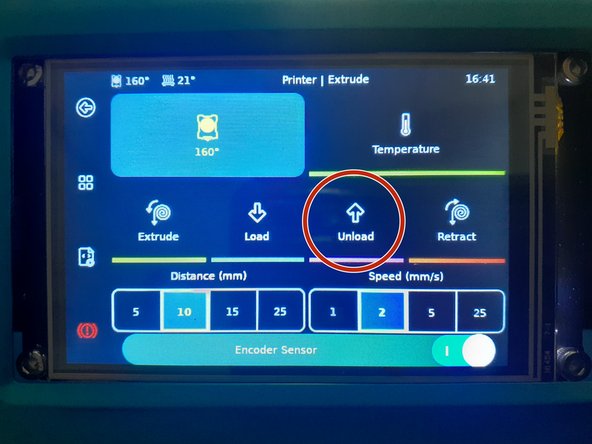
On the Fusion3 EDGE touchscreen, select "Extrude"
-
If the printer is paused, select the back arrow found on the top left of the screen.
-
Select "Unload".
-
Wait until the hotend reaches the target temperature and the filament is automatically pulled out of the extruder.
-
The extruder will start backing out the filament. Gently roll the spool backwards so that the filament remains tight.
-
Once the automated unloading procedure is finished, pull out the filament.
-
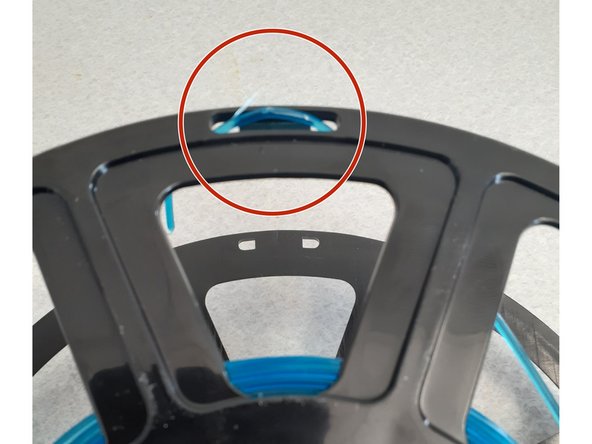
Remove the spool of filament from the holder.
-
Secure the end of the filament through the side holes of the spool as shown in the third image.
-
-
-
Grab another spool of filament.
-
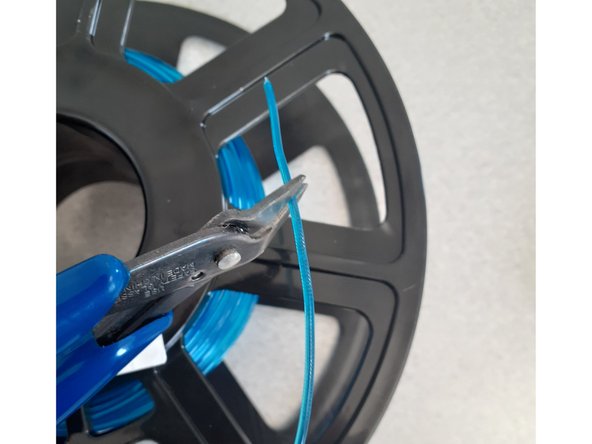
Take the end of the filament out of the holes that secured it.
-
Cut the end of the filament at a 45° angle.
-
This can make feeding the filament through the tube, extruder and hotend easier.
-
Place the new filament spool on the holder in an orientation such that the filament can easily feed through the filament sensor. Reference the 2nd image as needed.
-
-
-
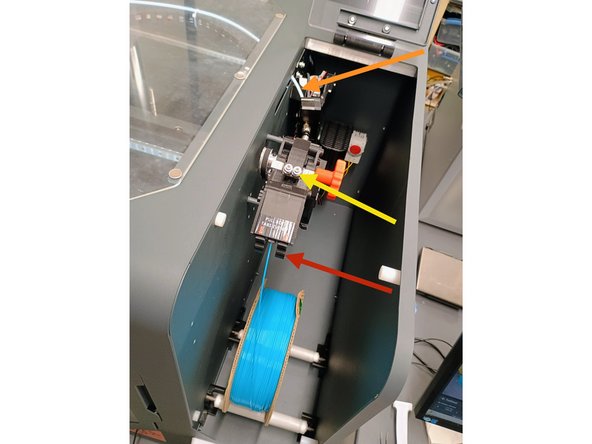
Thread the filament through the extruder using the following steps and image as a reference.
-
Pull tabs (red arrow) revealing internal area.
-
Feed the filament through the entrance hole and through the next hole now visible, as seen in the second image.
-
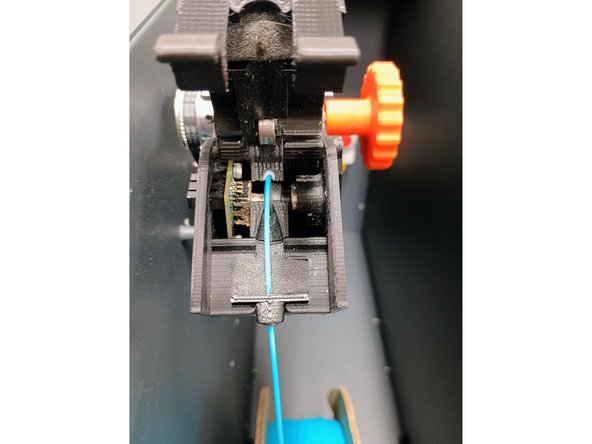
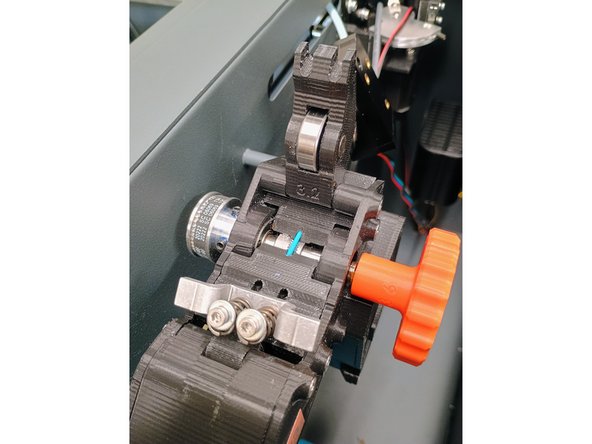
Pull forward the spring-loaded metallic handle (yellow arrow) and open the plastic part revealing the gripping gear as seen in the third image.
-
Feed filament through this area.
-
replace plastic part and metallic handle as before as well as the tabs that were opened at first.
-
Rotate the orange knob where the top of the knob is moving forward (clockwise) until the filament passes through the filament sensor all the way to the orange arrow (about 2 mm past the filament sensor).
-
-
-
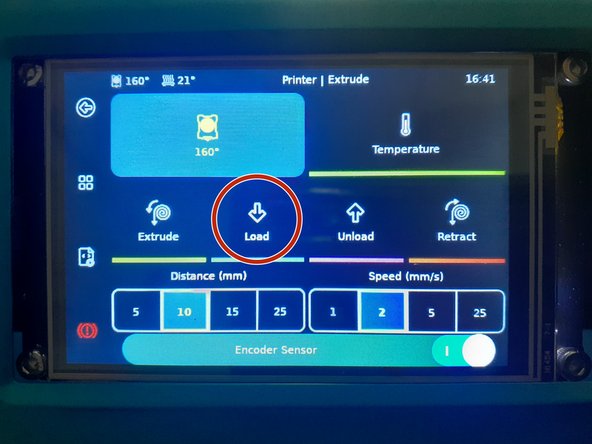
Select 'Extrude' on the touchscreen
-
Select 'Load'.
-
Wait for the nozzle to heat up.
-
Watch for the polymer to extrude out of the nozzle to verify that the filament has been successfully loaded.
-
The print can now be started or resumed.
-
If there are any issues, contact the Lab Director for assistance.
-