Introduction
In this tutorial, learn how to use a belt and disk sander safely! Sanders are extremely helpful in creating smooth edges on any piece of wood. They can also be very dangerous so this machine is only allowed to be used under the supervision of the Assistant Director.
Published by Sabrina Shankar with contributions from Tavian Vassar and Nathan Raeker-Jordan.
-
-
This machine can only be used under the supervision of the Assistant Director who can best be reached between the hours of 12pm - 4pm. If you are working on a specific project please email him/her to arrange a specific time.
-
Protective eye wear and earplugs must always be worn in the wood shop. The power cord of the sander will be locked by default.
-
Determine which sander you will be using and insert the vacuum hose from the shop bot into the appropriate dust vent on the machine. This will prevent excess dust from billowing over the room as you sand your part.
-
-
-
The sander must be unlocked by the Assistant Director prior to use.
-
When working with the belt sander, hold the piece you are sanding firmly to the support table and approximately 1" away from the belt sander.
-
The wood you are sanding must be always be at least 6" long. Otherwise your risk injury. The disk sander will also be rotating when the machine is turned on. Proceed with caution.
-
Start the machine and gently press the wood into the sander. ALWAYS have 2 hands on the wood and be sure to apply constant pressure. This keeps the wood stable and prevents the wood from being launched from the machine.
-
To sand at an angle, use the black handle under the support table to shift the angle of the ledge.
-
-
-
Ask the technician on duty to unlock the sander for you.
-
When sanding, ONLY SAND ON THE FRONT HALF OF THE DISK! The disk is spinning clockwise (when looking at the sanding face). Sanding on the back half will lift the part you are sanding, throwing dust and your piece up into the air.
-
The wood you are sanding must be always be at least 6" long to prevent injury. The belt sander will also be rotating when the machine is turned on. Proceed with caution.
-
Start the machine and gently press the wood into the sander. ALWAYS have 2 hands on the wood and be sure to apply constant pressure. This prevents the wood from being kicked back from the machine.
-
-
-
When you are done sanding your part, turn off and unplug the sander.
-
Lock the plug back up in the lock box.
-
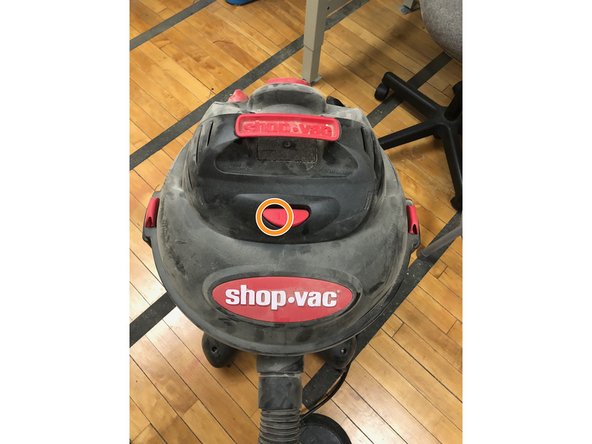
Using the shop vac, vacuum any dust on the machine and on the floor. The shop vac must be plugged in and press on button to begin vacuuming.
-
Inform the student technician on duty that you are done with the machine.
-


