
Introduction
Making buttons is one of the easiest processes to learn in the Maker-E! We offer the resources to make your own custom, 1.5" diameter buttons.
This tutorial will first show you the steps to print your graphics in the appropriate size, and then show you the steps to cut out and press your graphics into a button.
-
-
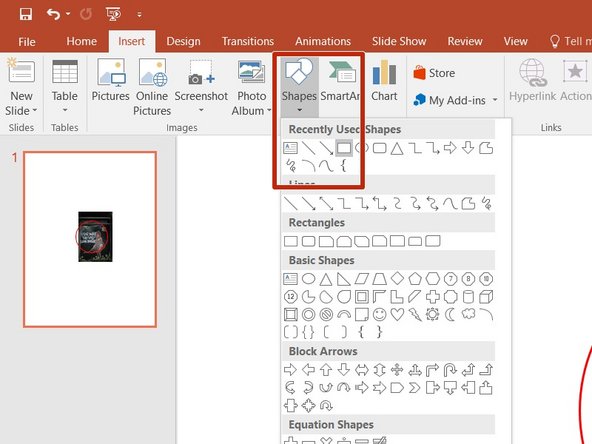
If you are more comfortable with PowerPoint, download a PowerPoint button template here.
-
If you are more comfortable with Inkscape, or other vector graphics software, download an SVG button template here.
-
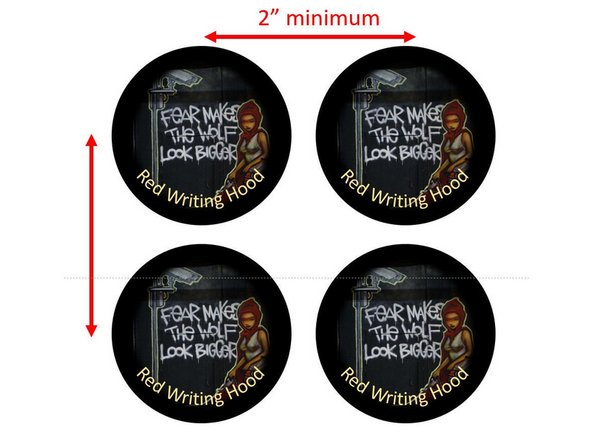
Everything inside of the dotted green line will appear on your button. The red line shows what will be cut out in a later step. The area between red and green will be wrapped around the edge of the button.
-
Here is a good video showing the basics of operating the button maker: https://www.youtube.com/watch?v=FytGK_R-...
-
The next two steps will show you how to make custom button images using PowerPoint.
-
-
-
These steps focus on using PowerPoint, but the same steps can be applied to your favorite image manipulation software.
-
With the PowerPoint button template file open, copy/paste your image into PowerPoint, then right click on it. Choose Send to Back and Send to Back. This will allow the circular button template to appear on top of your image. Note the circle at the bottom of the picture here.
-
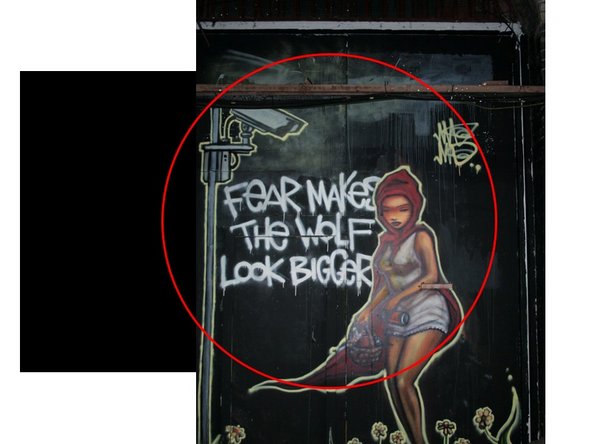
Now left click on your image. Grab one of the corner dots around your image and resize it. You can also click and drag your image. Keep whatever you want on your button inside of, and centered within, the dotted green circle.
-
When you are satisfied you can hide the green line by right clicking on it and choosing Format. In the Format Shape window on the right choose a Line type of No Line.
-
-
-
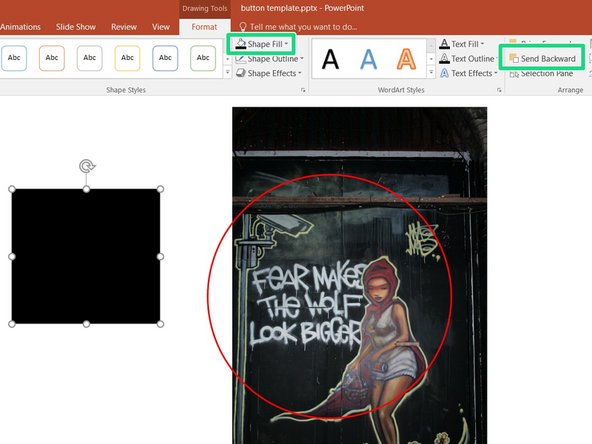
If you need to fill in gaps, like the white to the left of this example image in the previous step, you can use the Shape tool, found under the Insert menu. Insert a rectangle of arbitrary size.
-
Click on the shape you created to select it, then go to the Format tab, select Send Backwards, then Send to Back. This puts the shape behind your image. From the same tab, click on Shape Fill and choose a color that matches your image background. Select Shape Outline and set this parameter to No Outline.
-
Drag your shape behind your image to fill in any gaps. You may need to resize it, using the corner handles, to completely fill any gaps.
-
When you are satisfied you can print your image.
-
-
-
If you would like to add text to the button you can do so using the text add tool in PowerPoint.
-
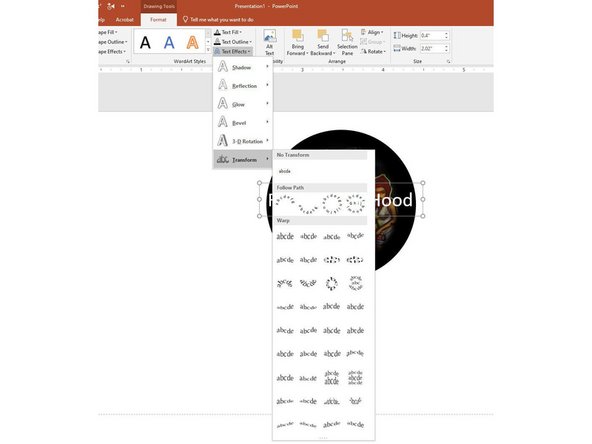
You may want to have the text be in a circle around the perimeter of the button. To do this first type the text you want.
-
Next click on the text to select it and go to the Format menu. Find the "Text Effect" pulldown menu, then select "Transform", then choose "Follow Path" as shown in the first figure.
-
This will transform your text into a circle or half circle as shown in the second image. By changing the boundaries of the text to be the size of the image, the font size, and moving the yellow dot you can get your text looking the way you want. It may take some trial and error.
-
Now you are ready to print the image on a color printer. If you want to make multiple buttons you need to space the images 2" apart.
-
-
-
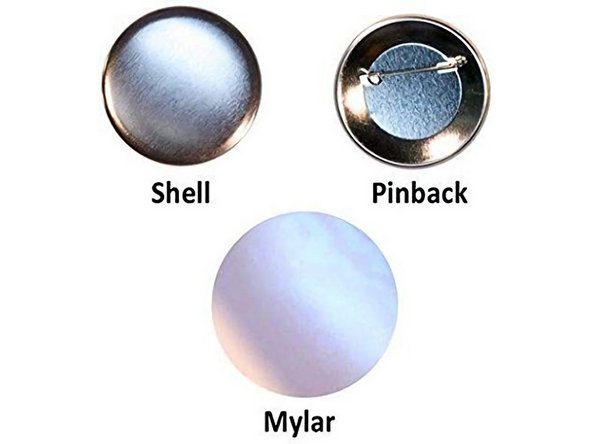
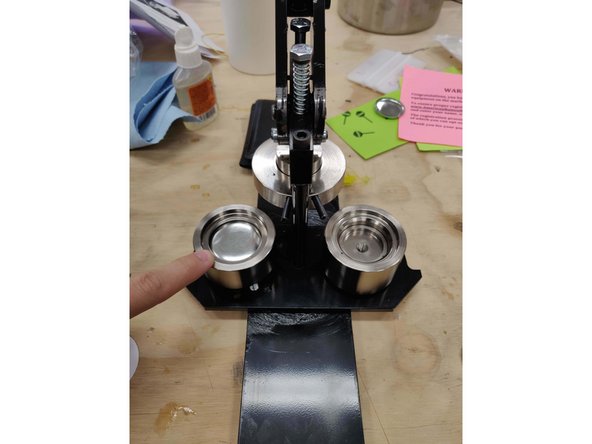
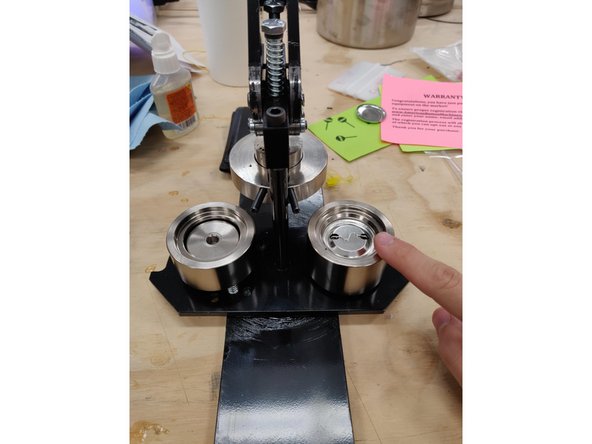
Locate mylar, pinback, and shell parts
-
-
-
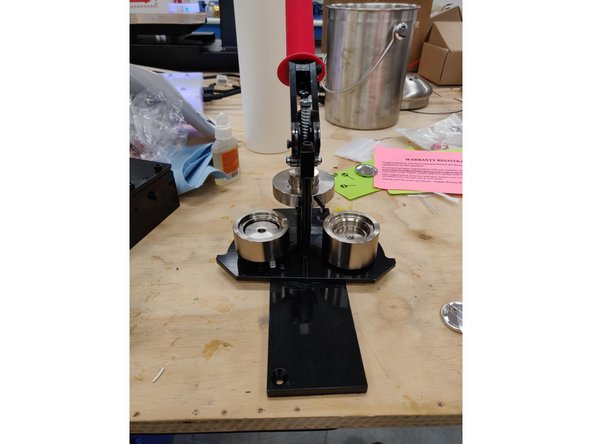
The pick up die is the shallow die. (Left side)
-
This is where your shell, graphic, and mylar will be seated.
-
The crimp die is the deep die. (Right Side)
-
This is where the pinback will be seated.
-
-
-
Follow the tutorial here for creating custom graphics for the pin press.
-
Cut out a thin enough strip which will slide into the die.
-
Line up the outline of the graphic with the circle on the die
-
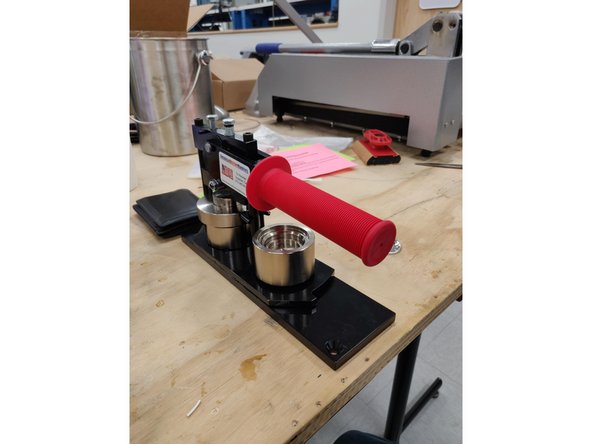
Press the red lever fully forward or backward.
-
When fully activated, slide your hand under the die and push up on the metal bar to eject the cut graphic.
-
-
-
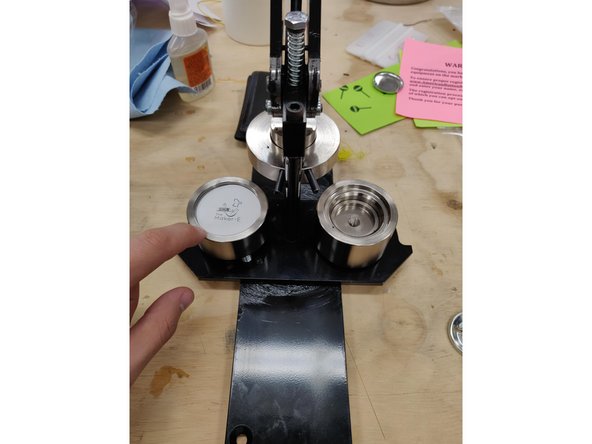
Place shell facing upward into the pick up (shallow) die.
-
CAUTION!! MAKE SURE ONLY ONE SHELL IS LOADED INTO THE PICK UP DIE. OTHERWISE MACHINE DAMAGE MAY OCCUR!
-
Lastly, place the mylar sheet over the graphic.
-
-
-
Pull the lever all the way down towards you. It should be horizontal with the table.
-
Then push the lever all the way back up.
-
You will not see the shell come out of the press. This is normal. Do not try and remove the shell from the press by hand.
-
-
-
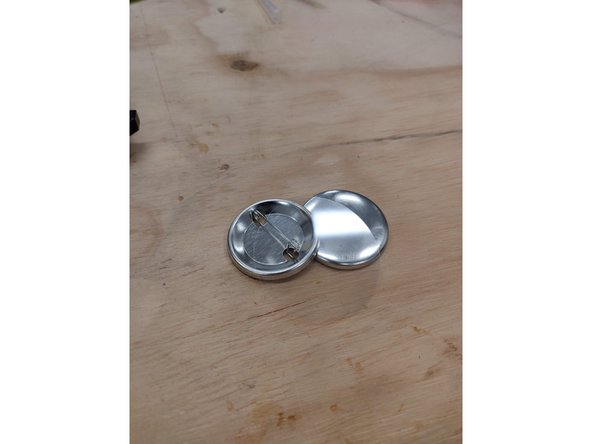
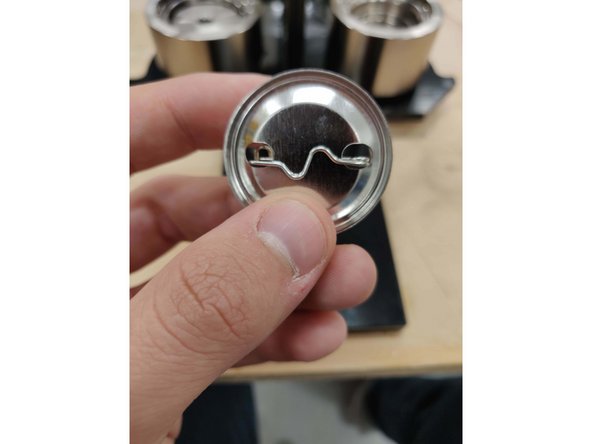
Read carefully: with both die perpendicular to the press, make sure that the pinback is co-linear to the rotating base.
-
Make sure that the spring side of the pinback is on the right side and the kinked side of the pinback is facing upward.
-
-
-
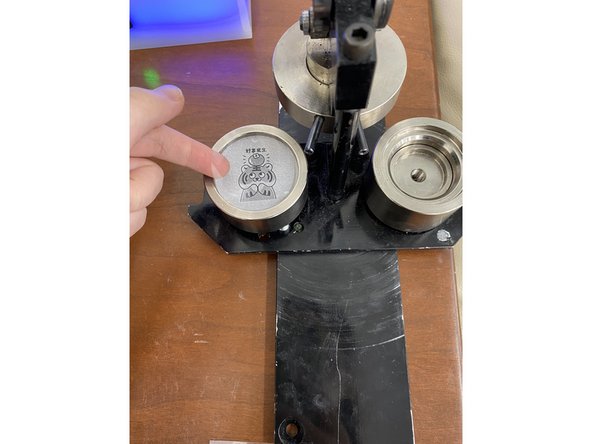
Rotate the pick up die left, out from underneath the button press until the crimp die is fully locked under the press
-
-
-
Complete the pin by pulling the lever horizontal towards you again.
-
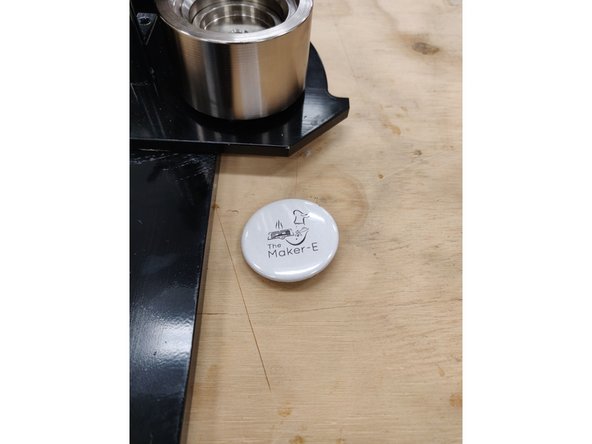
Push the lever back to the top position. Your pin is done!
-
-
-
Please keep the Maker-E clean. Make sure to throw all trash and recycling in their respective bins located in the space.
-


Cancel: I did not complete this guide.
13 other people completed this guide.