-
-
Anycubic Mono X is a LED based SLA resin printer. Unlike the FormLabs, each layer is cured all at once using an LED screen to cure each layer
-
When compared to FDM printing, SLA printing has better resolution and less noticeable layer lines. Ask the Lab Director to know if resin printer is best used in your project
-
This tutorial will teach only the basics of resin printing to get you started and is not an all-inclusive guide to resin printing
-
It is assumed that the user has a 3D stl model that fits within the build volume of the printer
-
-
-
Log onto the BME computer in the Fab Lab using credentials provided at the top of the screen
-
Open the Chitubox slicer software
-
Import stl file into Chitubox
-
-
-
Further information than given in this tutorial can be found here.
-
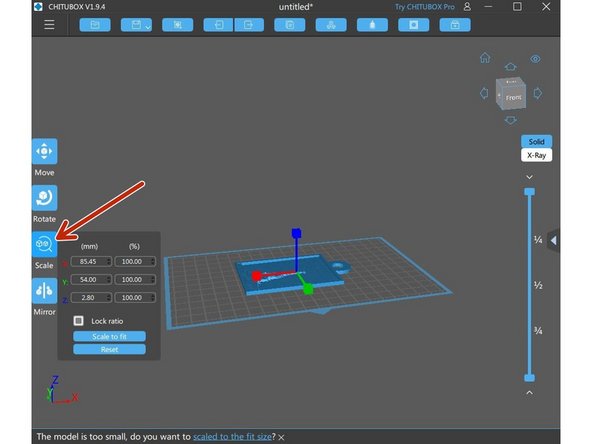
Roughly verify scaling of part by visually identifying size of object on the screen. If needed, scale your part
-
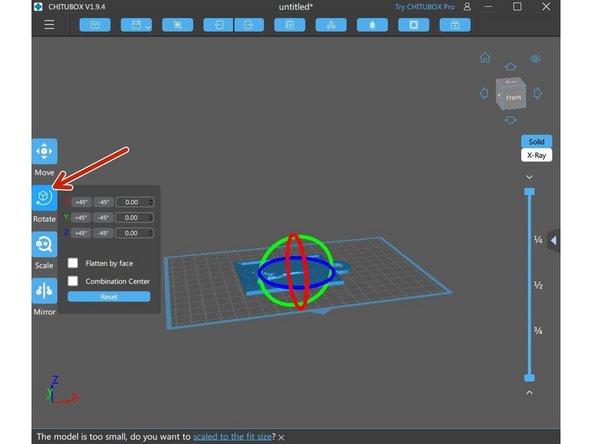
Rotate your part as needed. Note that you are able to select a surface that you want on the build platform.
-
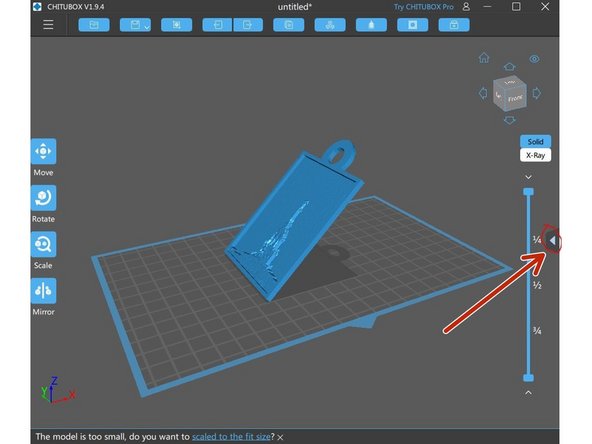
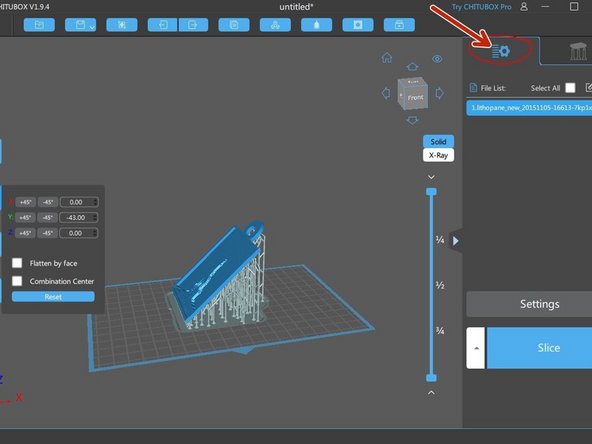
Open further model settings using arrow in picture(right center of screen) if not already open
-
-
-
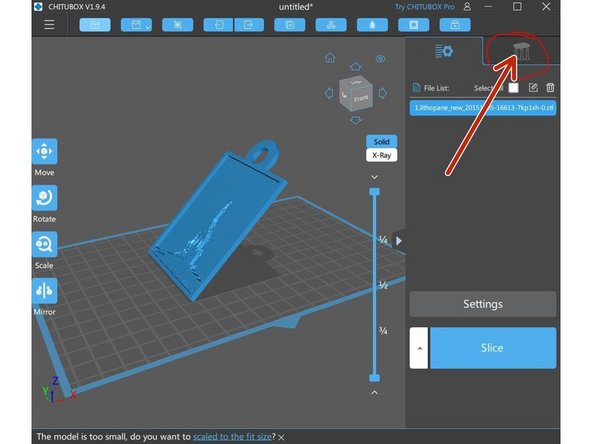
open up support material / platform generation tab
-
Support material is used to support your model in areas that would otherwise not stick to the build plate
-
Platforms are used so that support material can stick to the built plate more effectively and so that the model can be removed more easily
-
Autogenerate supports and platform using the +Platform/+All buttons
-
-
-
Once you are satisfied with your print, return to the main view by selecting the left tab
-
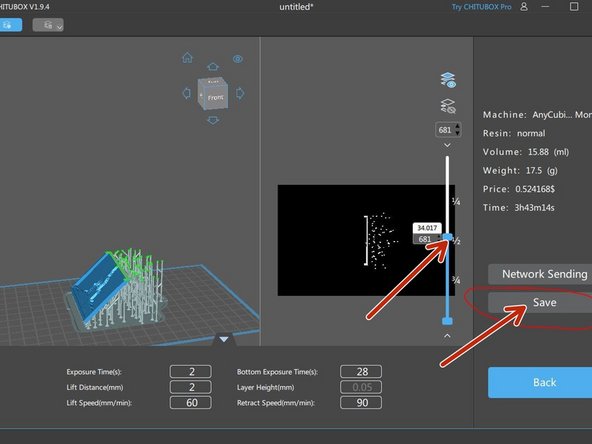
Slice print by selecting the blue "Slice" button
-
Verify that the print looks as you expect it to
-
-
-
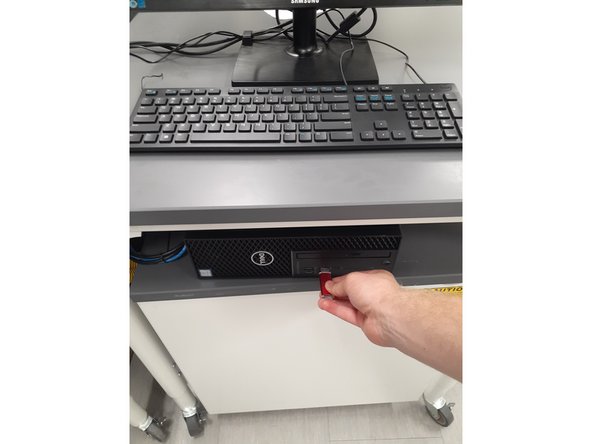
Take USB from the Anycubic resin printer
-
Insert USB in Fab Lab computer
-
Select "Save"
-
Save file in USB
-
Safely eject USB using the "^" on the bottom right of screen, right clicking USB icon and selecting eject.
-
Remove USB from computer and put back into the Anycubic resin printer
-
-
-
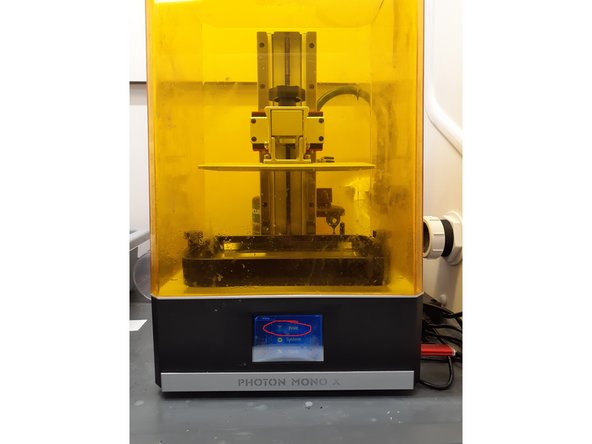
Verify build plate is secure and there is a sufficient quantity of resin
-
If you need to put more resin in, you can use the Phrozen ABS-like resin. If you have questions or need to change to a different type, please ask the Lab Director
-
To start the print, press start, select file and press play
-
-
-
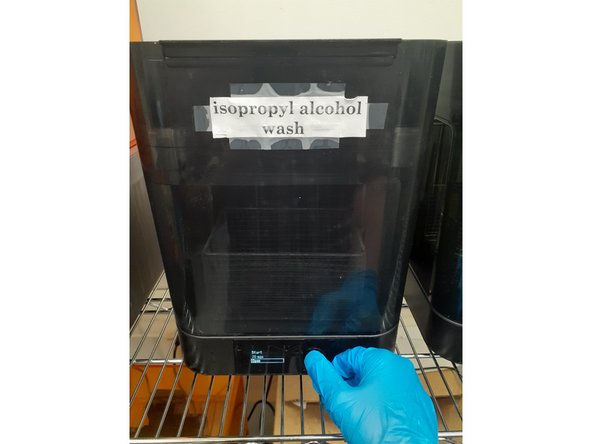
Once the print is complete, the next step is to put on gloves
-
Open the Formlabs isopropyl alcohol wash station closest to the Formlabs resin printer
-
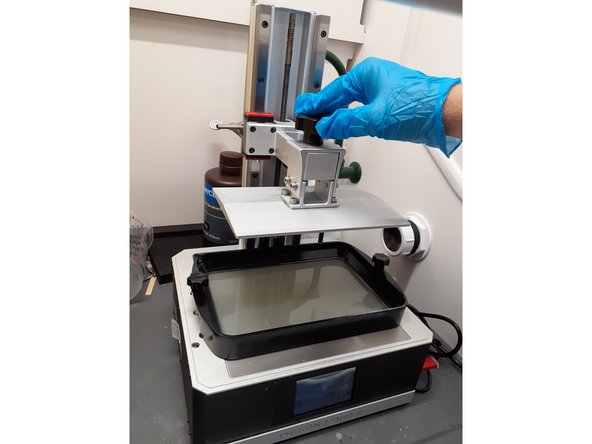
Remove transparent cover on the Anycubic printer
-
Grab a paper towel to prevent resin from dripping anywhere during the next two steps
-
Loosen build plate as shown by unscrewing hand screw
-
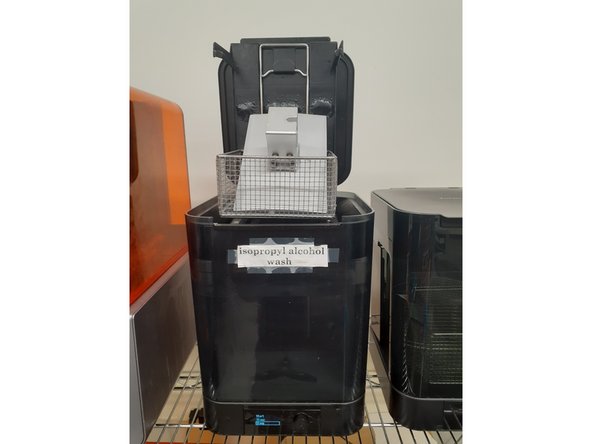
Place build plate within basket such that it will not scrape the sides of the wash station when closing
-
Wash for 20 minutes
-
-
-
After washing the print, again put on gloves
-
Open wash station and carefully remove the print from the build plate
-
Replace build plate on Anycubic remembering to tighten hand screw
-
Open transparent cover of cure station and place washed print in center
-
Add desired cure time. 10 - 15 minutes is typical
-
Start curing print
-
Once your part is cured, it is ready to use
-